Project setup and rules
Your view
Project setup is the charter you wrote in the wizard, kept up to date: where the app runs, how the agent may behave, and the rules it follows in every run.
1. Open Project setup
Section titled “1. Open Project setup”In the sidebar, open Work Area › Setup & Control. Project setup is the first tab.
Choose All pages, then Setup & Control. Project setup opens first.
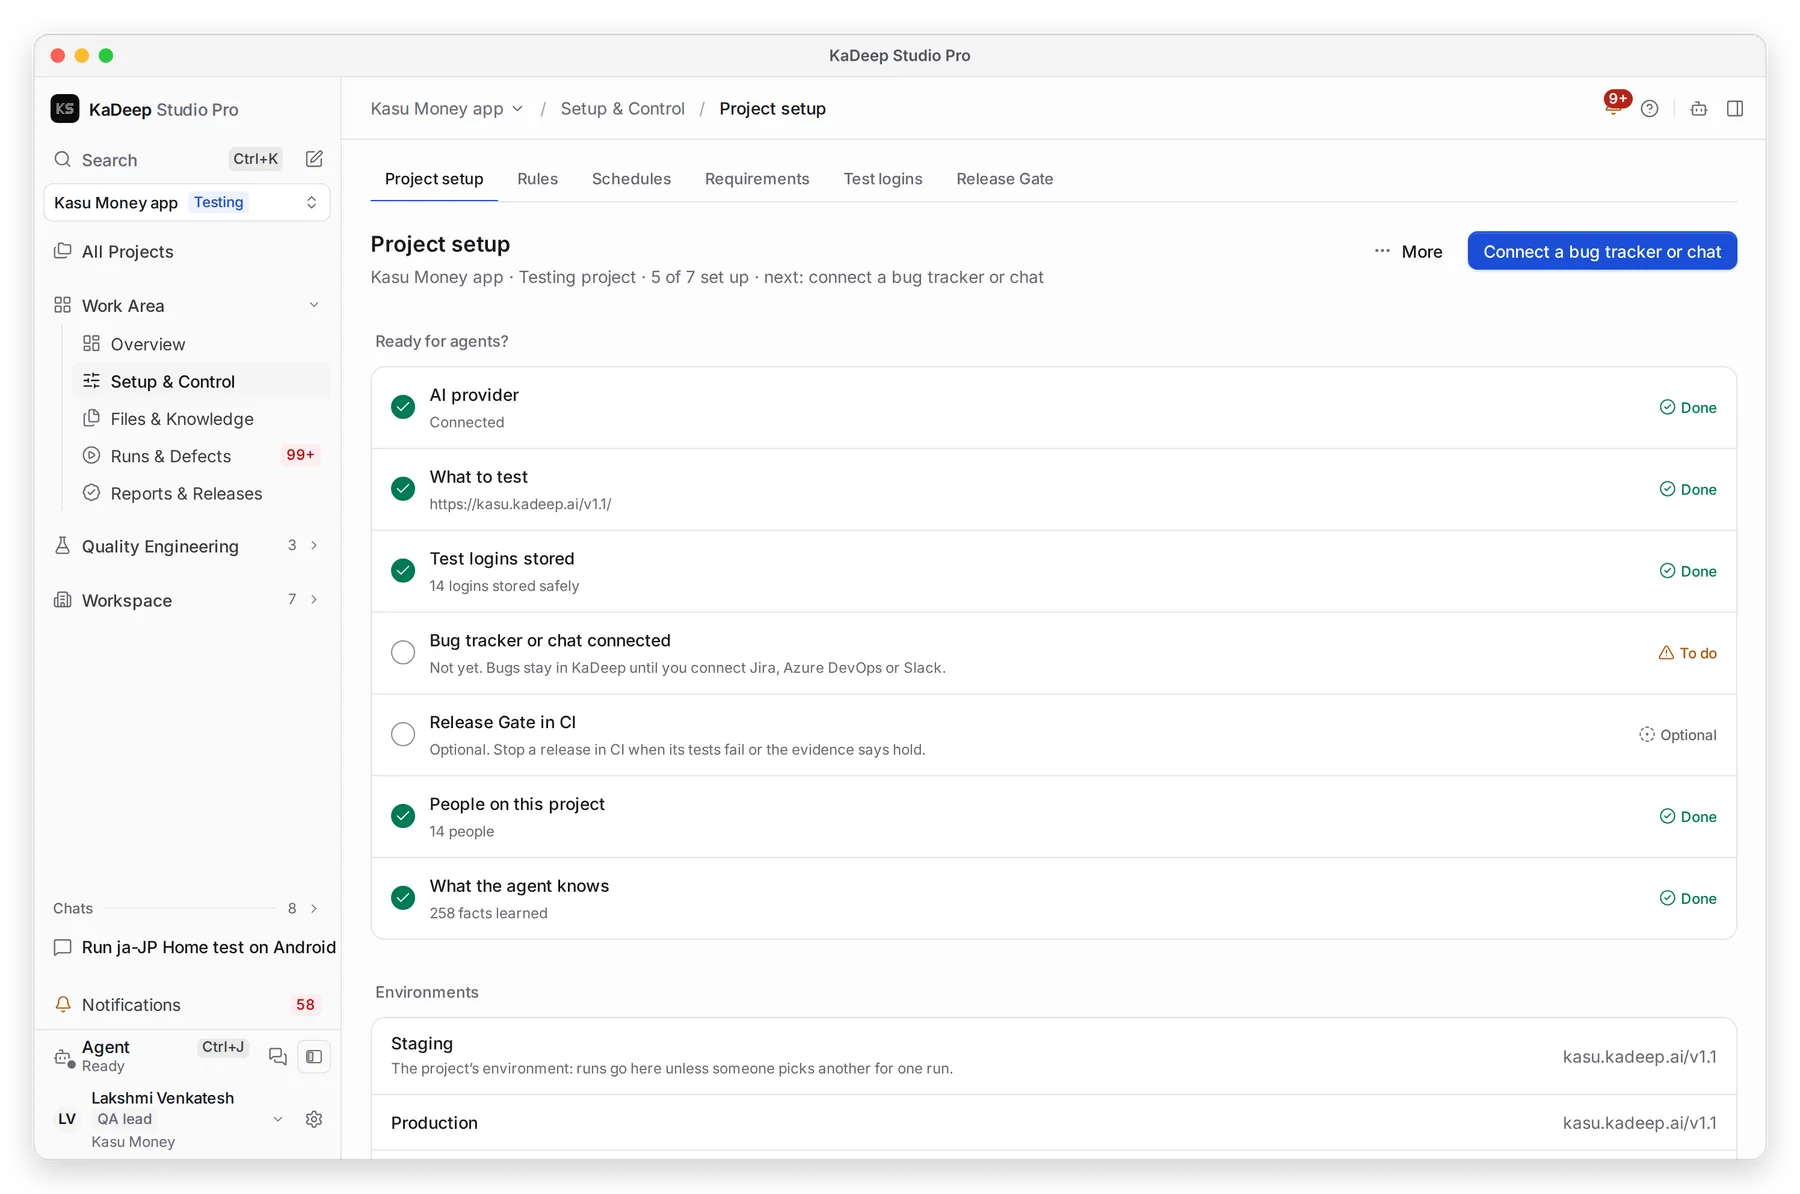
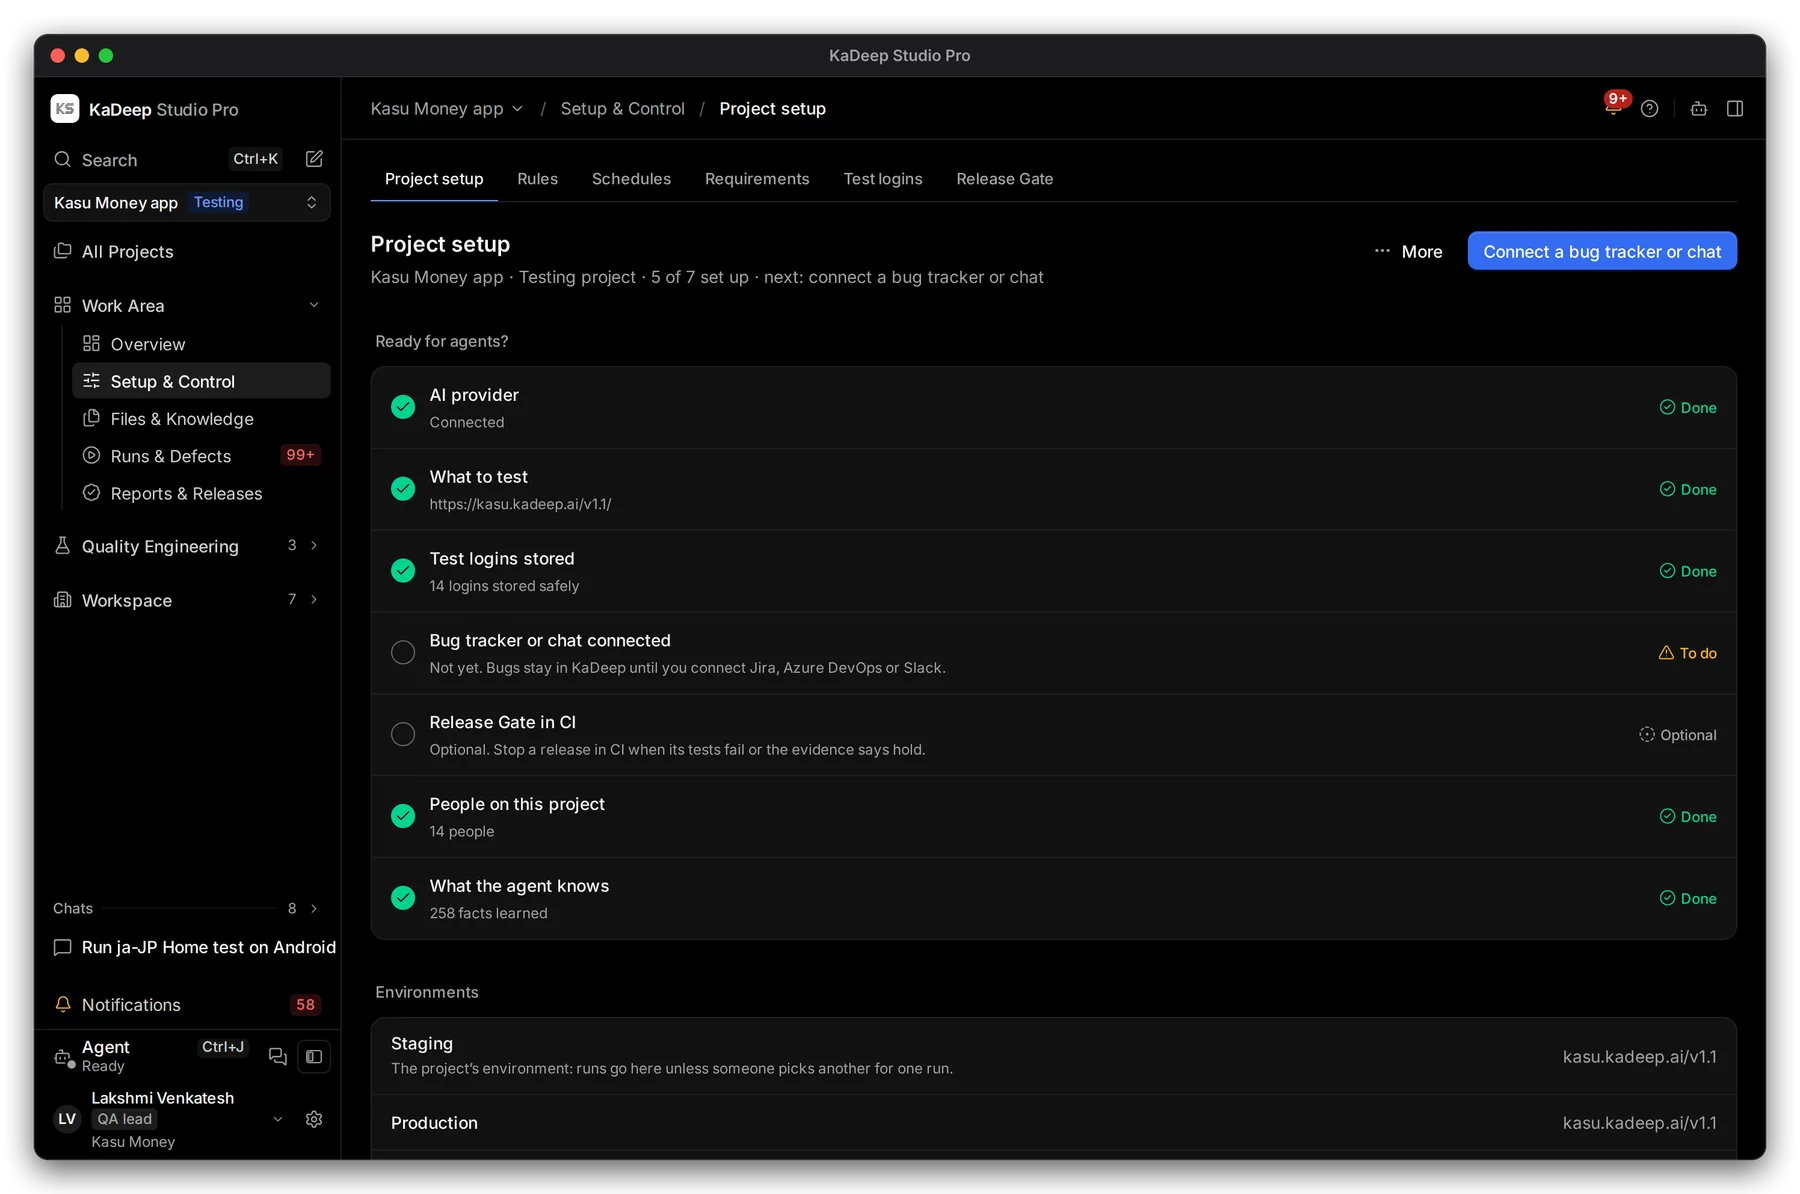
Manage view
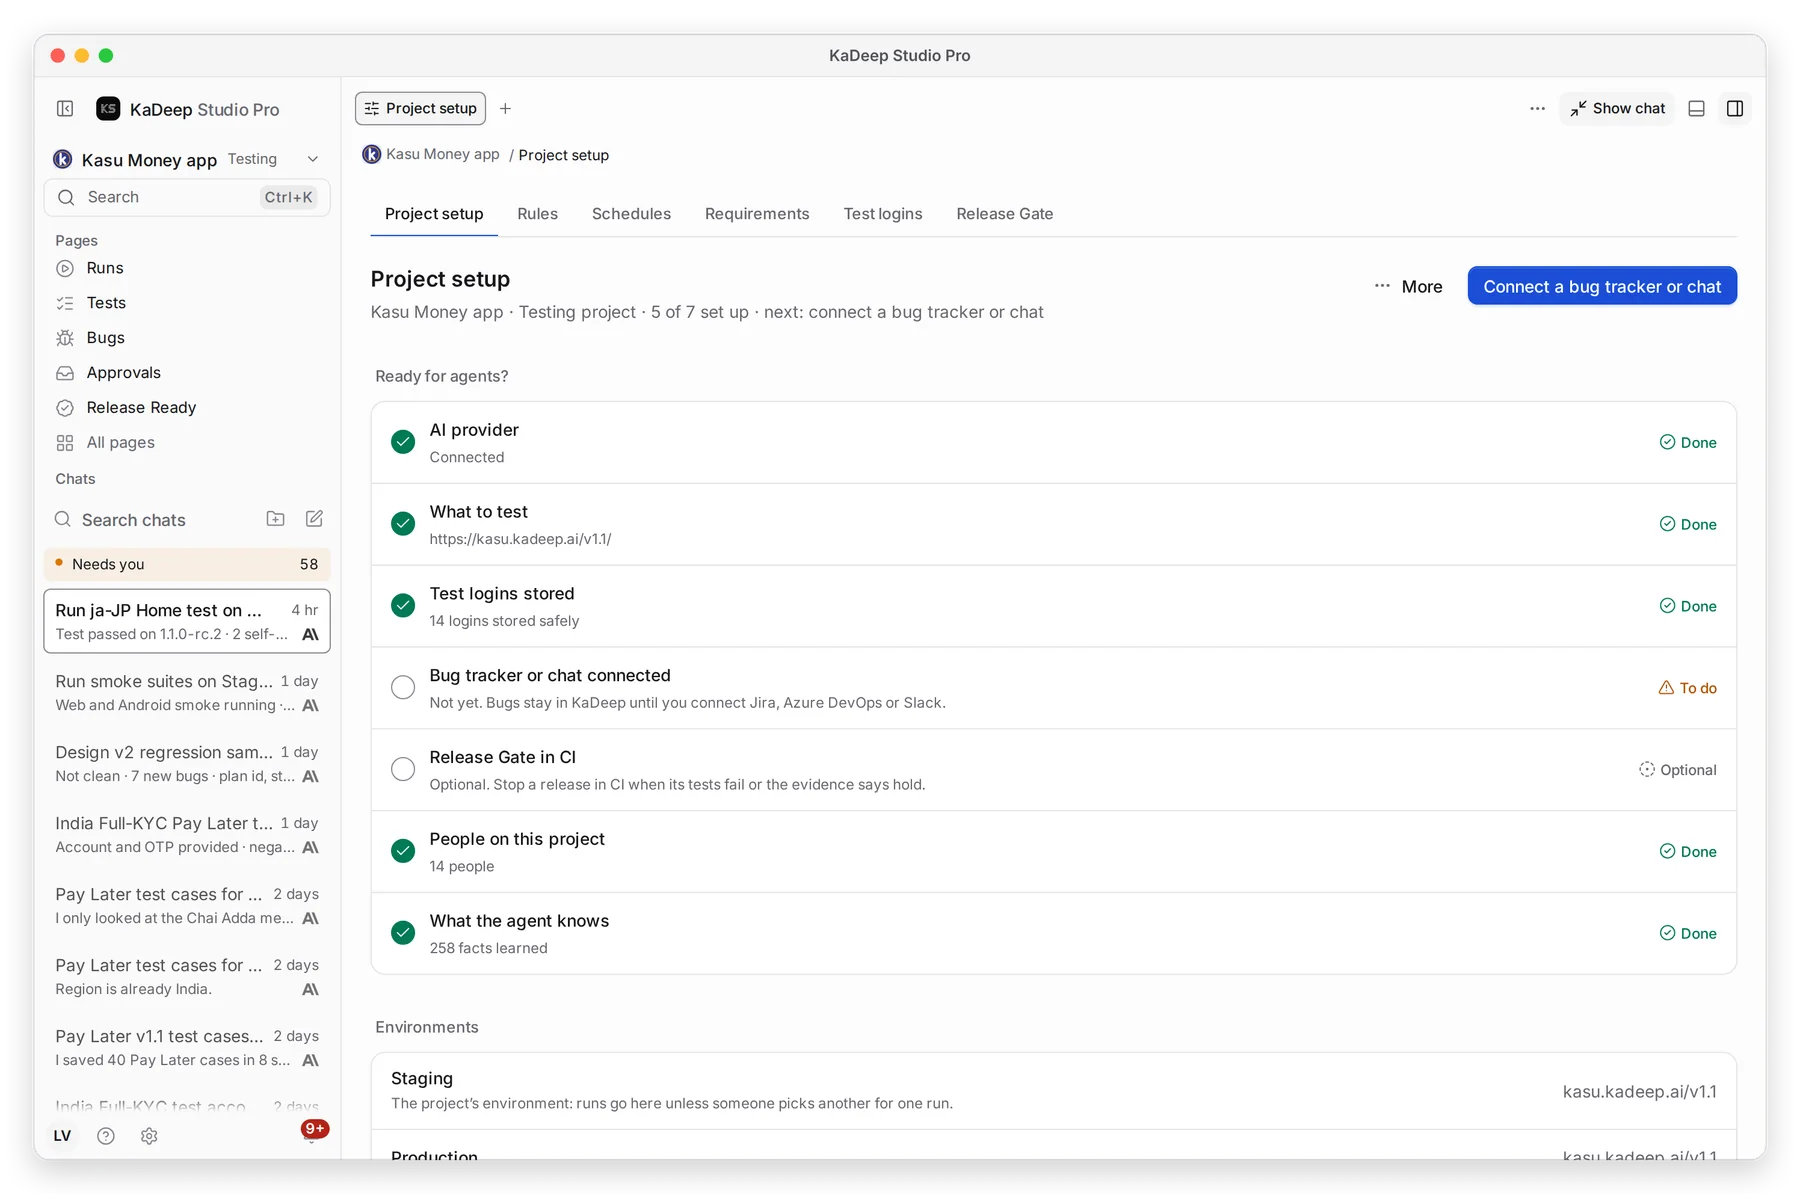
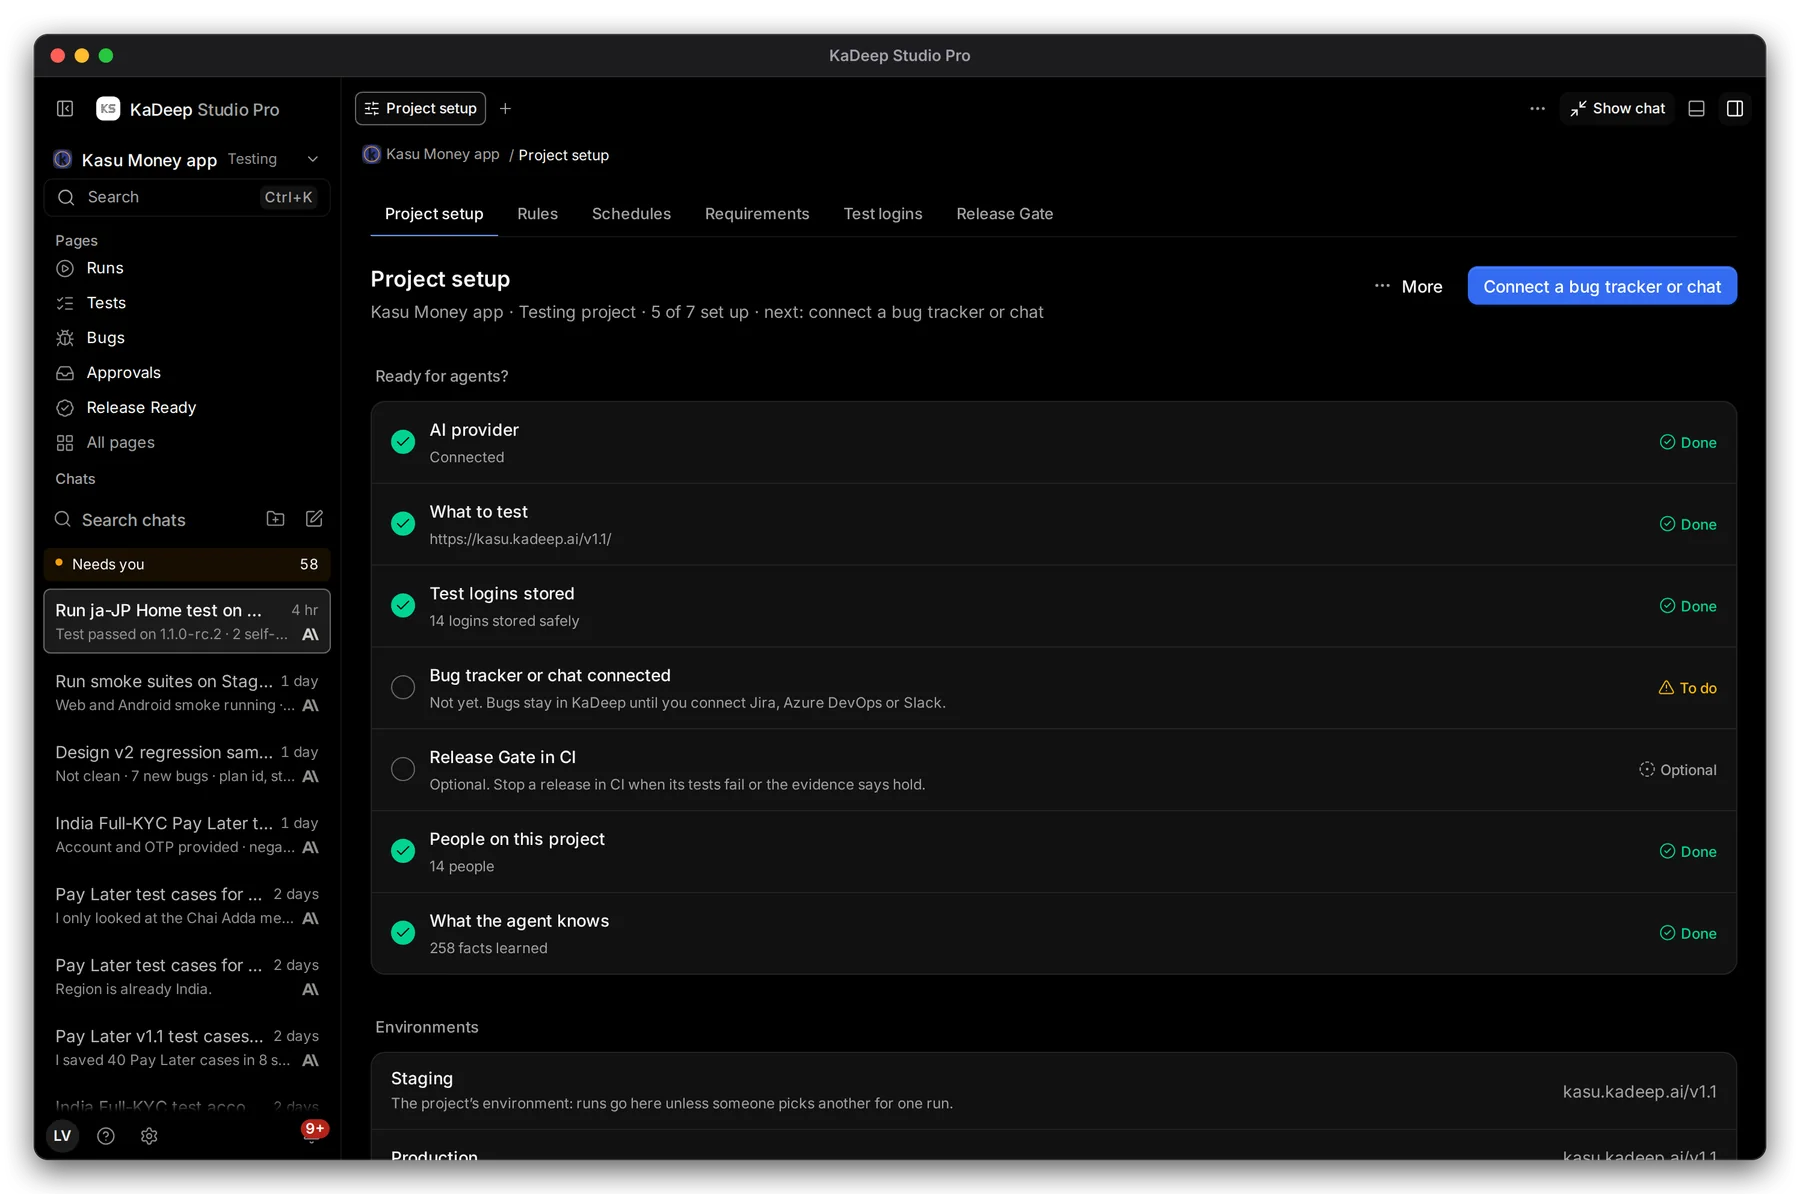
Hands-on view
- 1 The setup tabs.
- 2 How much is set up, and the next thing to do.
- 3 Ready for agents? Each row is Done, To do or Optional. Choose a row to fix it.
2. Set environments and how the agent tests
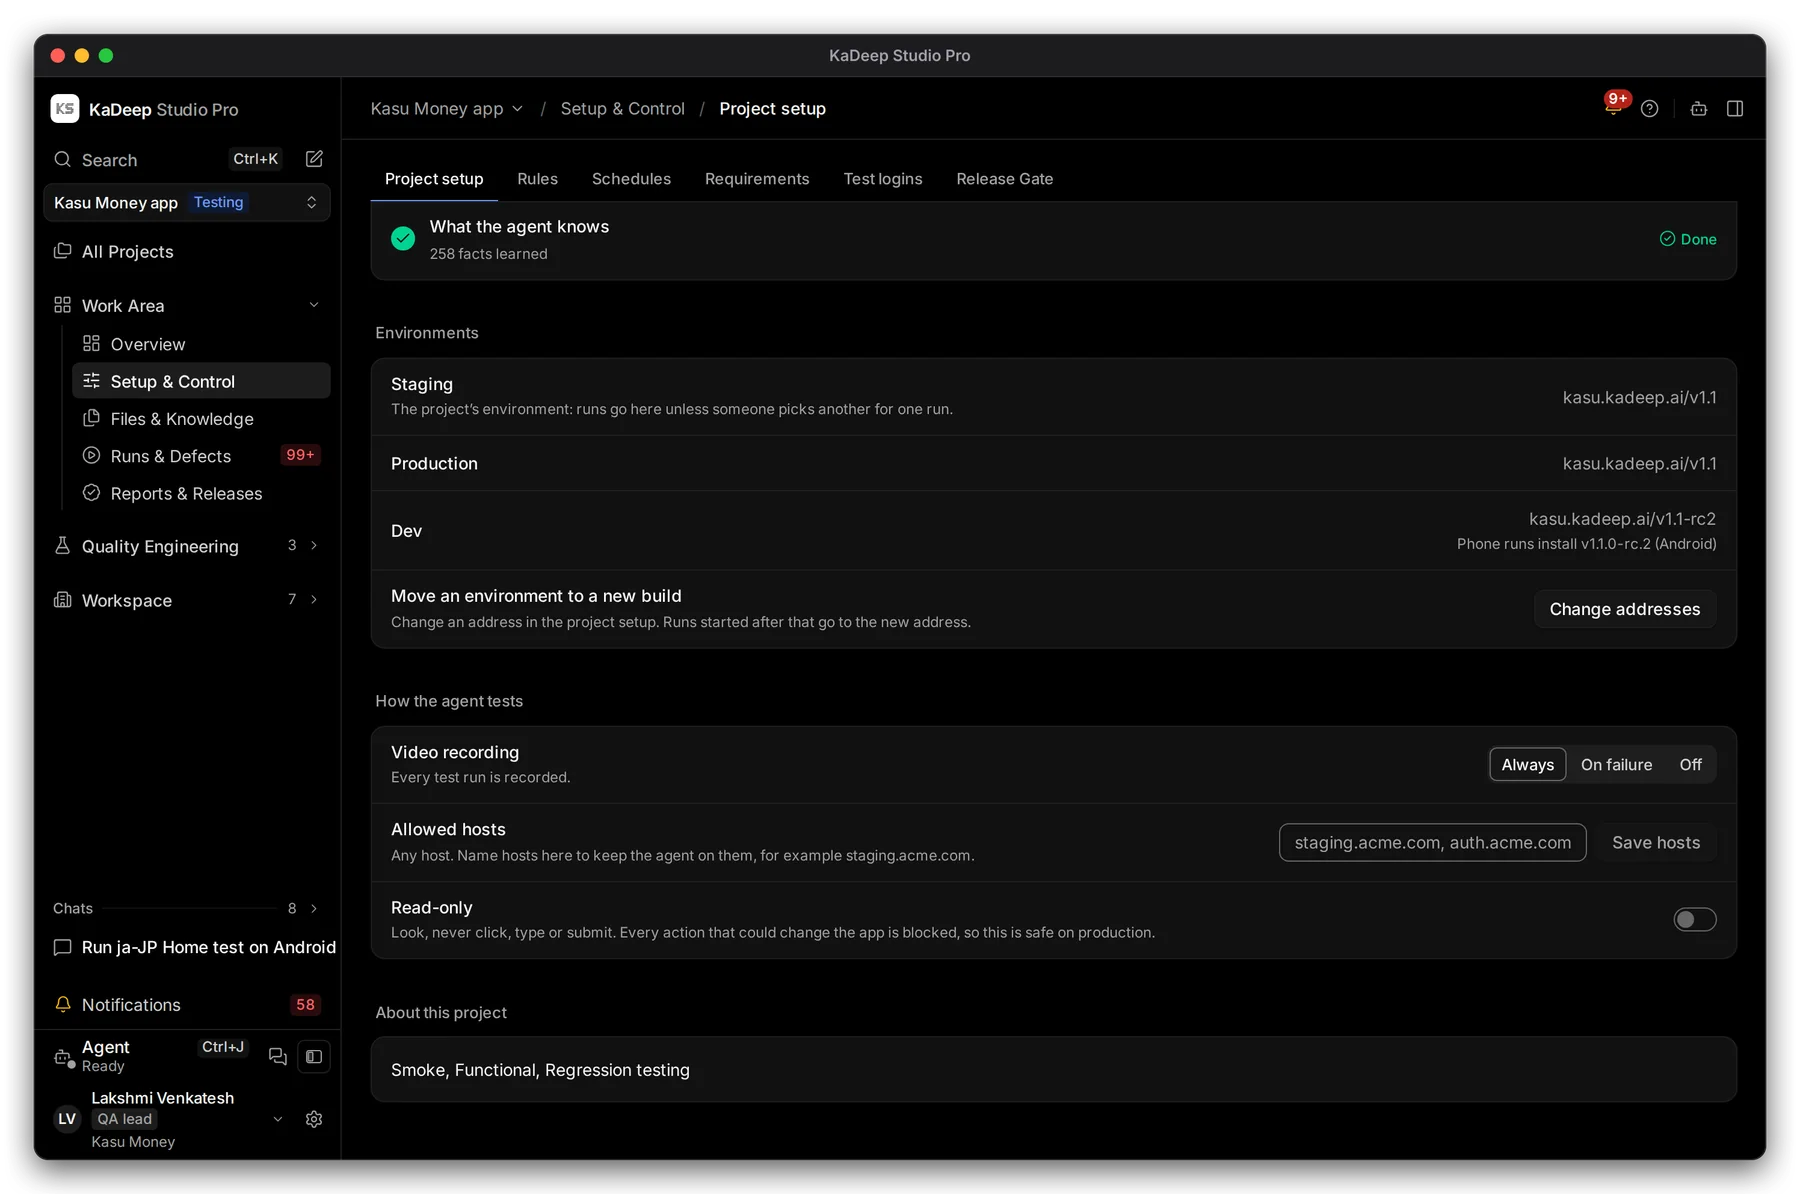
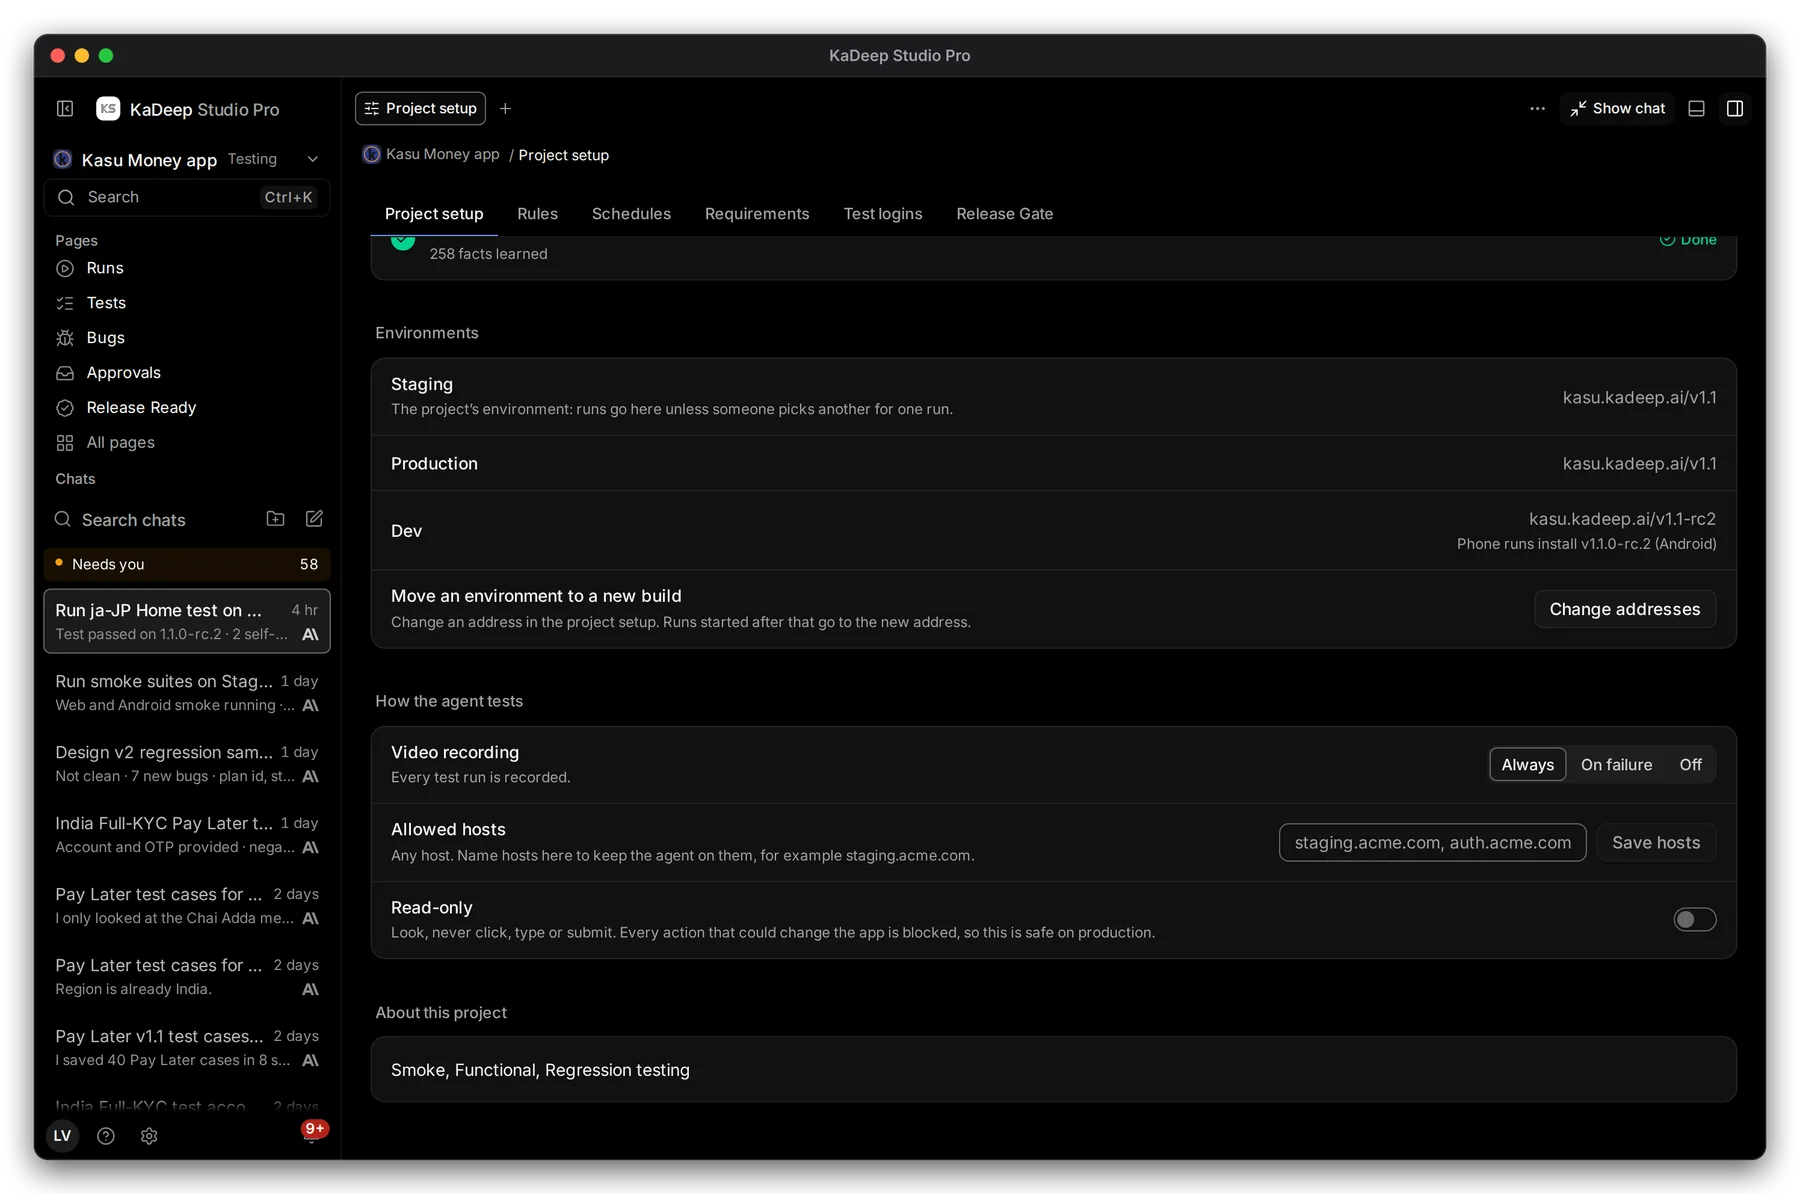
Section titled “2. Set environments and how the agent tests”Scroll down to Environments and How the agent tests.
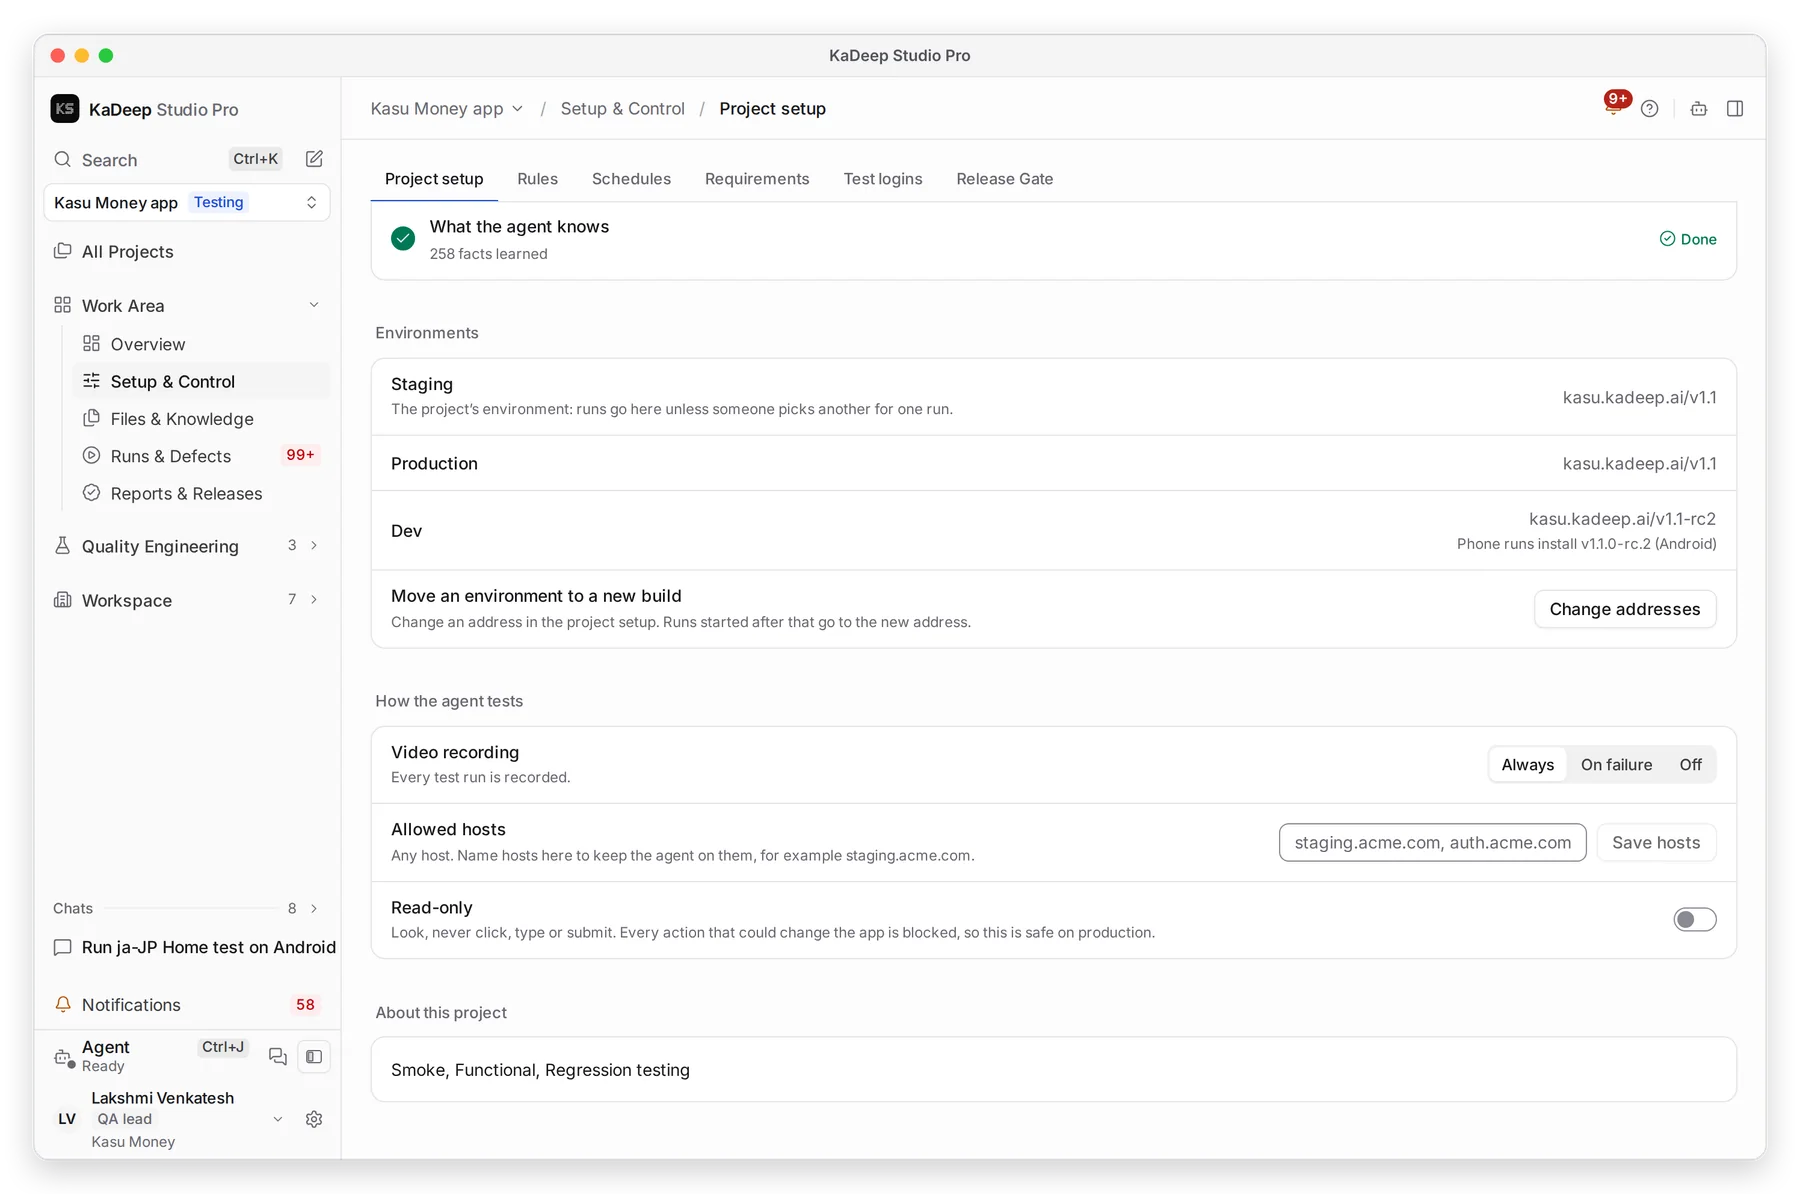
Manage view
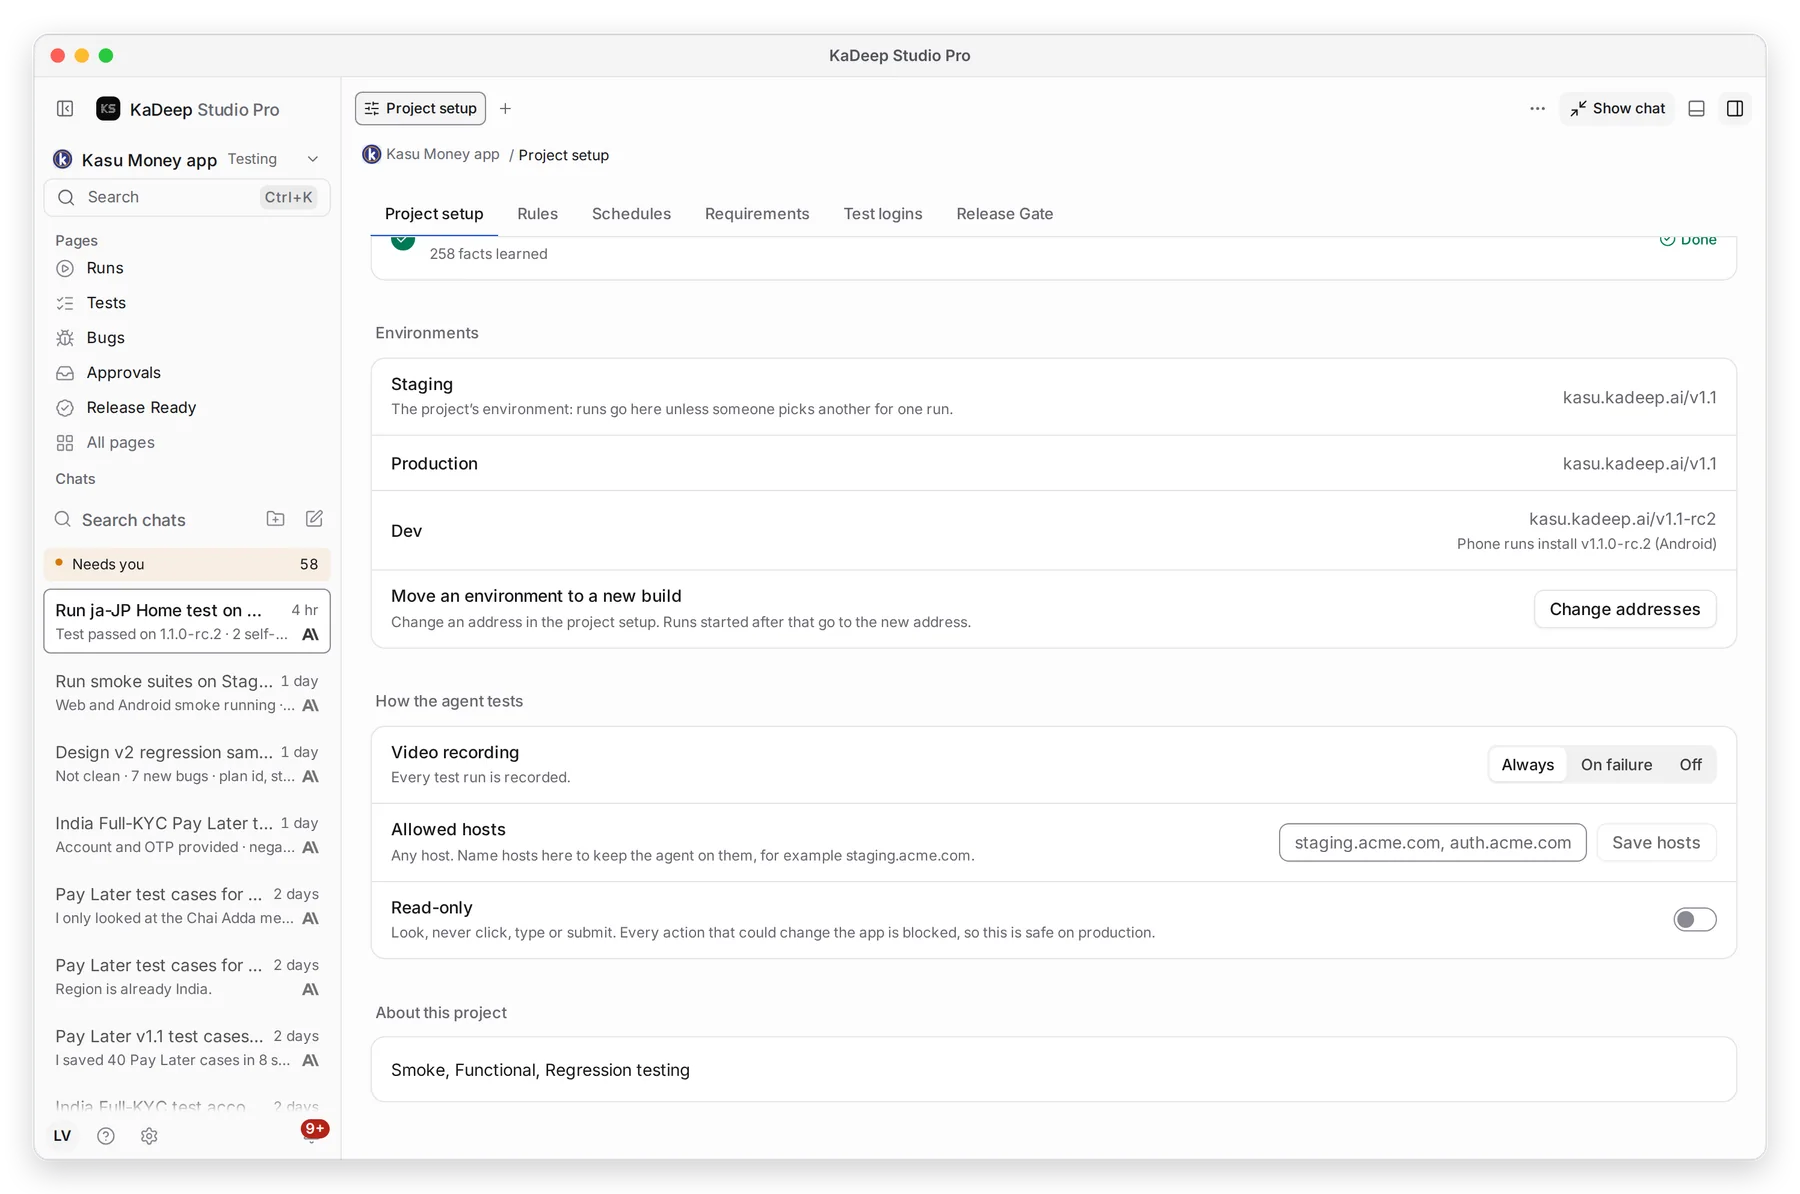
Hands-on view
- 1 The project’s environment. Runs go here unless someone picks another for one run.
- 2 Change addresses when a new build is on a new address. Runs started after that use it.
- 3 Video recording: Always, On failure or Off.
- 4 Allowed hosts keep the agent on the sites you name. Leave it empty to allow any host.
- 5 Read-only: the agent looks but never clicks, types or submits. Turn it on to test production safely.
3. Edit the rules
Section titled “3. Edit the rules”- Choose the Rules tab.
- Type one rule per line. For example: “Never delete a customer account. Ask first.”
- Choose Save rules.
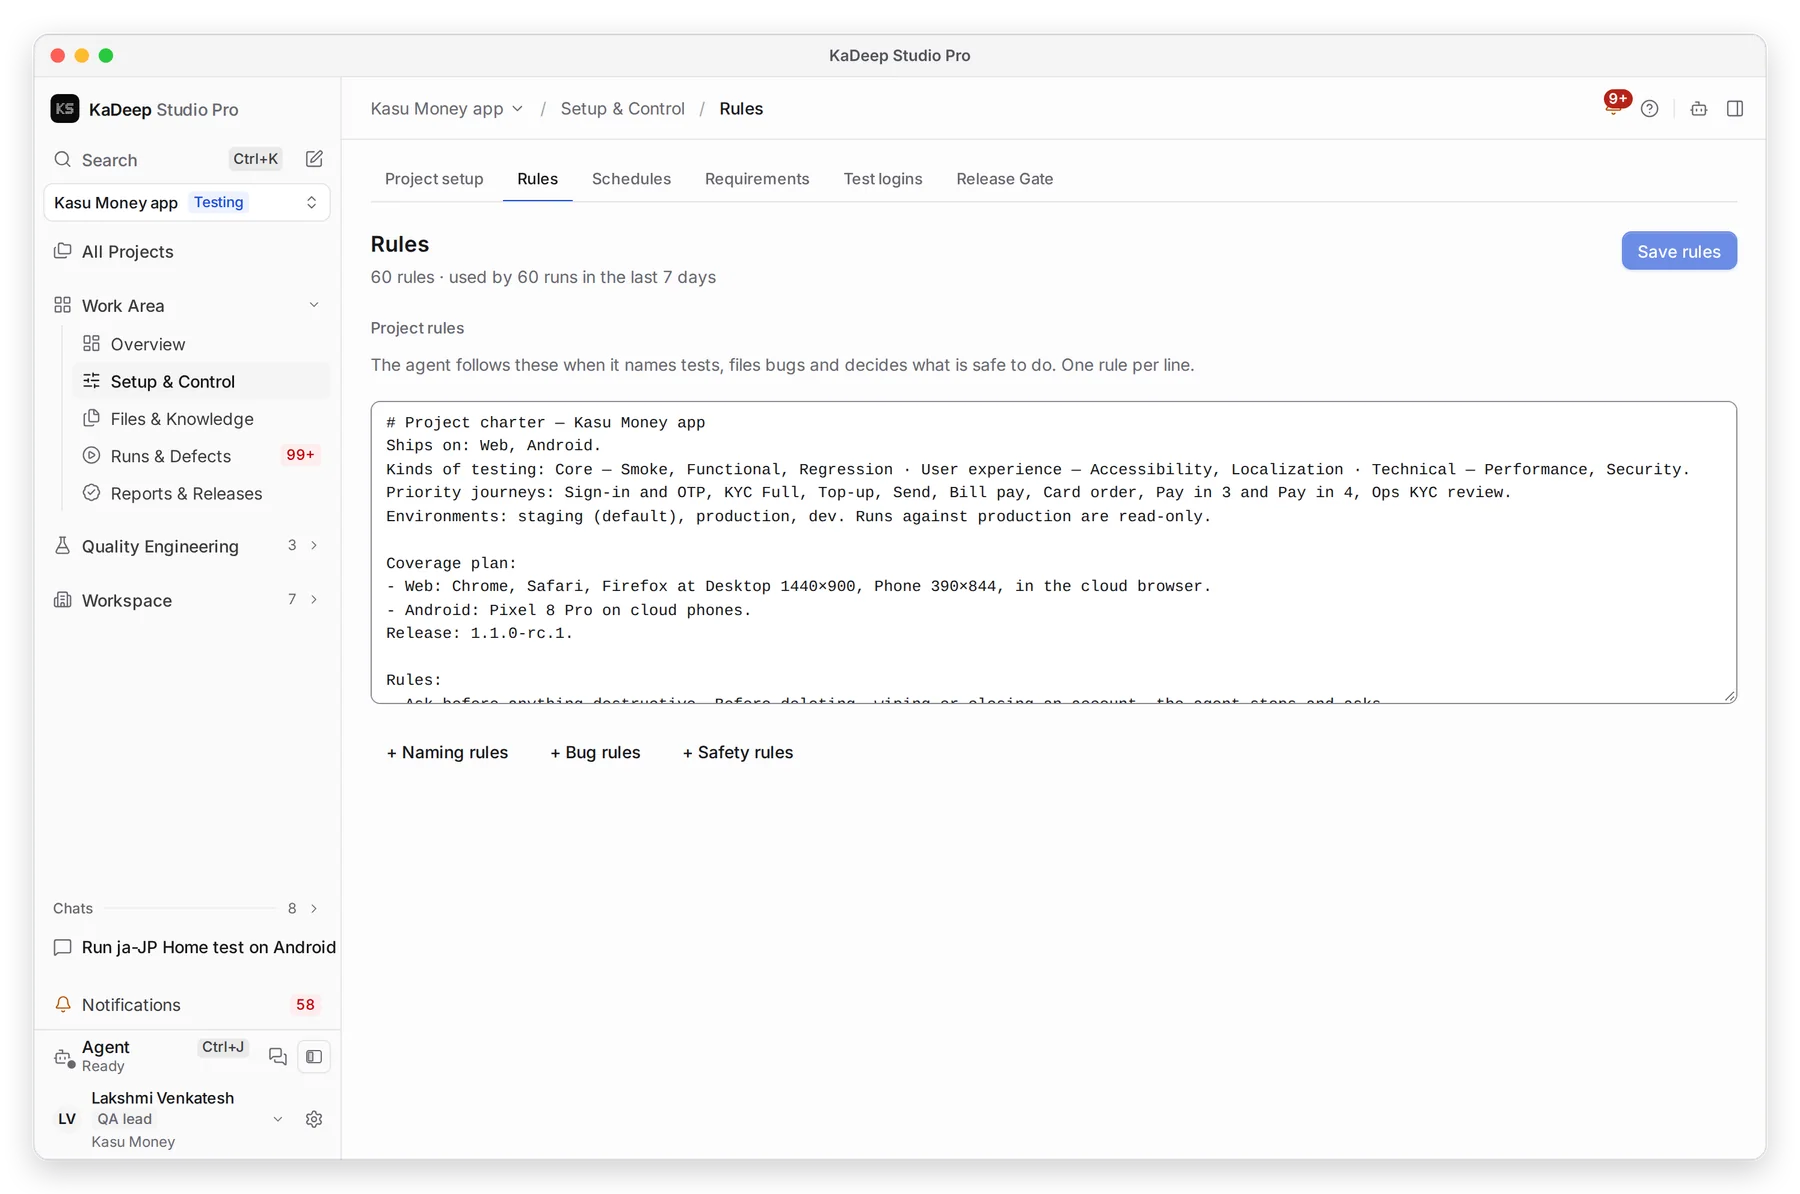
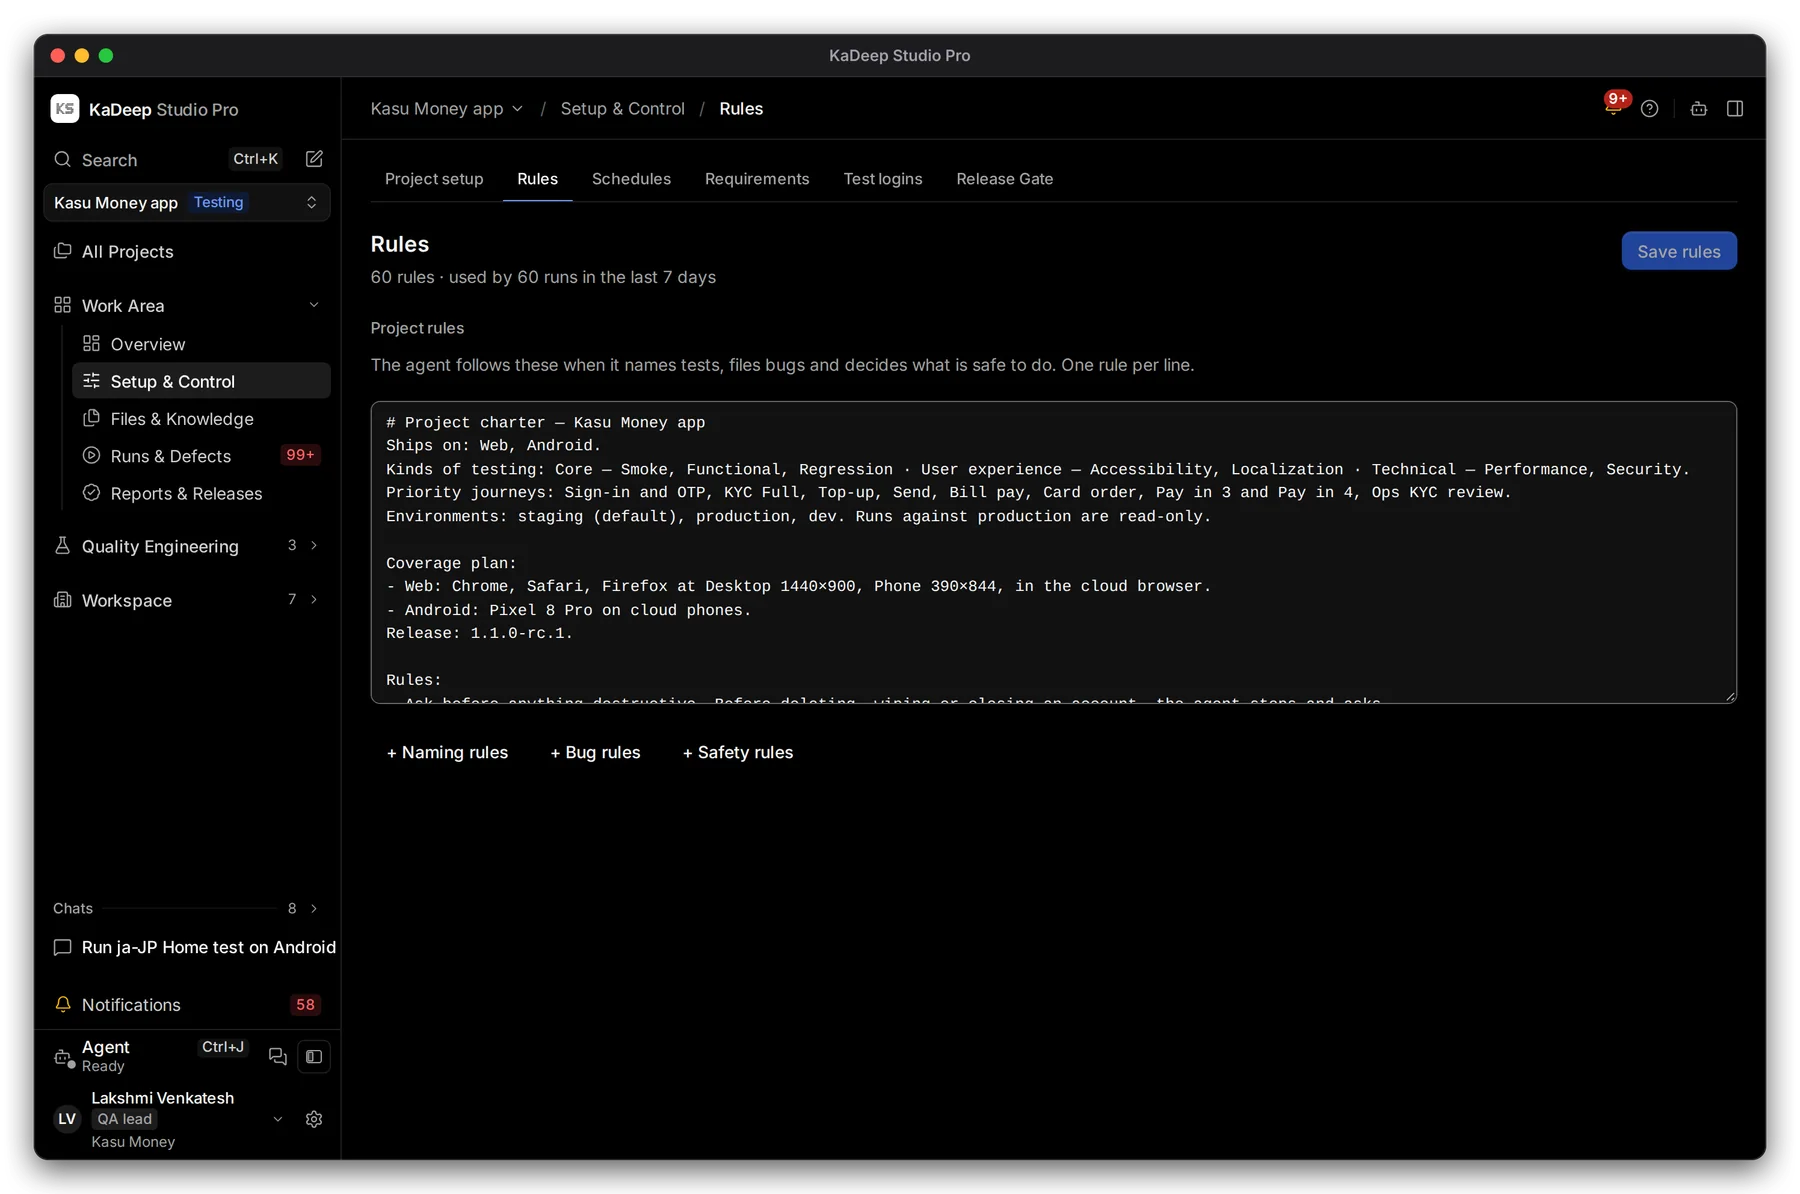
Manage view
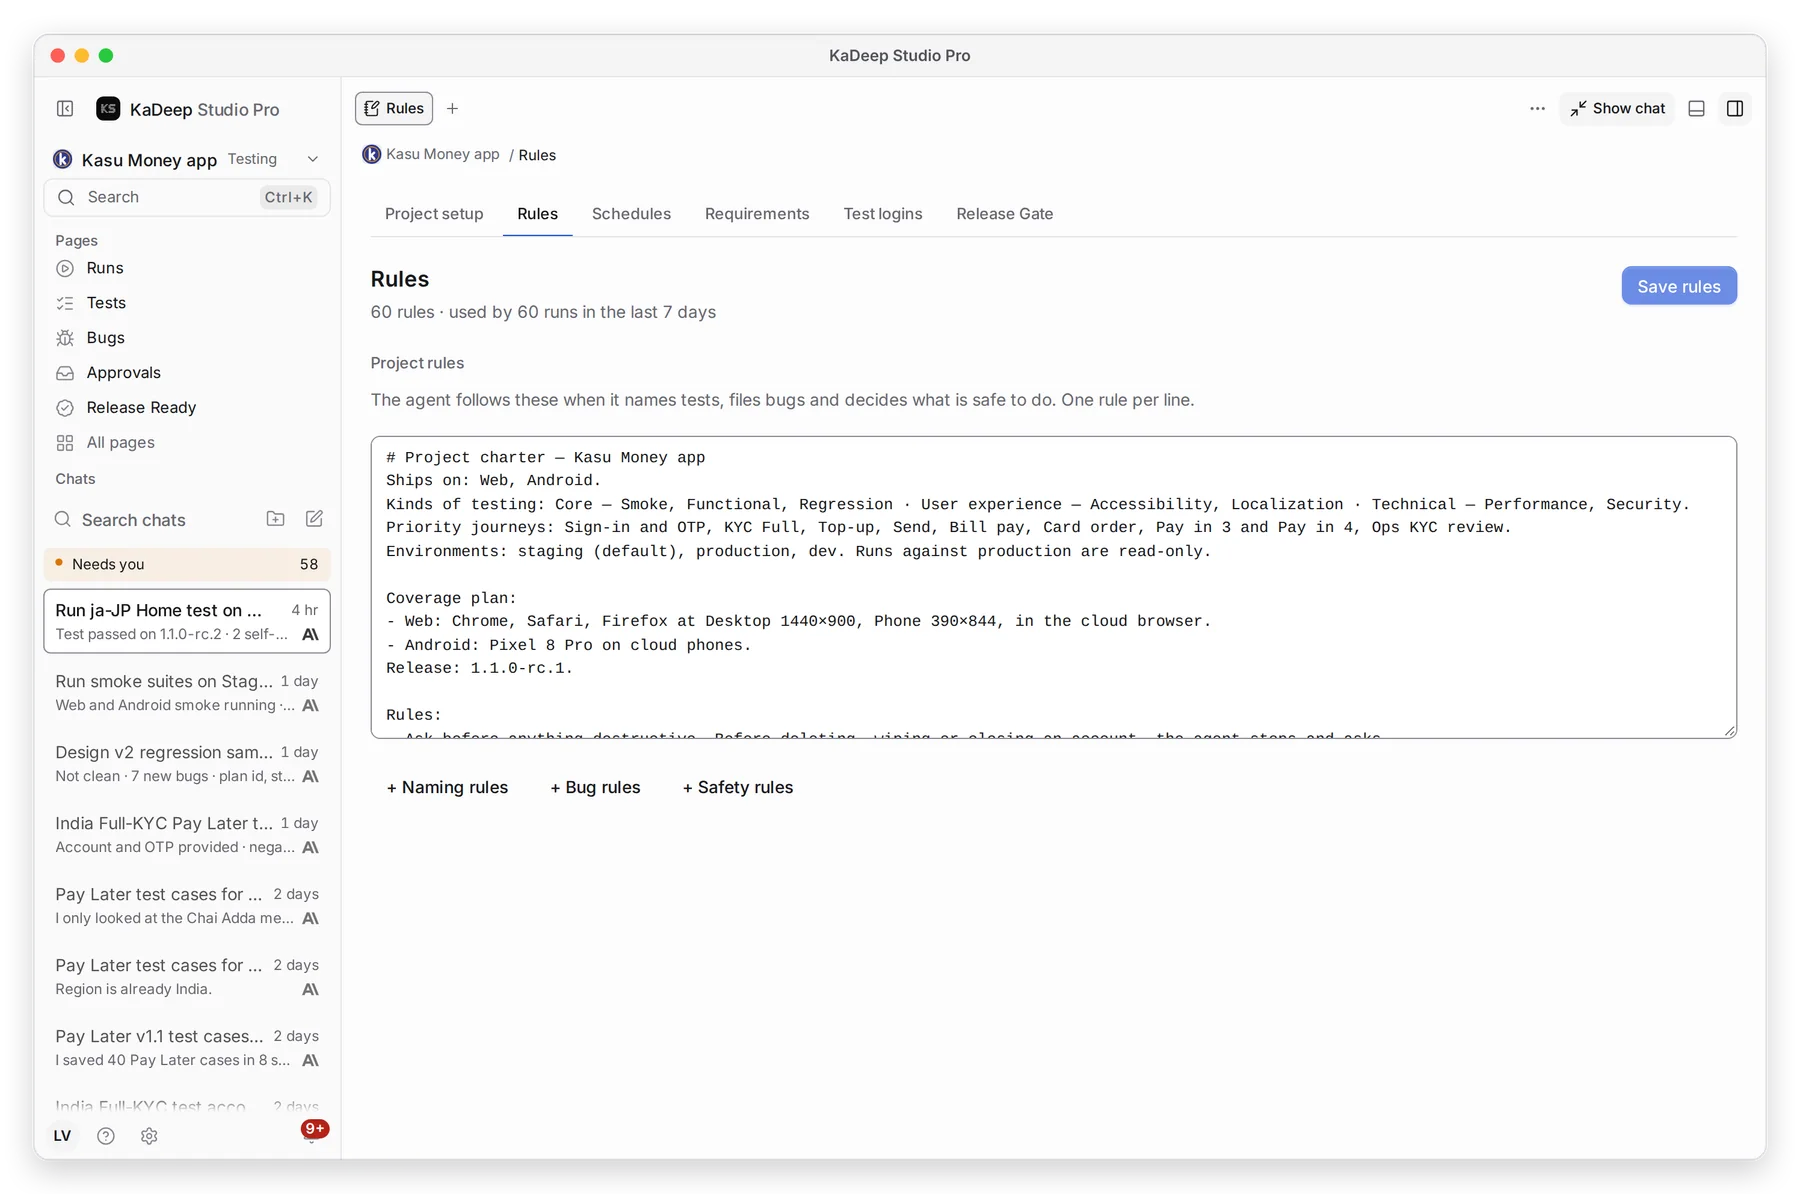
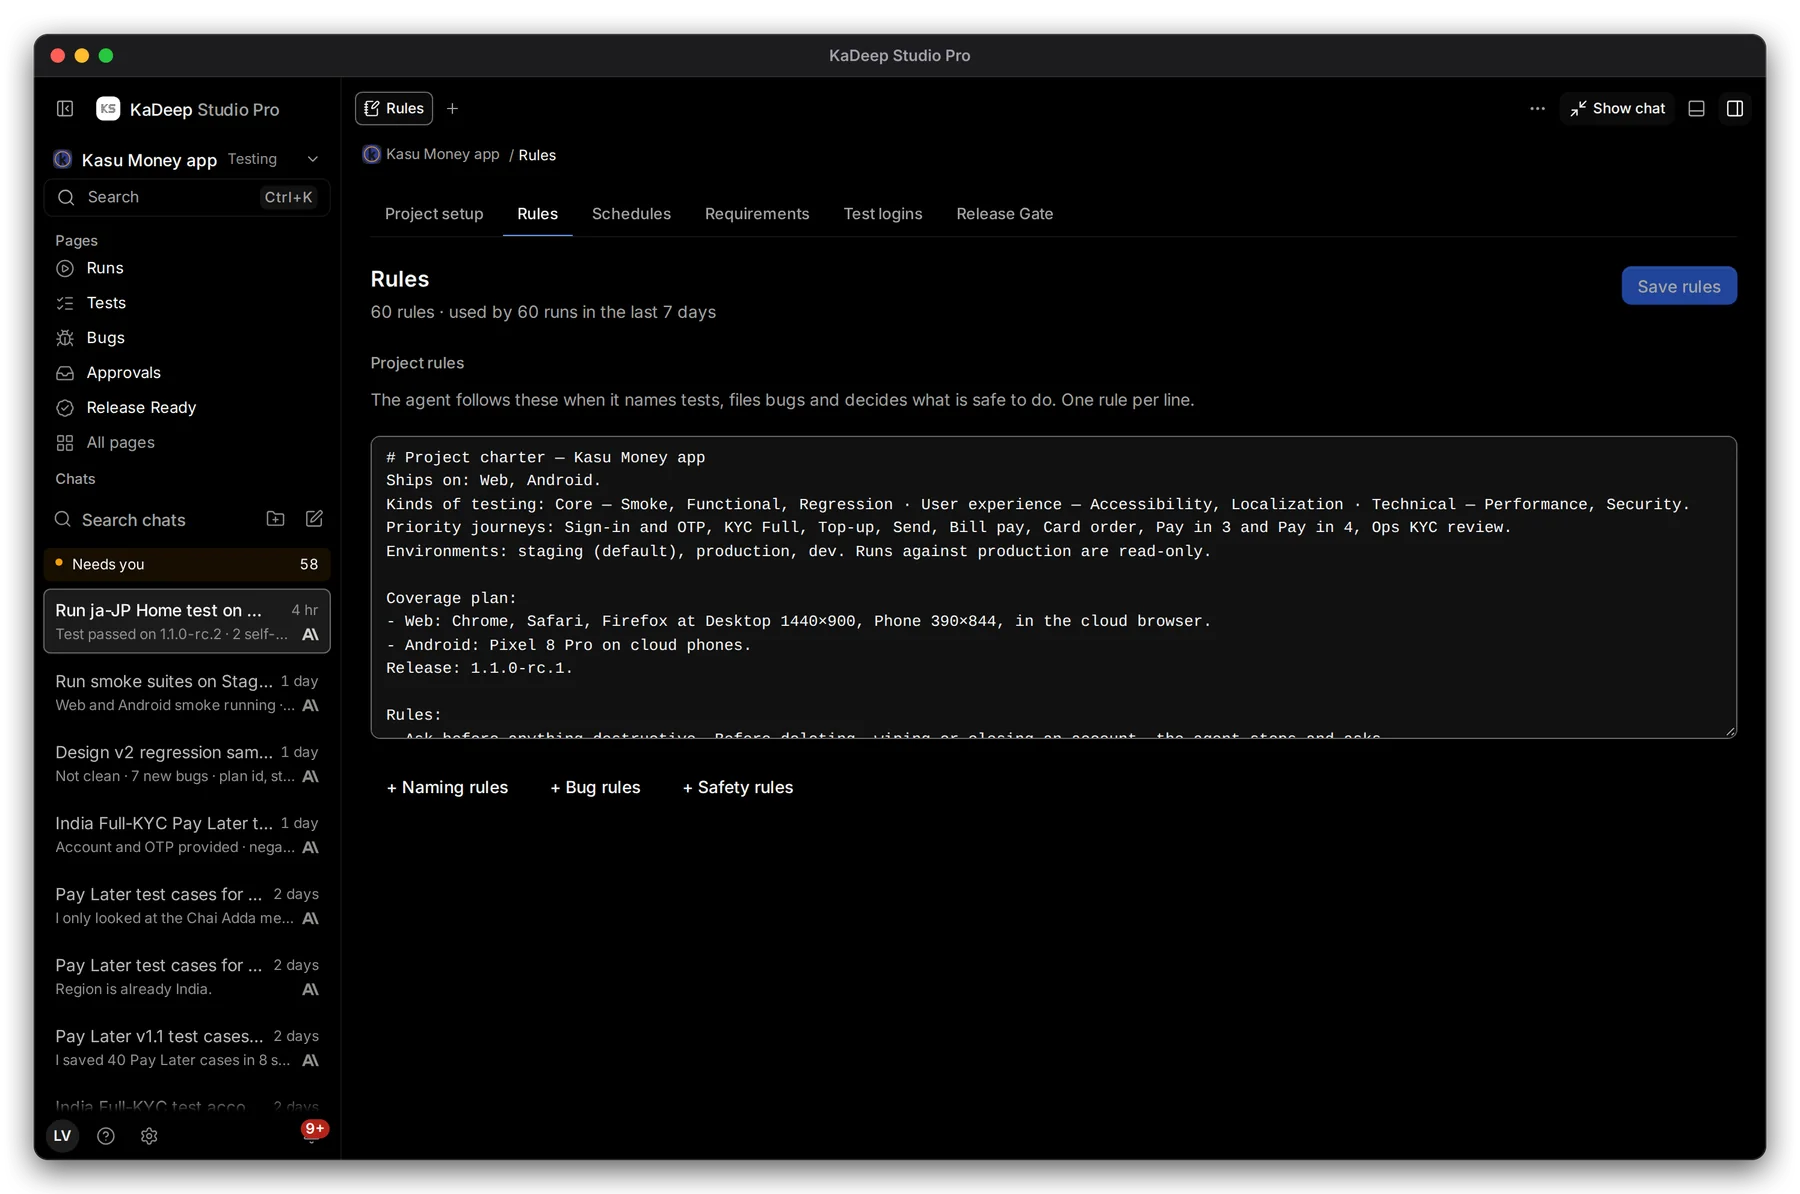
Hands-on view
- 1 The project’s rules. The agent follows them when it names tests, files bugs and decides what is safe to do.
- 2 + Naming rules, + Bug rules and + Safety rules add a set of starter rules you can edit.
- 3 Save rules. Until you save, the page says Unsaved changes.
What’s next
Section titled “What’s next”Test loginsThe accounts the agent signs in with.
Schedule runsRun suites on a schedule.
Release Gate in CIStop a release when tests fail.