Allow permissions on macOS
Your view
To test apps on your Mac, the agent must see the window and click in it. macOS asks you to allow that once, for two permissions.
Before you start: pair this computer. Windows doesn’t need this step; its setup window says Not needed.
1. Why two permissions
Section titled “1. Why two permissions”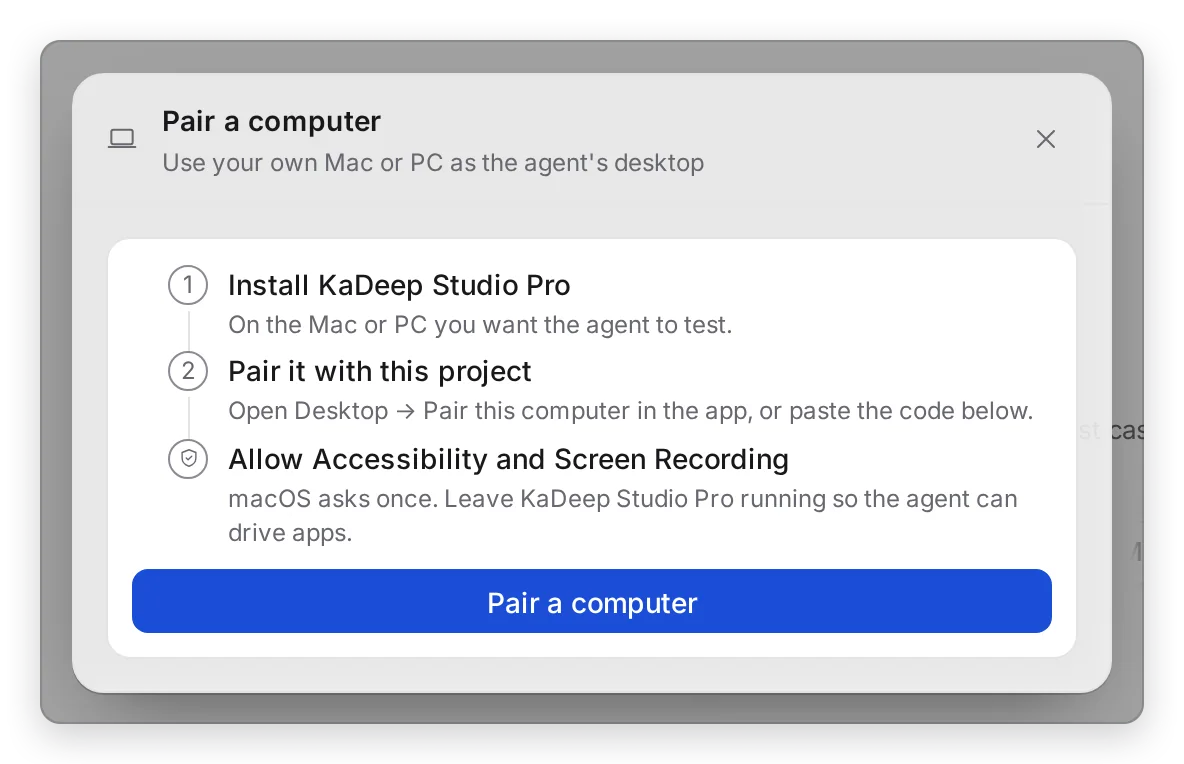
Manage view
Hands-on view
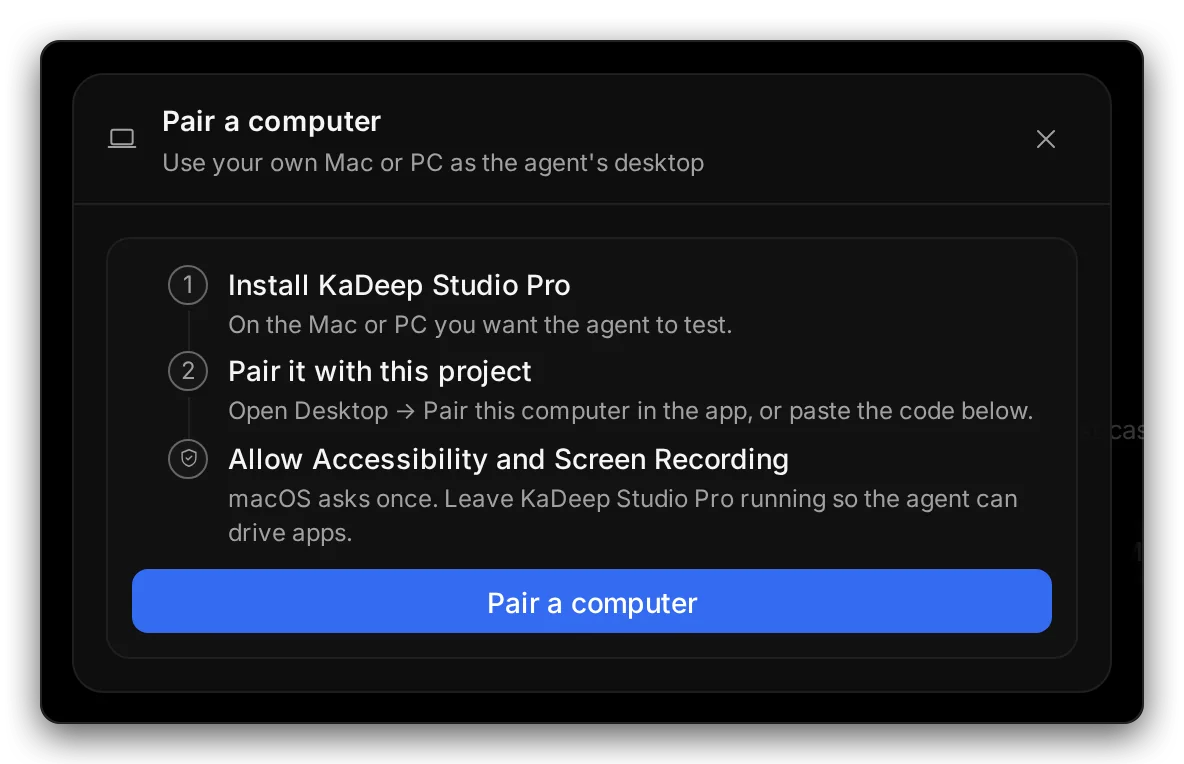
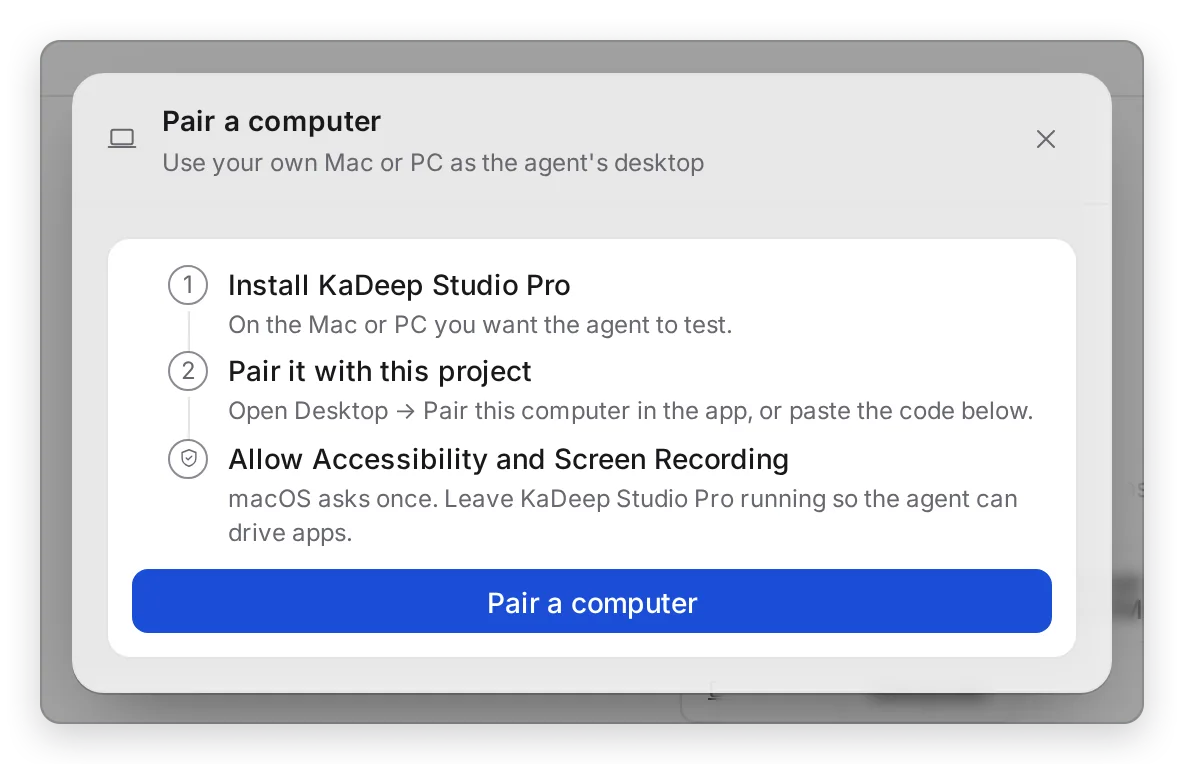
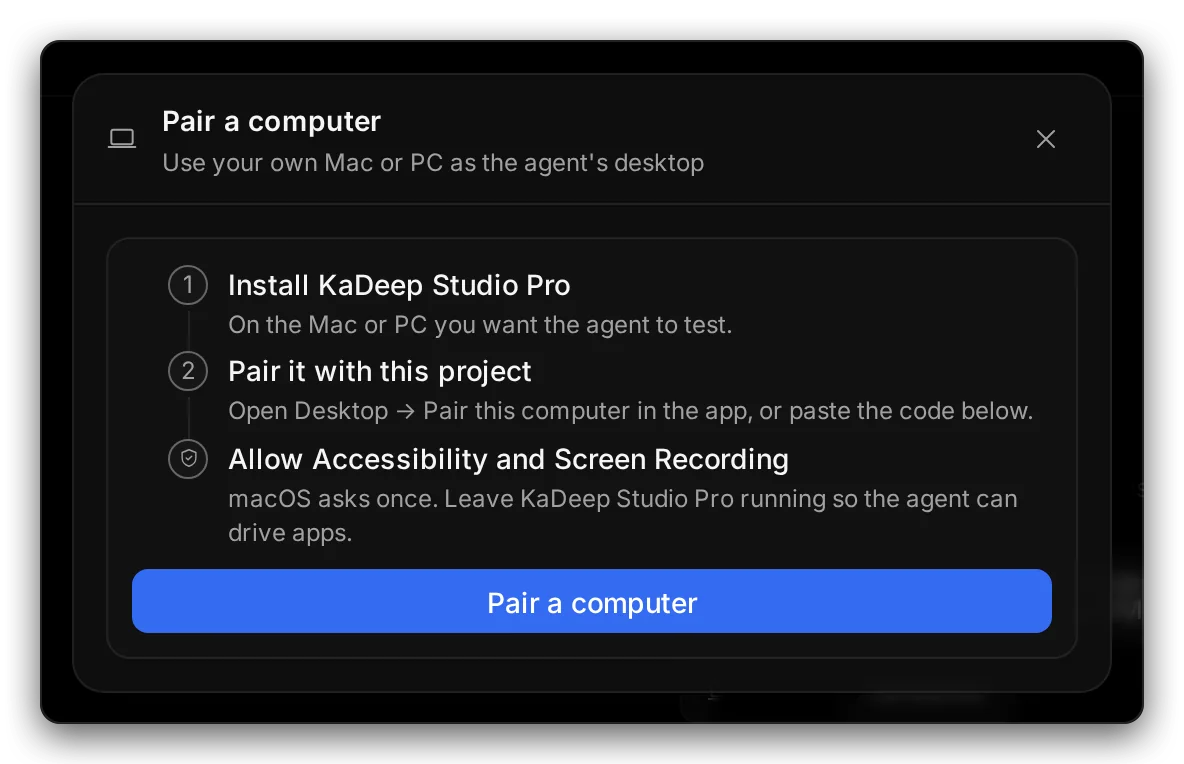
Step 3 of pairing is this one.
| Permission | What it lets the agent do |
|---|---|
| Accessibility | Read buttons, fields and menus, and act on them precisely instead of guessing where to click |
| Screen Recording | See the window it is testing, and save screenshots as evidence. It captures only that window by default. |
| Input | Type and click in the background, without taking over your mouse, when macOS allows it. Nothing to grant. |
Nothing else on your Mac is read or sent.
2. Open Desktop worker setup
Section titled “2. Open Desktop worker setup”- Choose the KaDeep Studio Pro icon in the menu bar at the top of your screen.
- Choose Permissions & pairing…. The Desktop worker setup window opens.
Each permission shows its state: Granted, Needs access or Unknown. The card at the top reads Ready when all is well, or Action needed.
3. Grant access
Section titled “3. Grant access”- Choose Grant access. macOS opens System Settings › Privacy & Security.
- Open Accessibility and turn on KaDeep Studio Pro. Enter your Mac password if asked.
- Go back, open Screen Recording, and turn on KaDeep Studio Pro.
- If macOS asks to quit and reopen the app, choose Quit & Reopen.
- In Desktop worker setup, choose Re-check, then Done.
A missing permission also has an Open Settings link that goes straight to the right pane.
What’s next
Section titled “What’s next”Worker mode and the tray menuPause, resume or stop sessions.
Test desktop appsLet the agent drive a Mac or Windows app.
Install and update problemsIf macOS blocks the app.