Create a localization project
A localization project holds one product’s content and the languages it goes into. The setup wizard asks only what the agent and your linguists need, in eight short steps.
Before you start: you need the Language lead or Admin role. Have your list of languages and your linguists’ emails ready.
1. Start the wizard
Section titled “1. Start the wizard”- Open All Projects › Projects.
- Choose New project.
- Choose Localization, then type the project’s name.
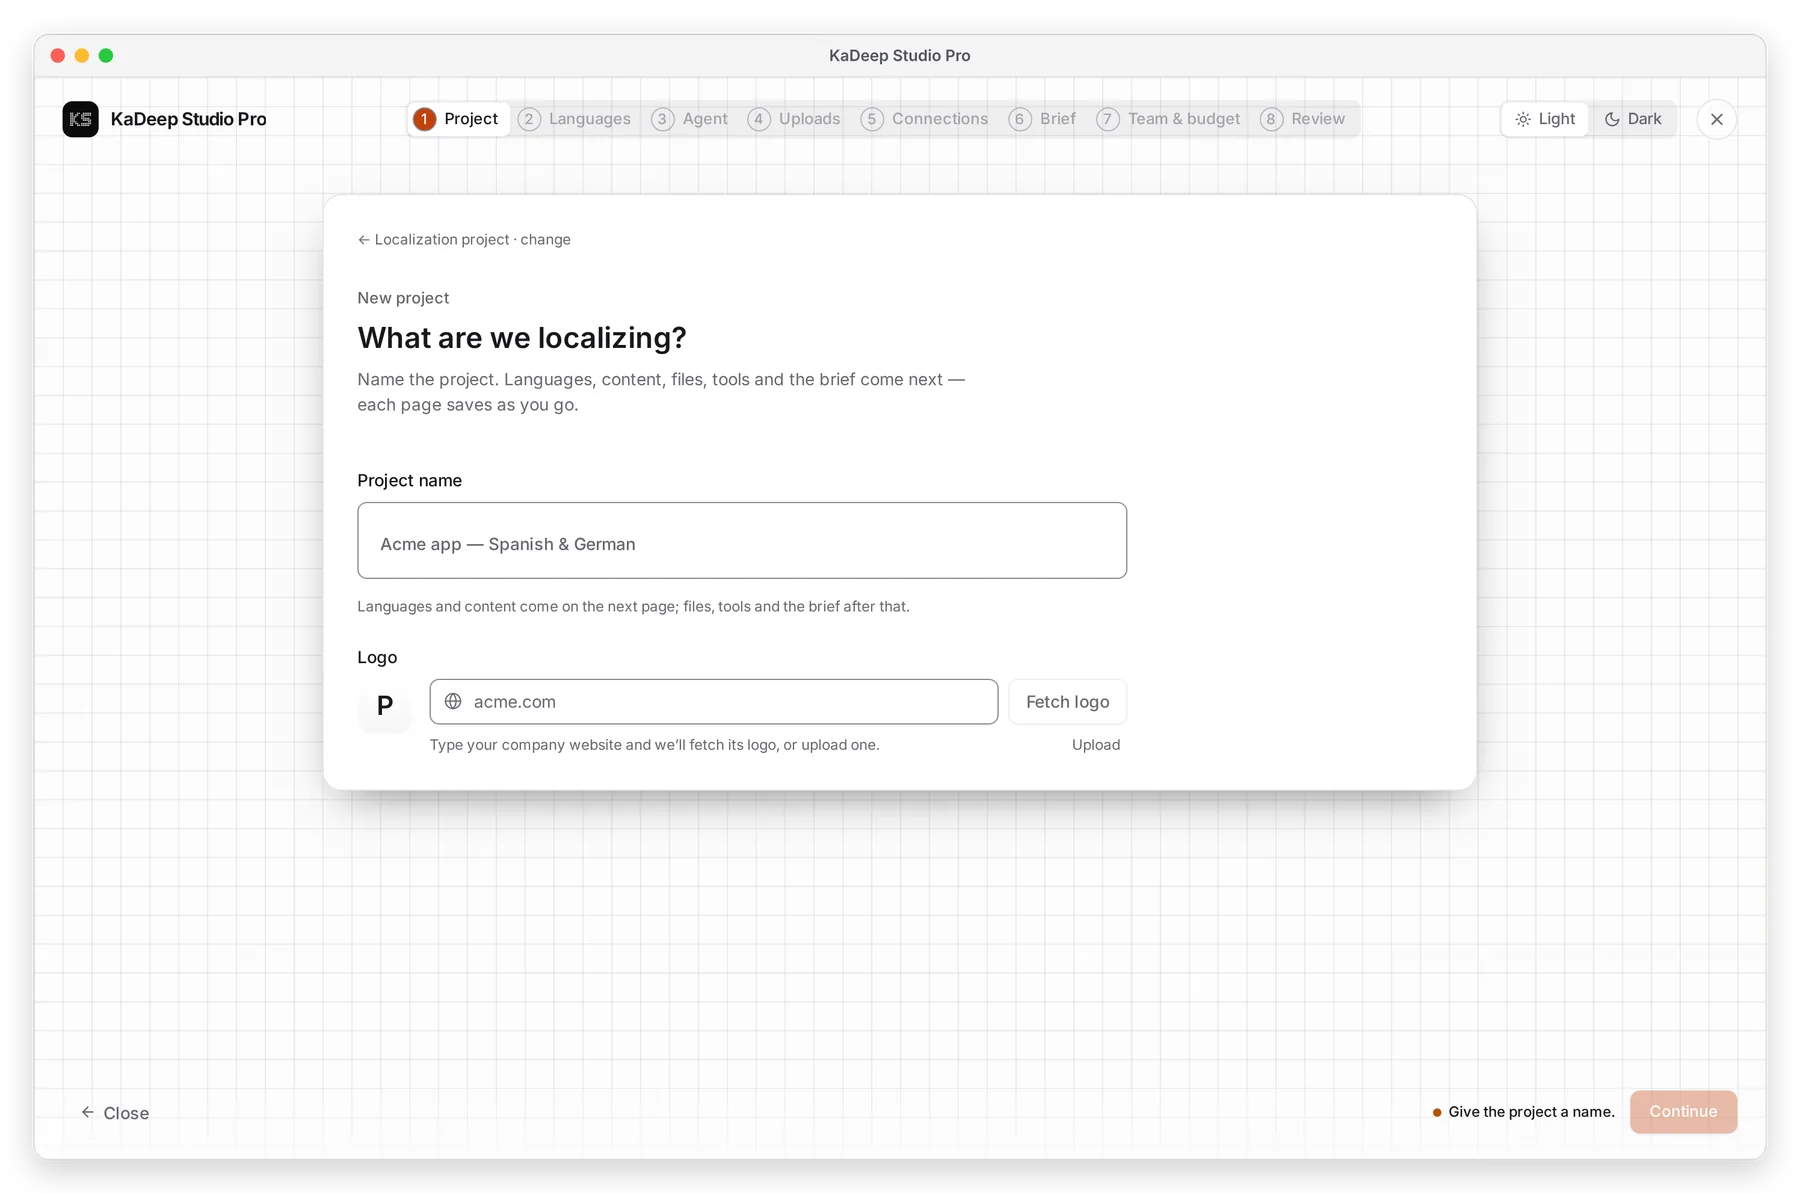
- 1 Localization project. Choose ← to change the kind.
- 2 The project’s name, for example Kasu Money Pay Later launch — app strings & legal.
- 3 4 The steps across the top. A localization project adds Languages, Brief and Team & budget.
- 5 Continue, or press Enter.
2. Go through the steps
Section titled “2. Go through the steps”| Step | What you decide | Can you skip it? |
|---|---|---|
| 1 Project | Localization, the name, and your logo | No |
| 2 Languages | The source language, target languages, content, domain, audience and tone | No |
| 3 Agent | Which AI provider powers the agent, or Pair this computer | Continue without an agent |
| 4 Uploads | Source files, glossaries and style guides the agent should know | Yes |
| 5 Connections | Figma, GitHub, a CMS or an LMS. Each key is tested as soon as you paste it. | Yes |
| 6 Brief | Brief the agent like you brief your linguists: style, terms, what never to translate | Yes |
| 7 Team & budget | Who translates and reviews each language, invitations, and the cost estimate | Plan later |
| 8 Review | Here’s your localization brief. Read it, then choose Create project. | No |
3. After you create it
Section titled “3. After you create it”- Add more files in Source assets.
- Check each language’s people in Languages and locales.
- Assign files to linguists in Deliveries, or let new files go to each language’s default people.
What’s next
Section titled “What’s next”Languages and localesLanguages, people, tone and approval rules.
Source assetsUpload strings, documents, pictures and courses.
Connect AI providersWhat powers the agent.