Translate video with Video Translate
Your view
Upload a video and it comes back in another language, with everything else left as it was. You get subtitles, a dubbed voice, or both.
Before you start: a language lead starts video translations. Linguists review captions when one is shared with them.
1. Open Video Translate
Section titled “1. Open Video Translate”Open Quality Engineering › Linguistic Testing › Video Translate.
Choose All pages, then Video Translate.
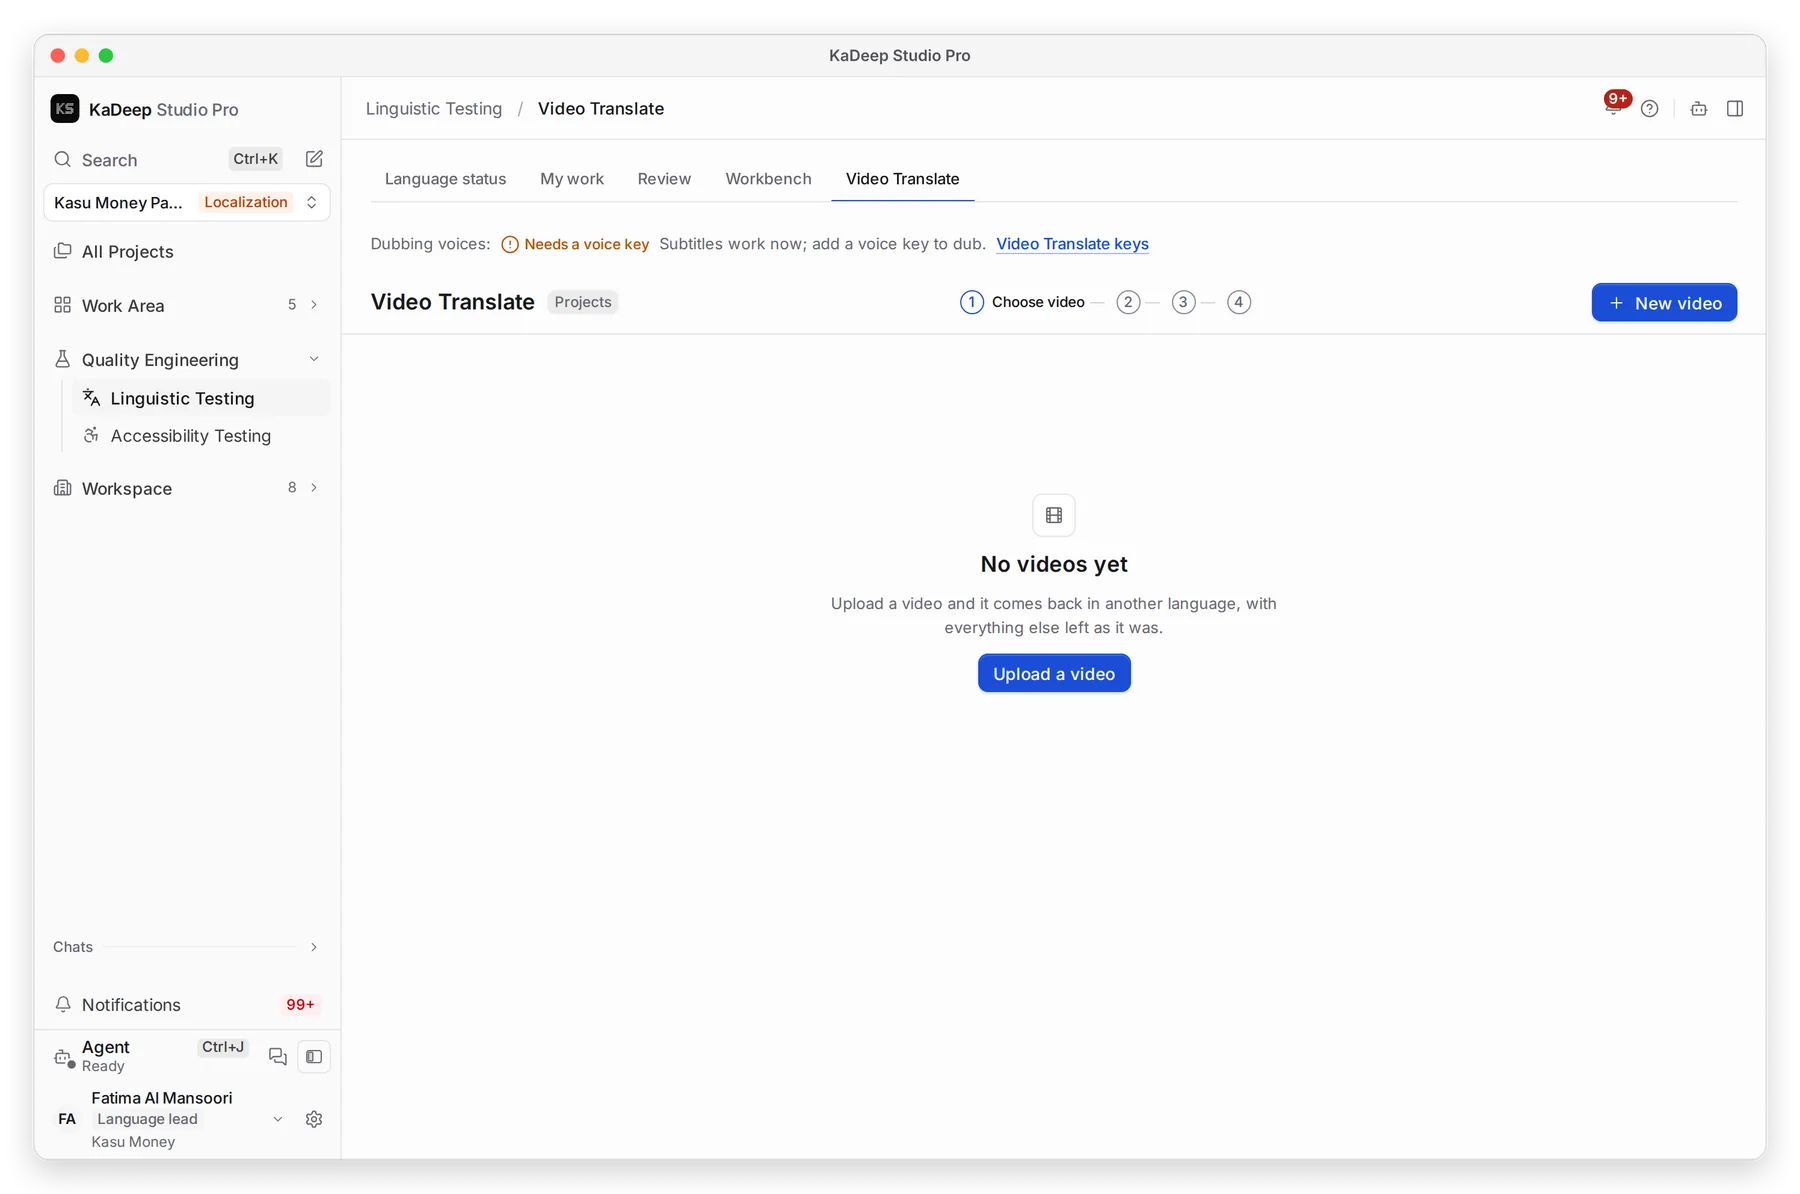
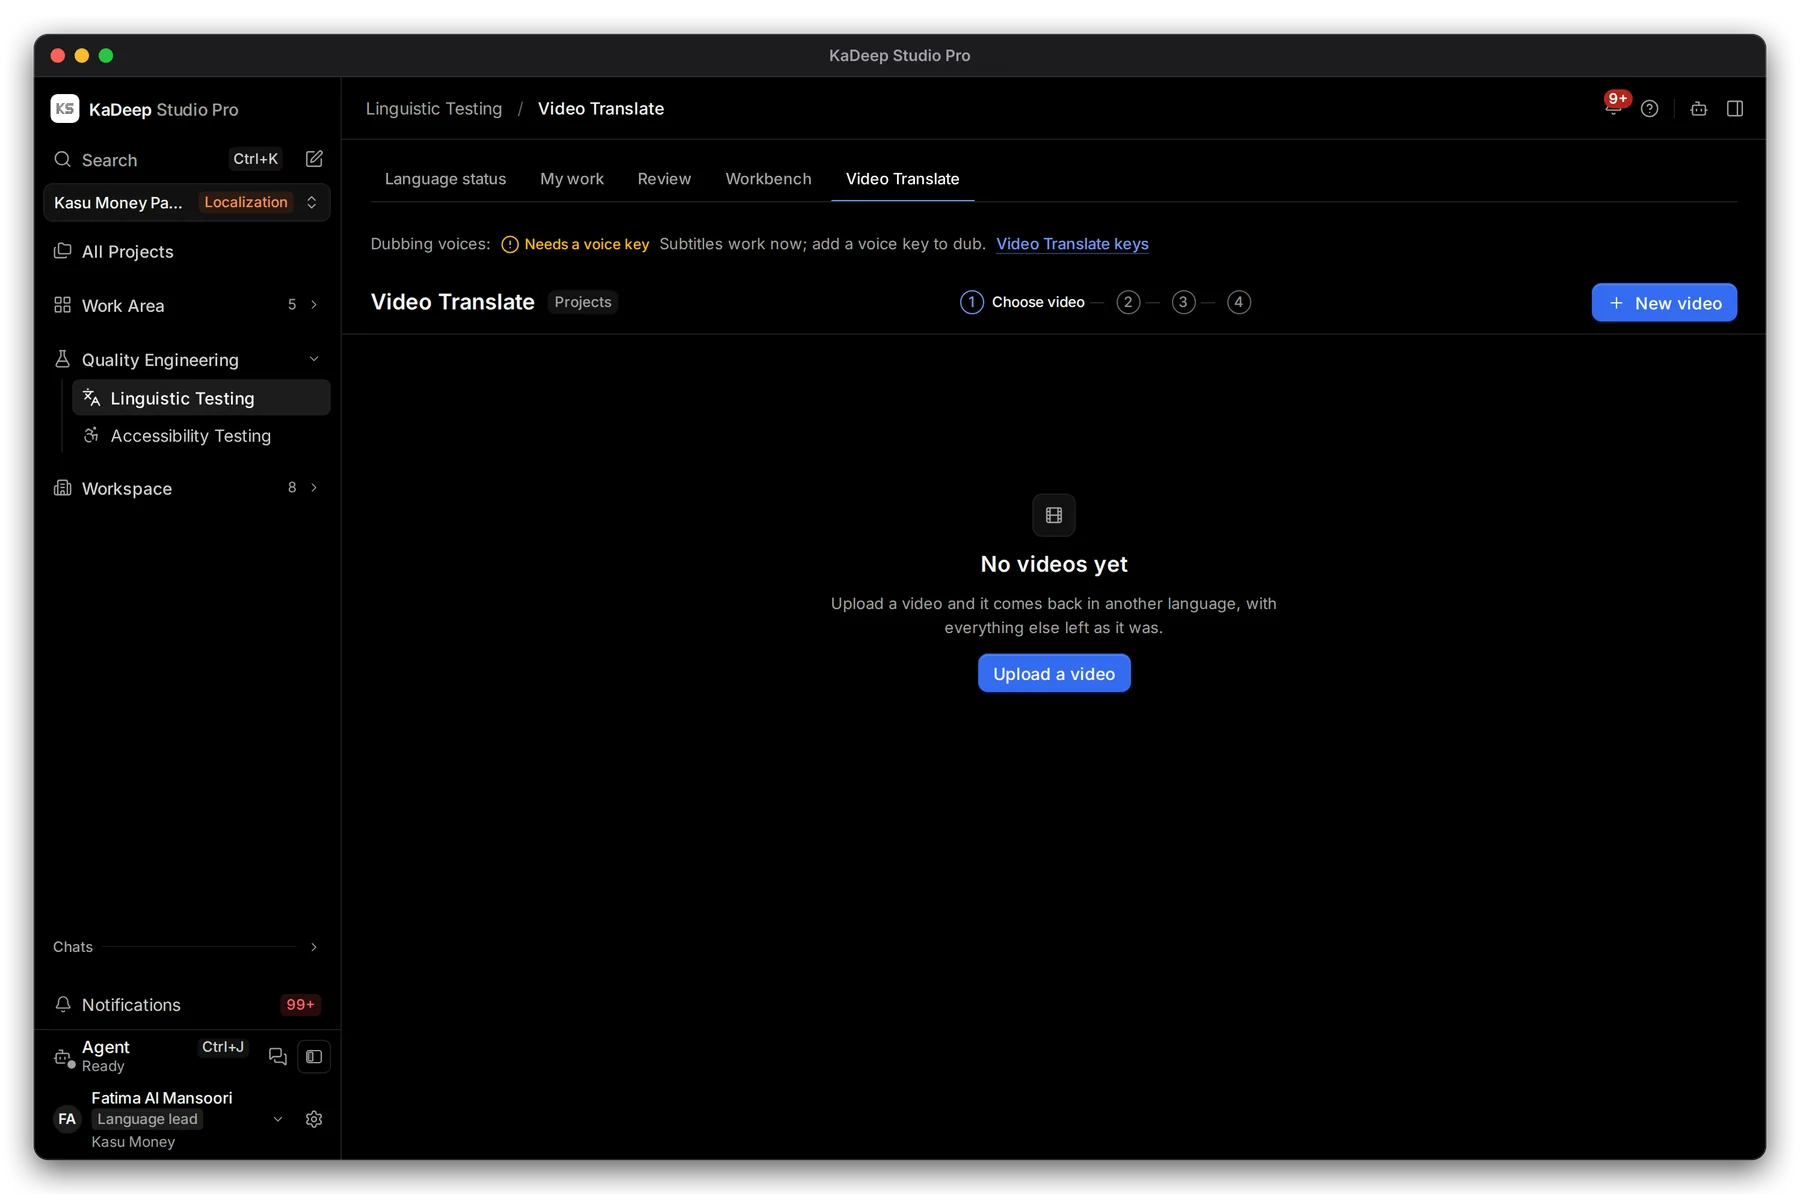
Manage view
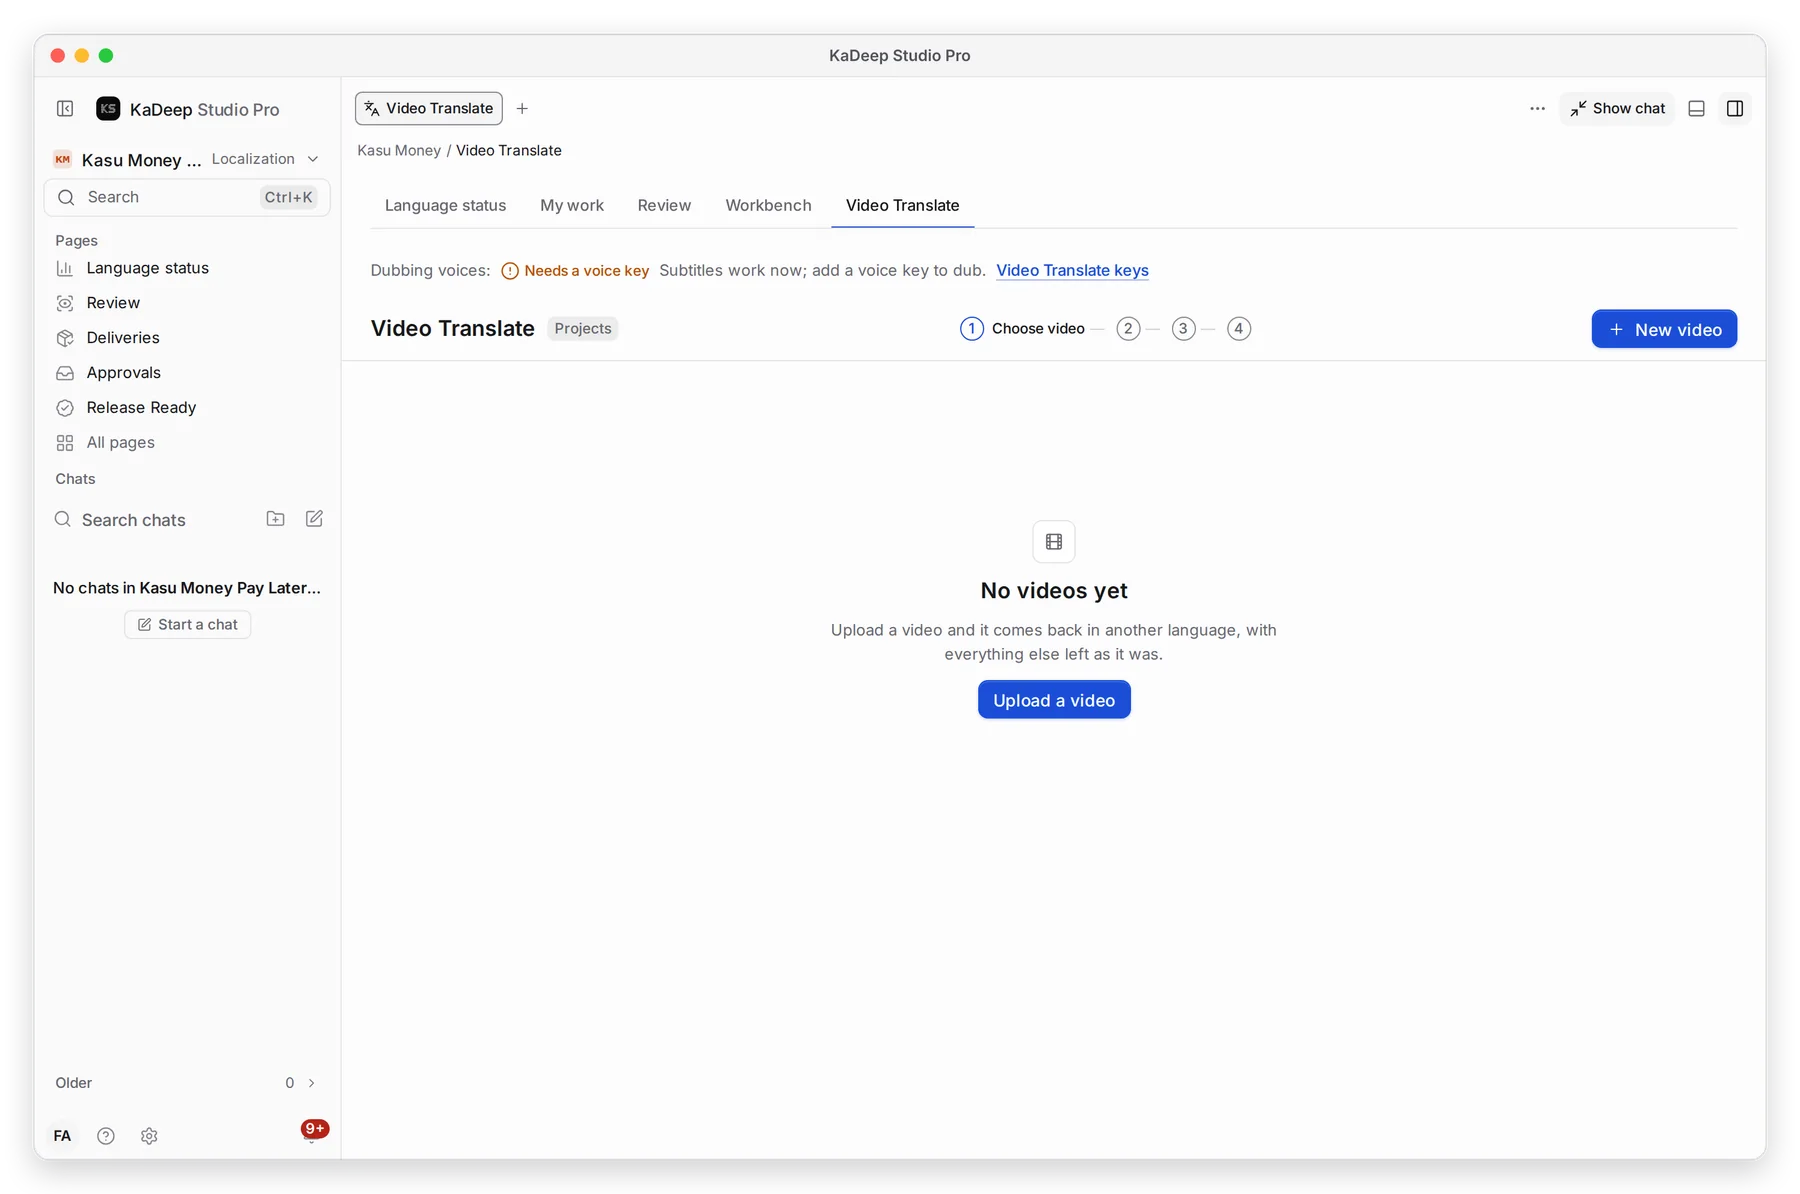
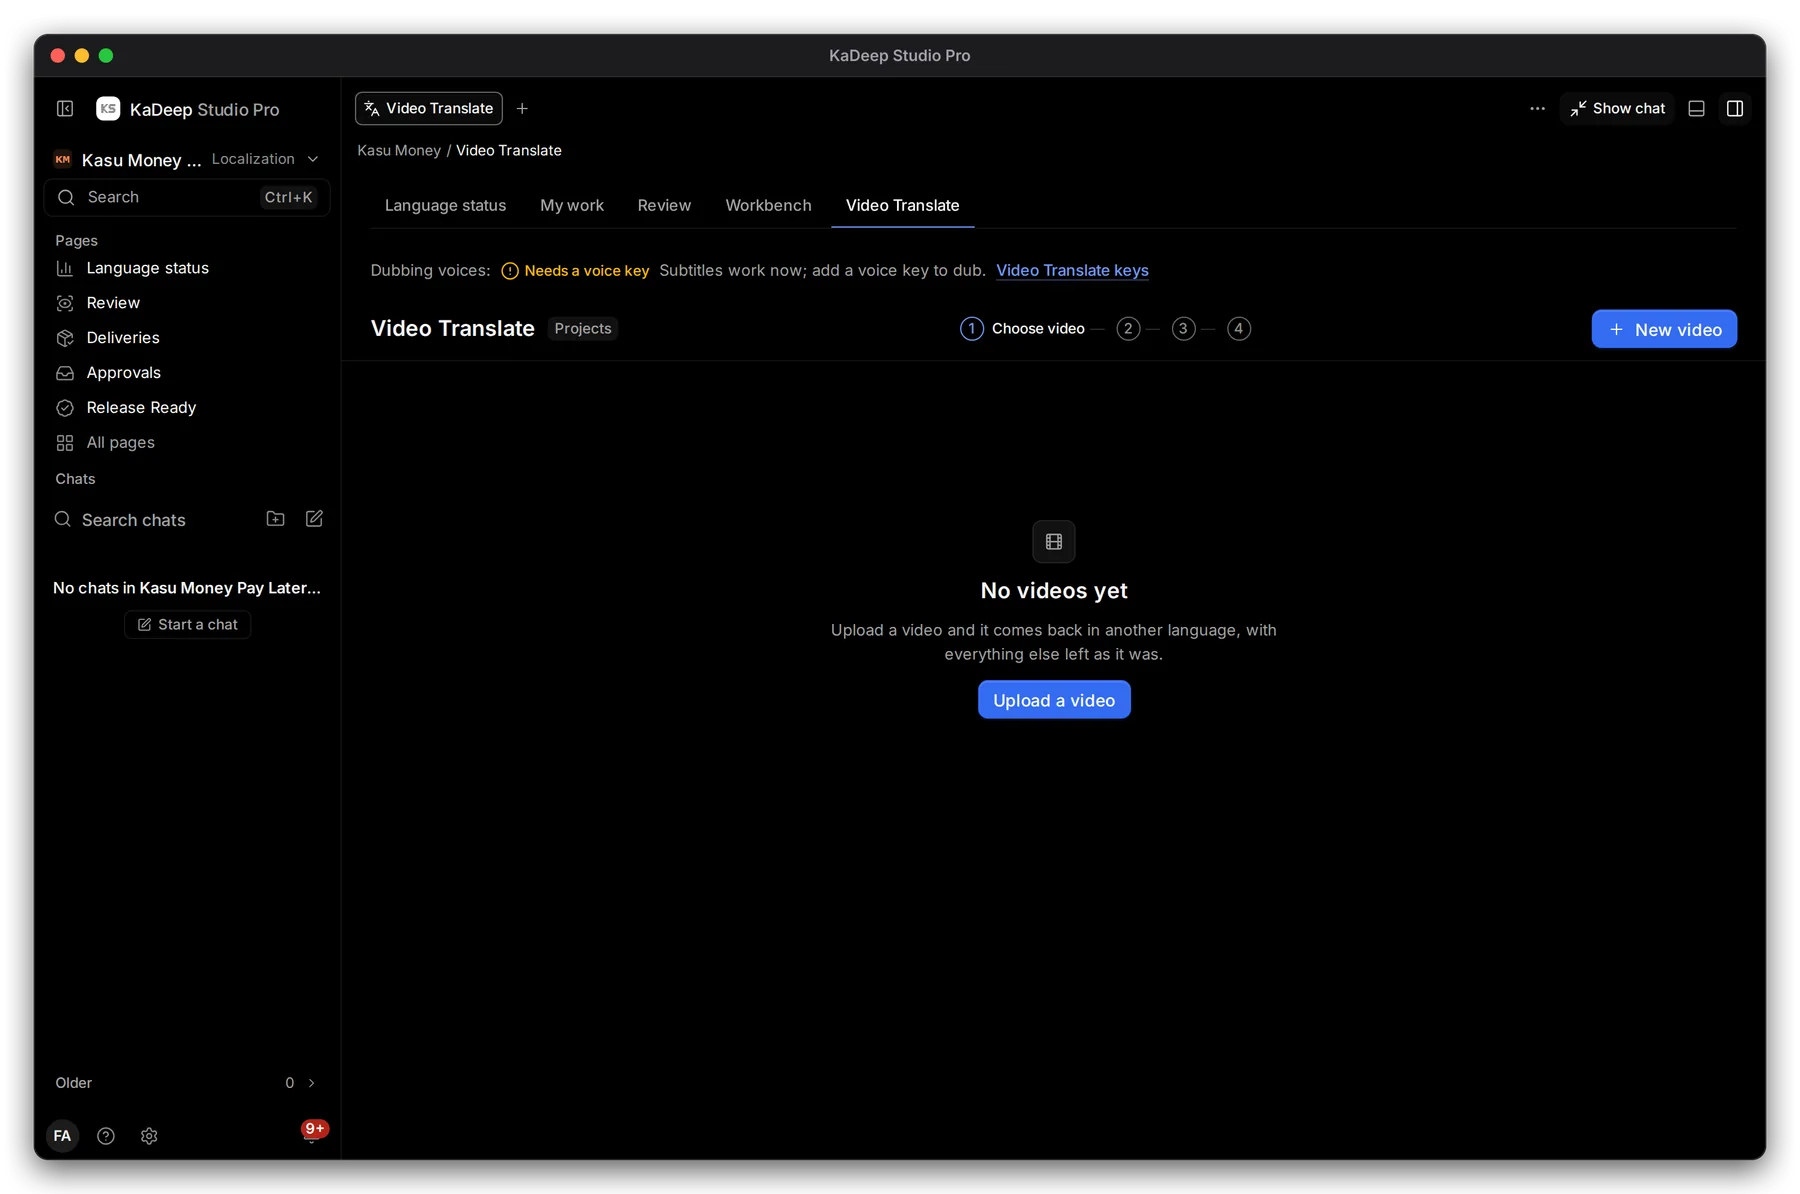
Hands-on view
- 1 The four steps: Choose video, Set up, Translate, Review & export.
- 2 Dubbing voices. Subtitles work now. To dub, an admin adds a voice key in Settings › Video Translate keys.
- 3 Upload a video to start.
2. Set up and translate
Section titled “2. Set up and translate”- Choose Upload a video, or start from a video in your project’s Assets.
- In Set up translation, choose the languages.
- Choose captions, a dub, or both. For a dub, choose a voice, or keep the Default voice for this language.
- Add Names and terms the voice and captions must keep, such as brand and product names.
- Start it. Each step shows as it runs. You can leave the page.
3. Review and export
Section titled “3. Review and export”When a language says Ready to review, open it.
| You can | How |
|---|---|
| Fix a caption | Select it, edit, then Save captions |
| Hear a line again | Speak this phrase again |
| Pick the audio | Original audio only, the dub, or Original, with the dub as a second track |
| Check it is safe to export | The QA report: All checks passed, or what failed |
What’s next
Section titled “What’s next”Languages and localesSubtitles or dubbing per language.
Source assetsVideos and SCORM courses in a project.
DeliveriesExport and deliver.