Email sending
Your view
Connect a mail server, and the agent can email reports and spreadsheets straight from a chat, from your own address. Each person connects their own sender; admins decide whether that is allowed.
1. Open Email sending
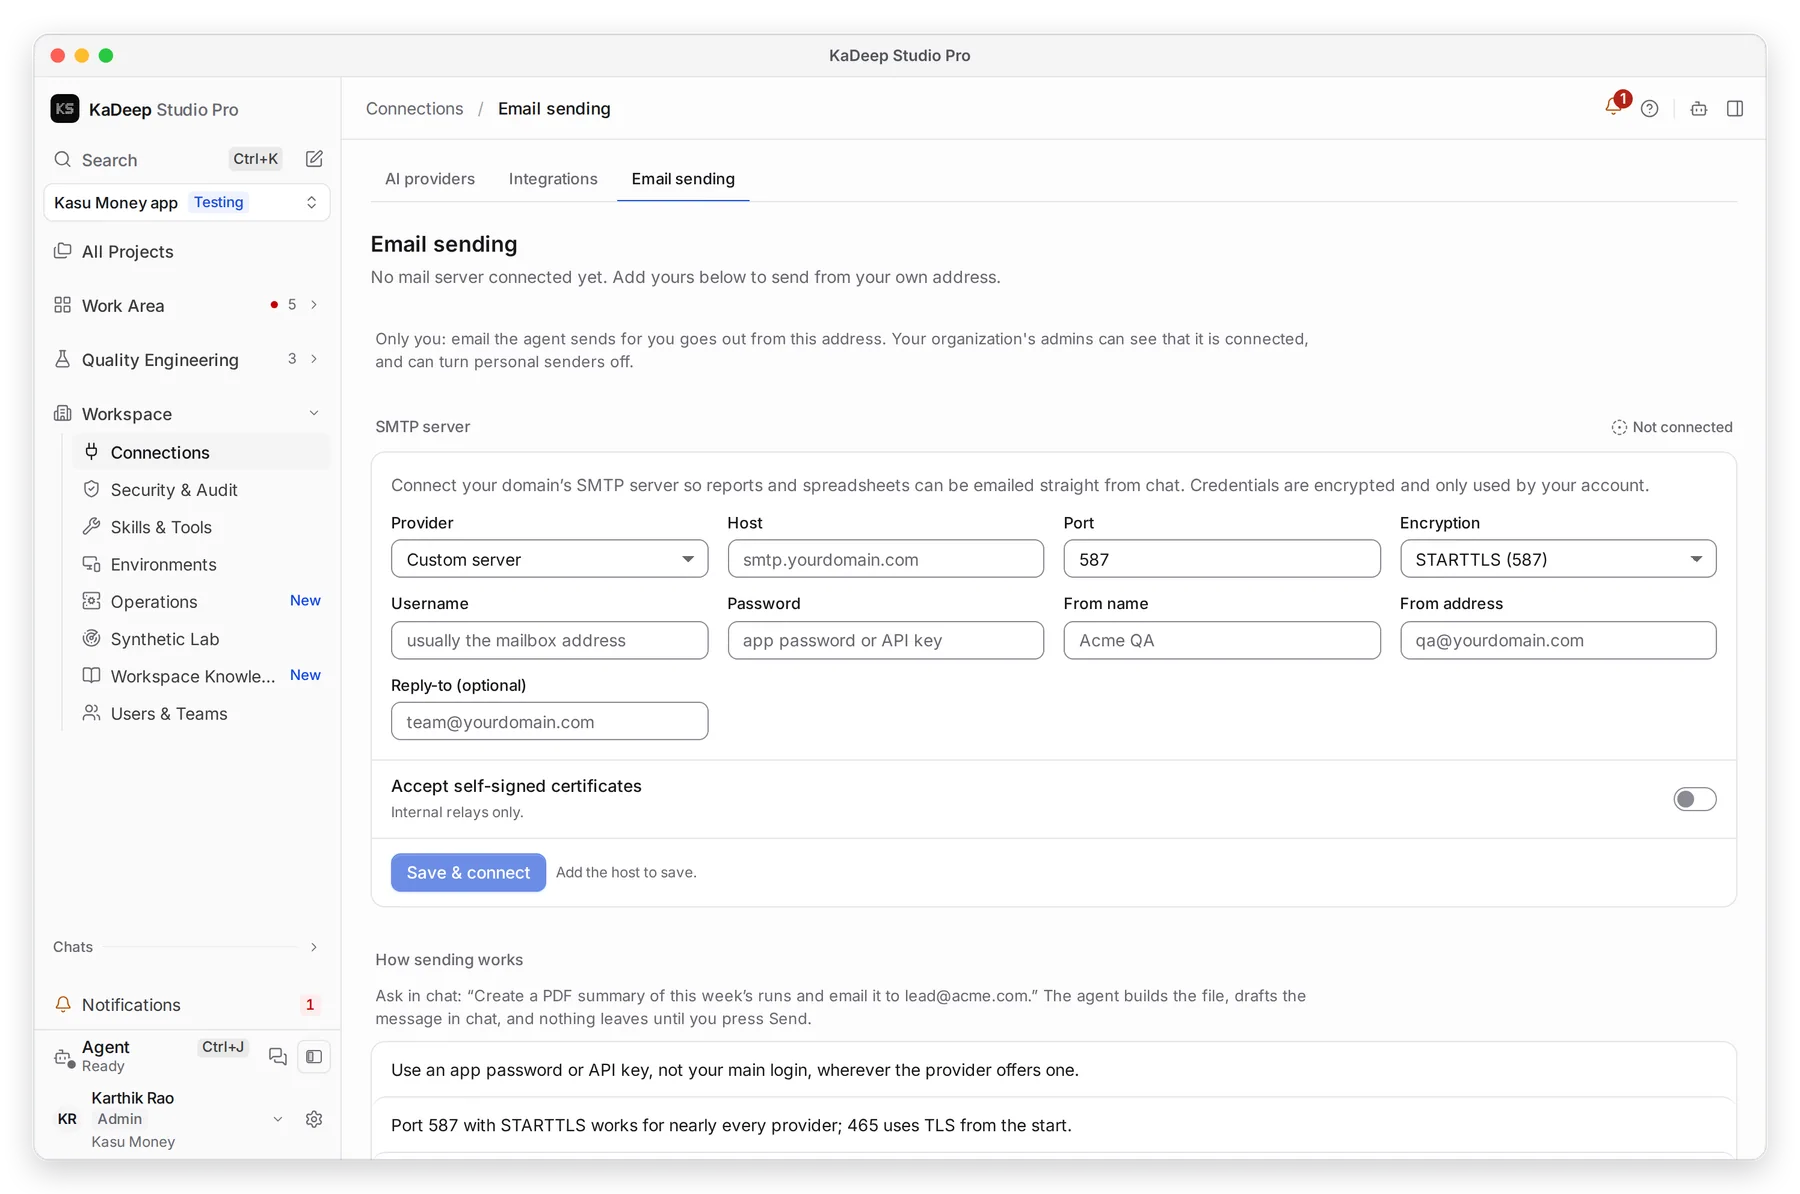
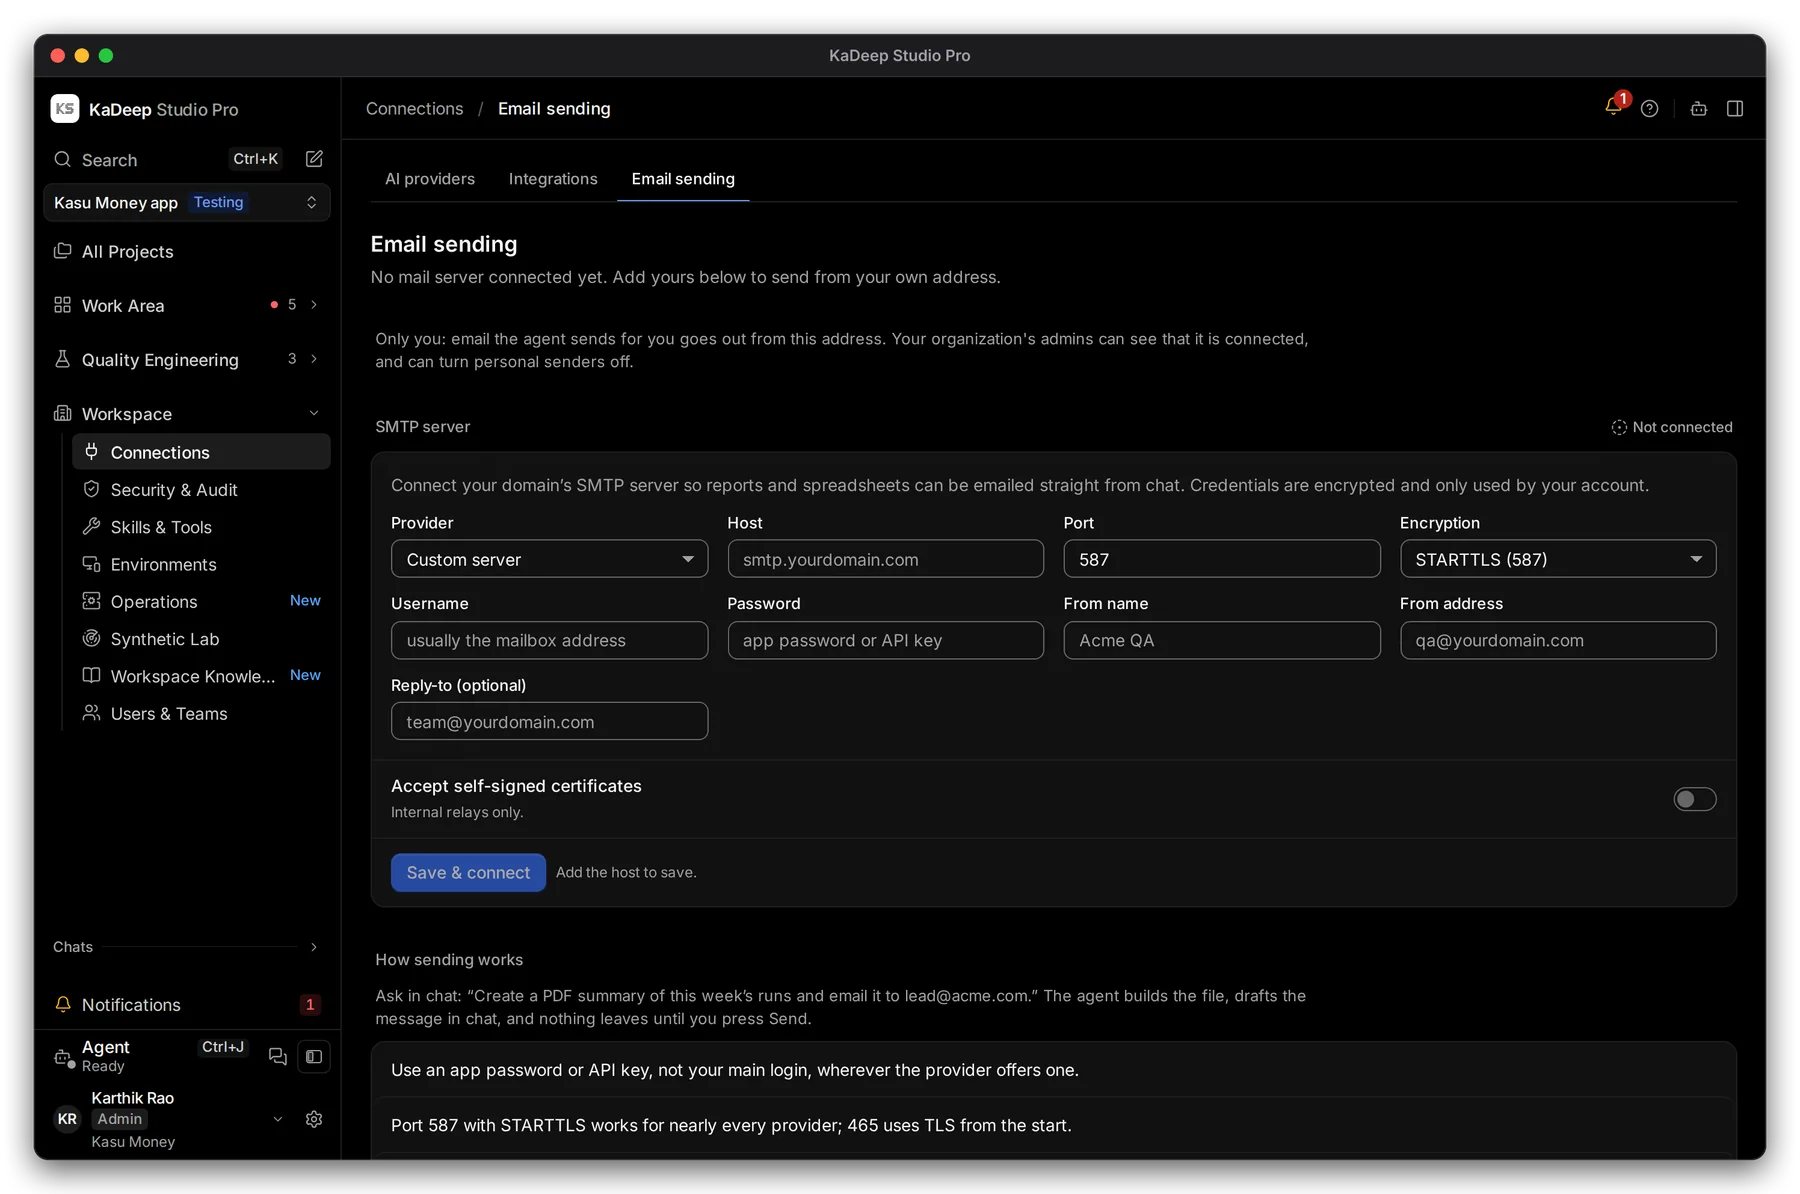
Section titled “1. Open Email sending”In the sidebar, open Workspace › Connections, then the Email sending tab.
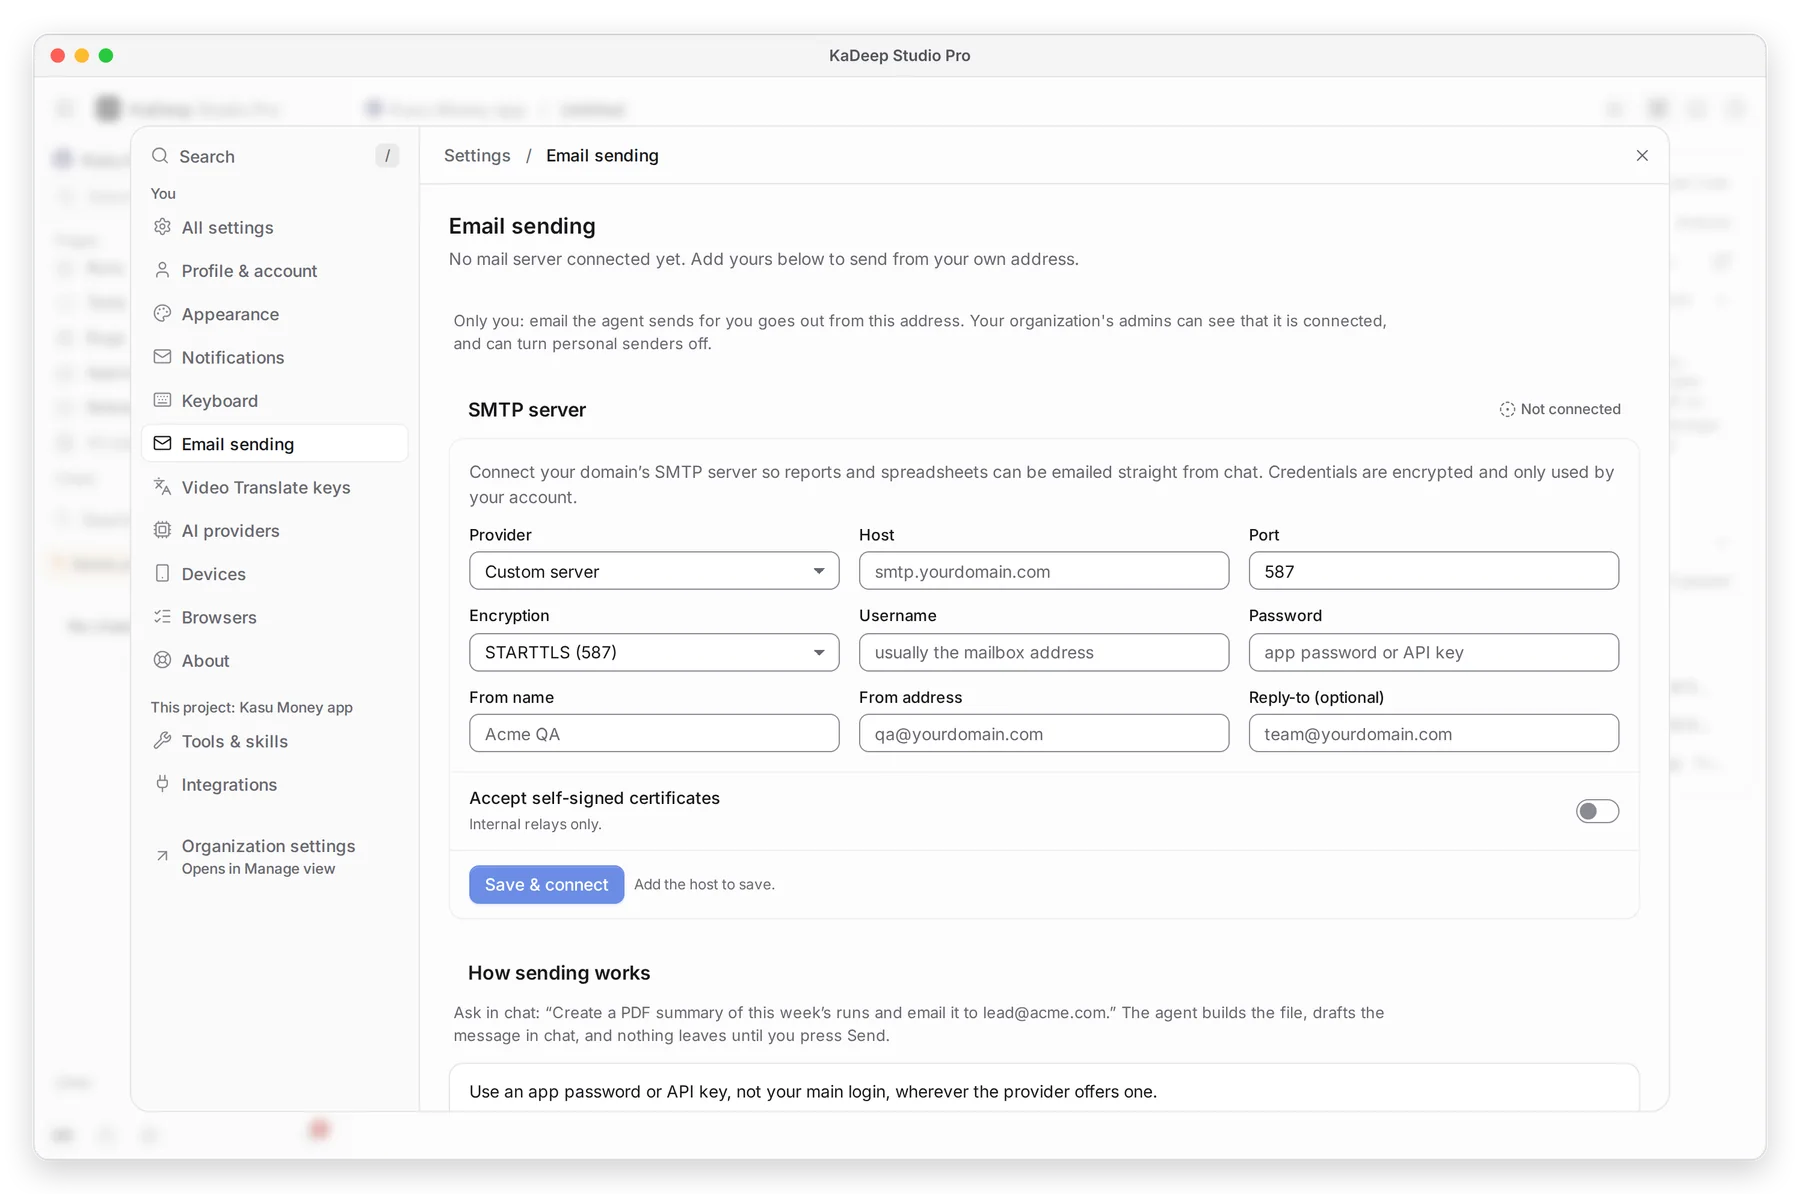
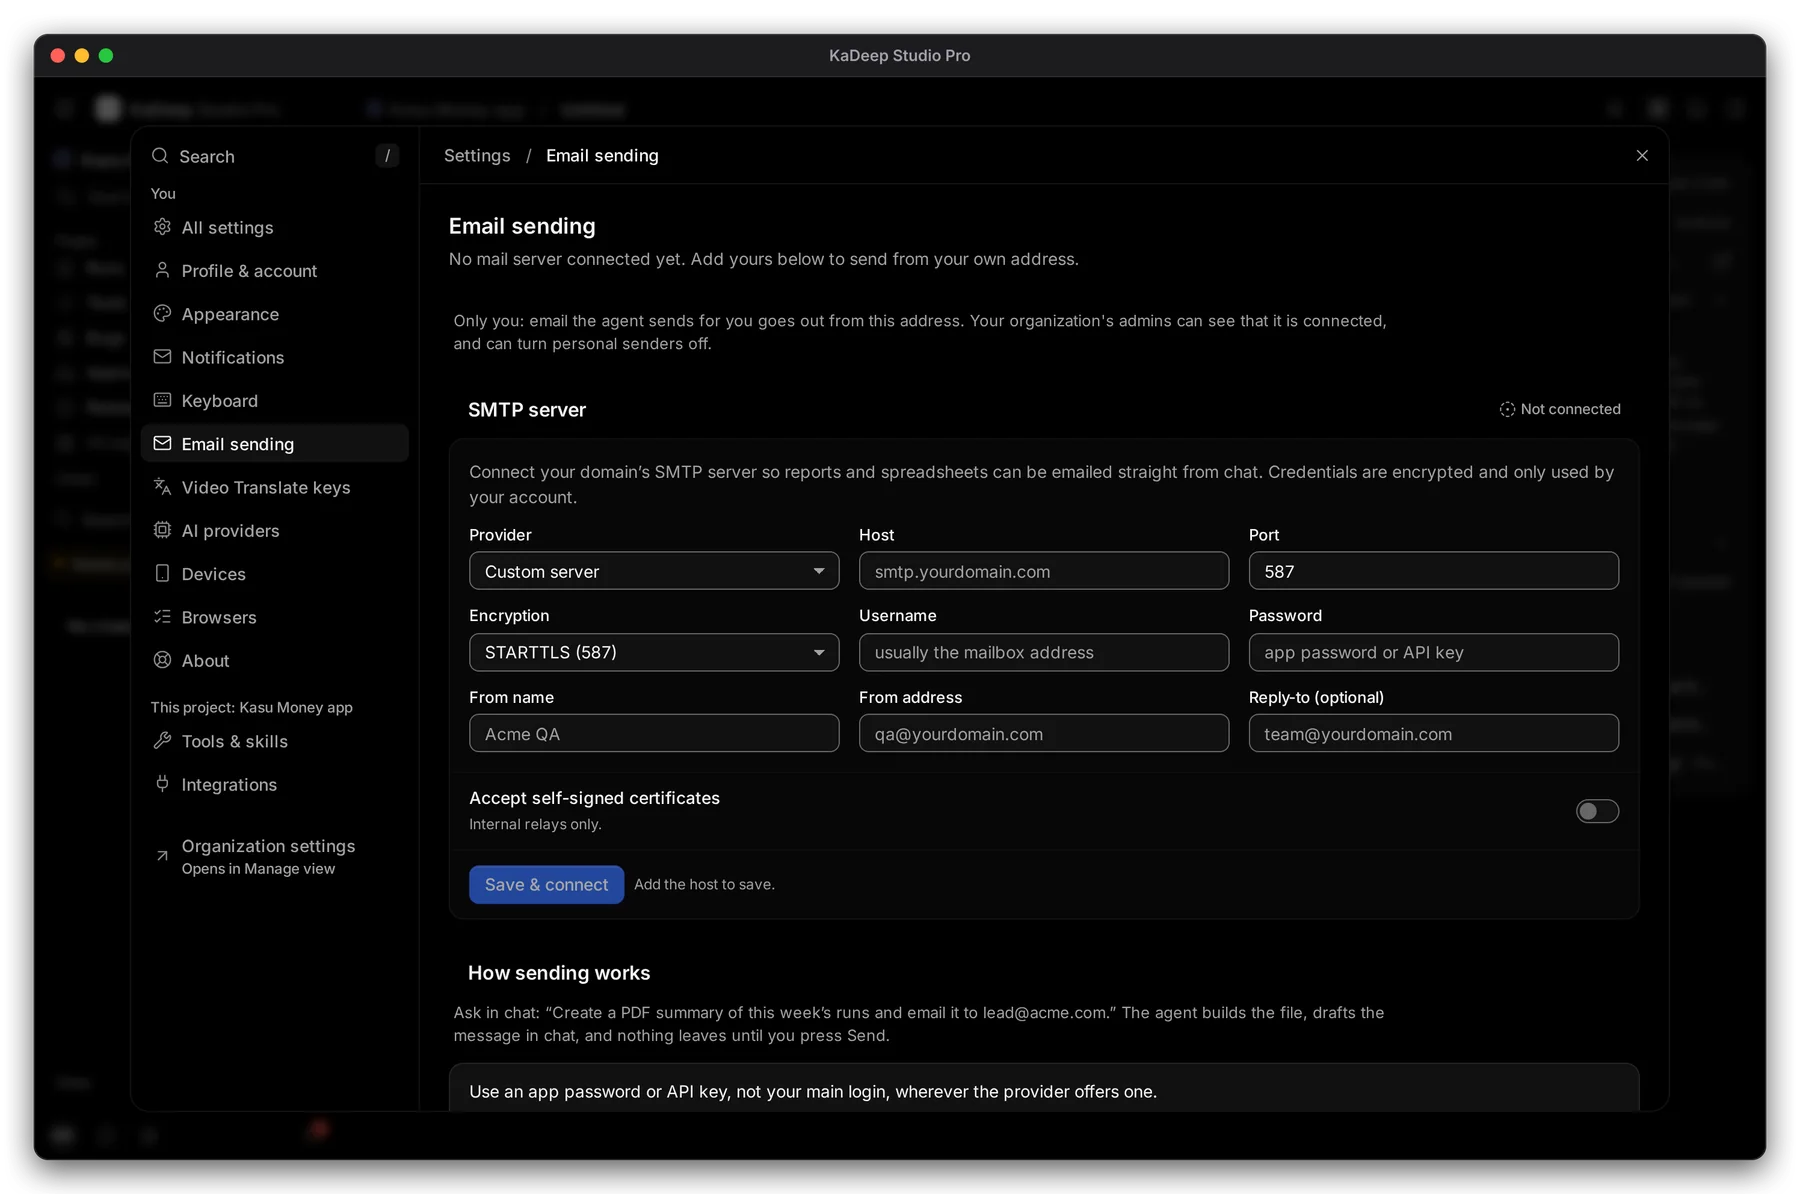
Choose the settings icon at the bottom of the sidebar, then Email sending.
Manage view
Hands-on view
2. Connect your SMTP server
Section titled “2. Connect your SMTP server”- Choose your 1 Provider: Google Workspace / Gmail, Microsoft 365 / Outlook, Amazon SES or a custom server. KaDeep fills in what it can.
- Check the 2 Host, Port and 3 Encryption.
- Type the Username and Password. Use an app password or API key, not your main login.
- Type the From name and 4 From address, for example “Acme QA” and qa@yourdomain.com.
- Choose 5 Save & connect. The SMTP server box then shows it is connected.
| Port | Encryption |
|---|---|
| 587 | STARTTLS (587). Works with nearly every provider. |
| 465 | SSL/TLS (465). TLS from the start. |
3. Send something
Section titled “3. Send something”Ask the agent in a chat, for example: “Create a PDF summary of this week’s runs and email it to lead@acme.com.” It builds the file and drafts the message. Nothing leaves until you press Send.
4. Allow or stop personal senders (admins)
Section titled “4. Allow or stop personal senders (admins)”Mail the agent sends for you goes out only from your address. Admins can see that a sender is connected, never its password. To stop everyone’s personal senders, turn off Let members connect a personal email sender in Tokens and connections.
What’s next
Section titled “What’s next”Tokens and connectionsAllow or stop personal senders.
Devices and browsersWhere tests run.
Set up checklistBack to the list.