Sign-in and security
Decide how people sign in: with your company’s single sign-on, with a password plus a second step, or both. One page holds it all.
1. Open Sign-in & security
Section titled “1. Open Sign-in & security”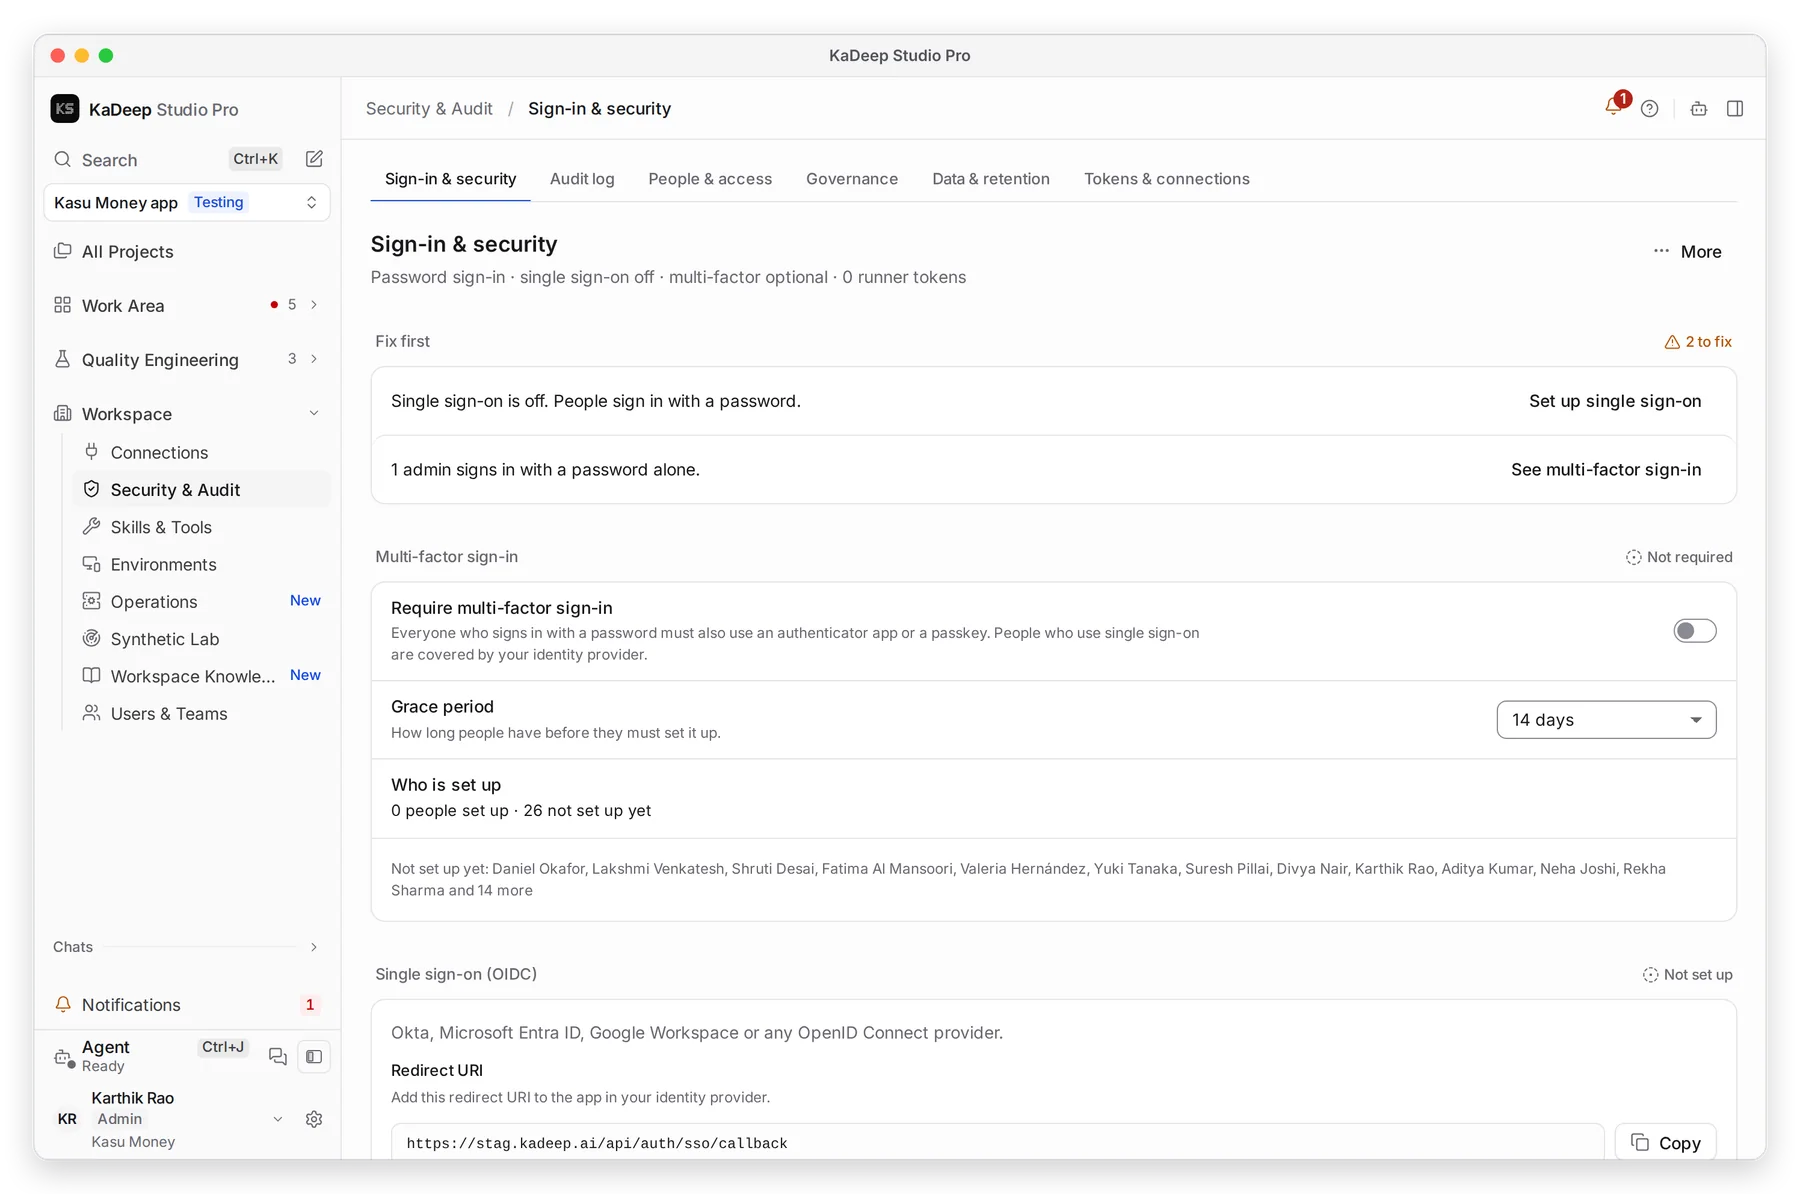
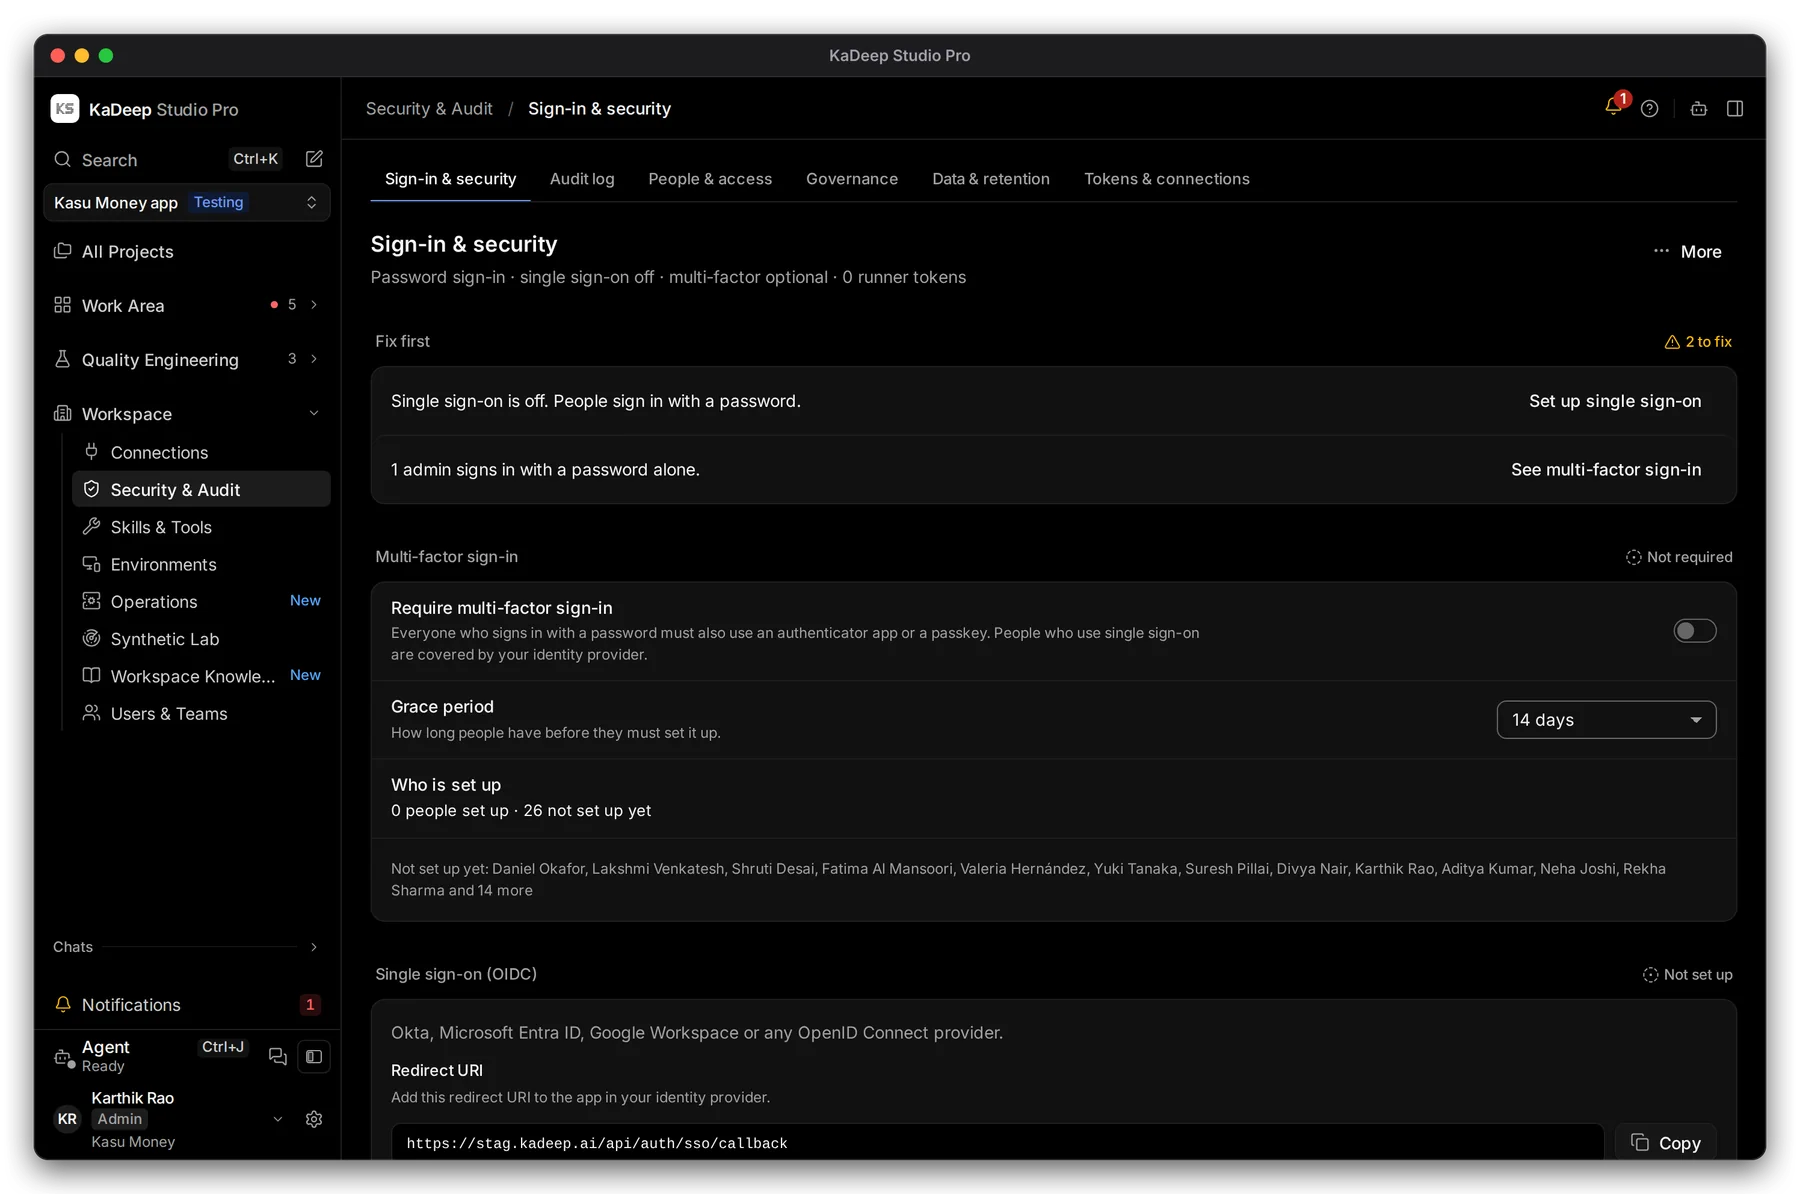
Manage view
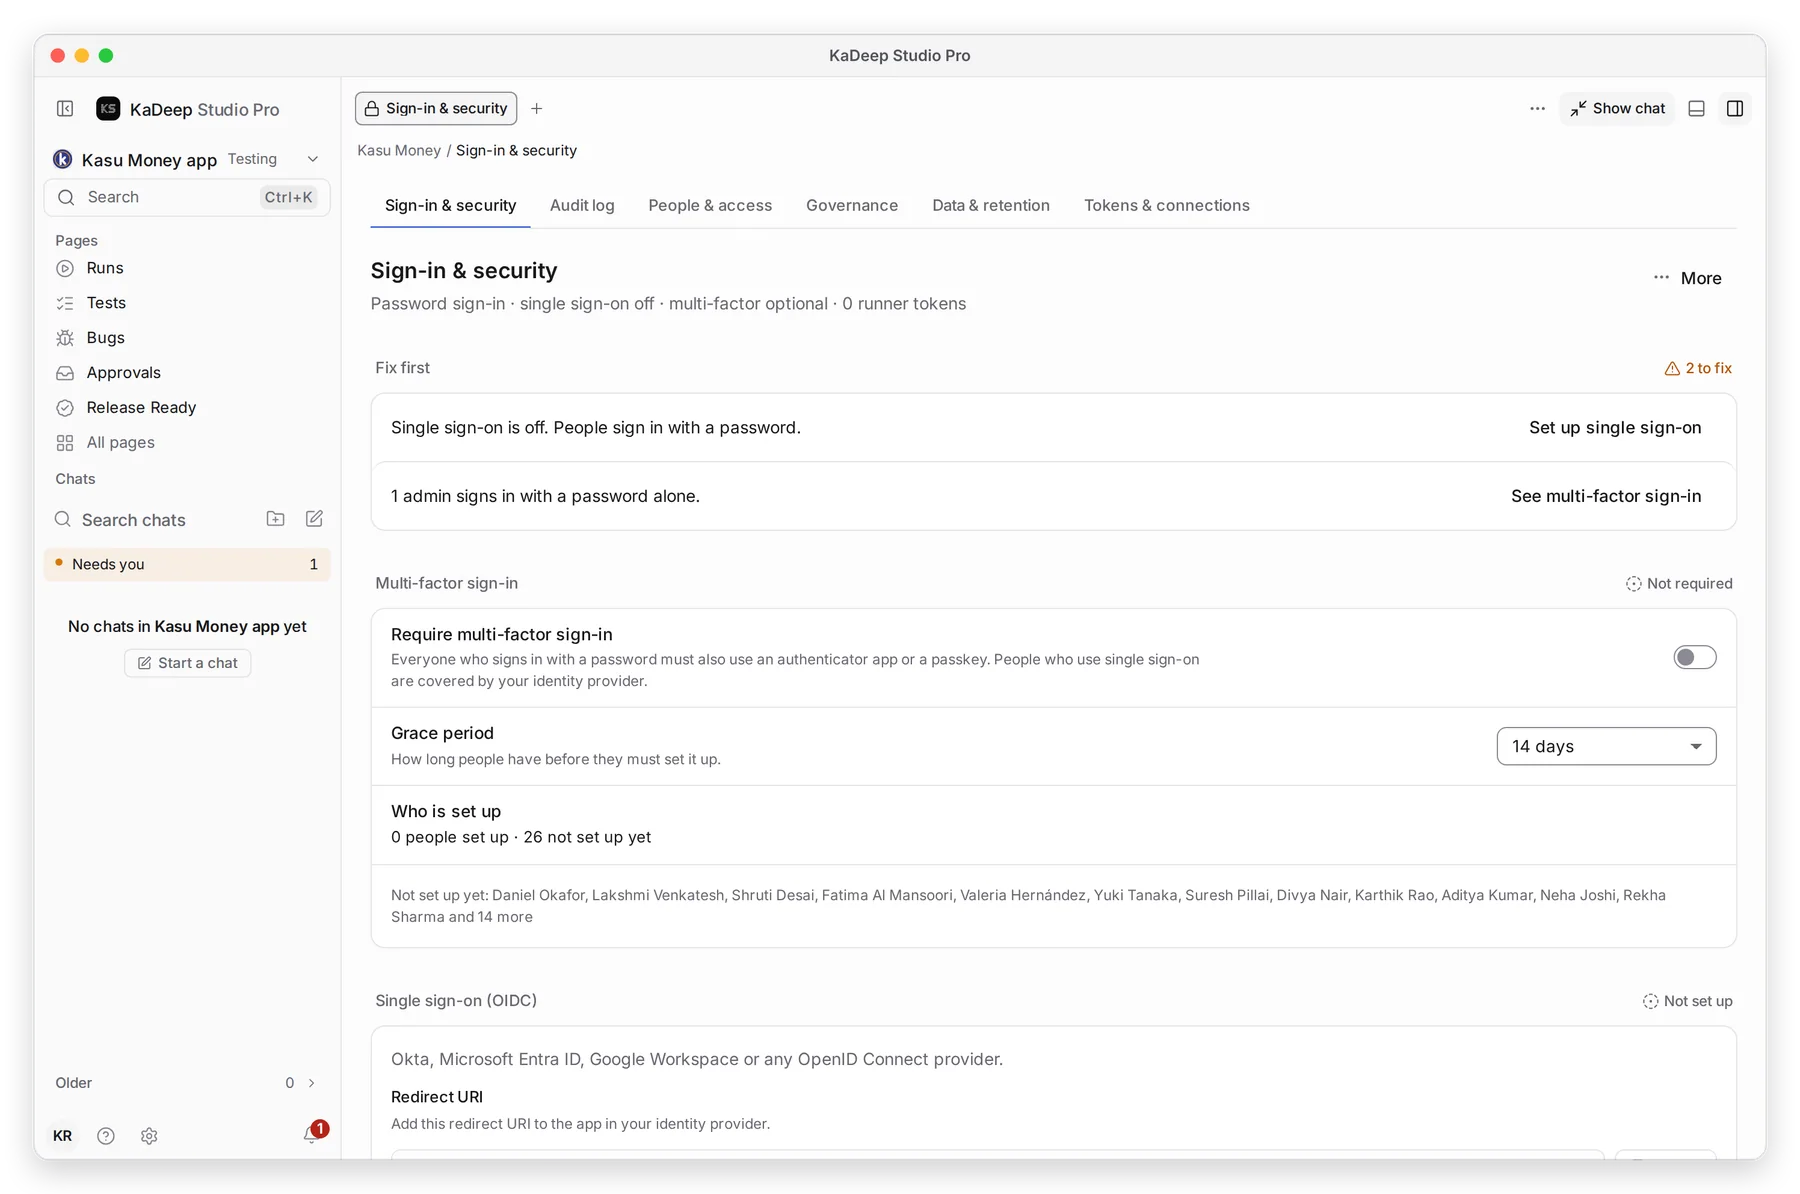
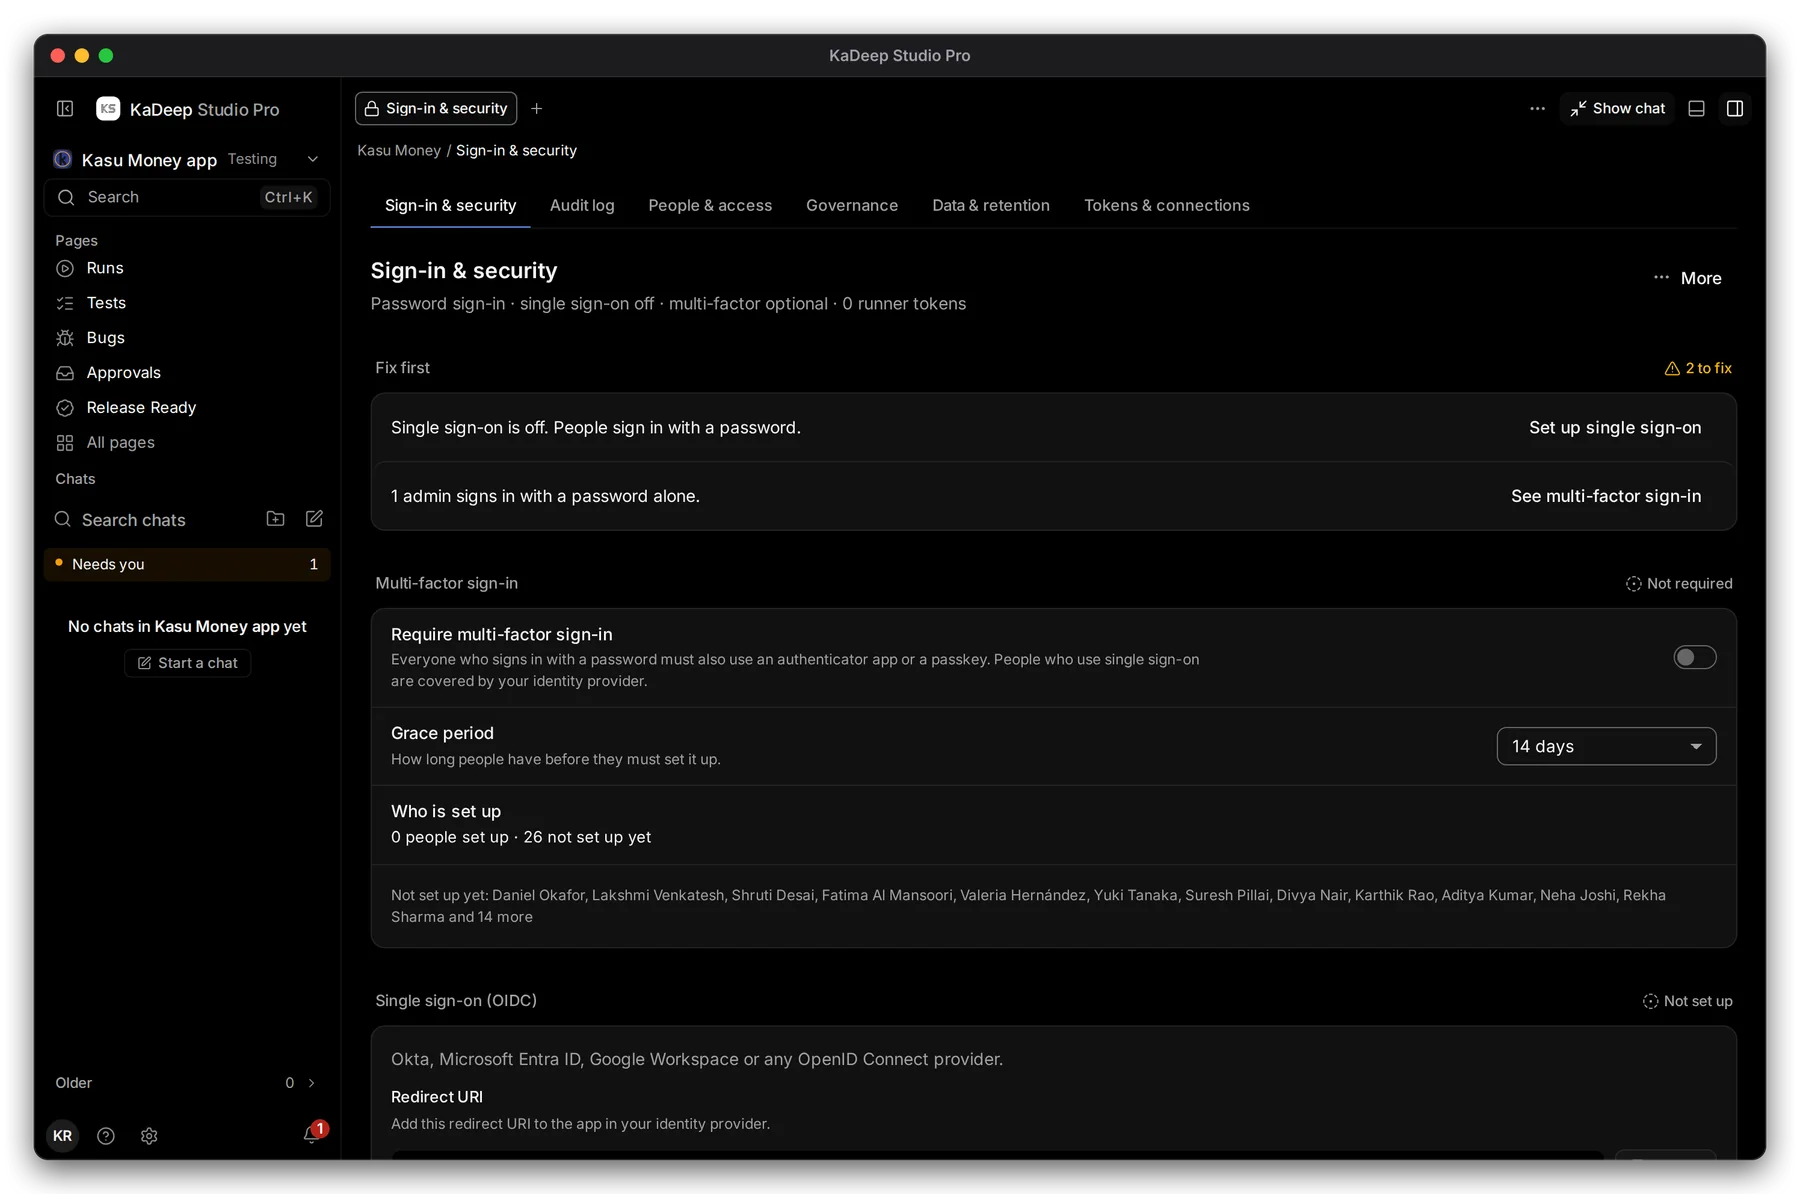
Hands-on view
1 Fix first lists the gaps that matter most, each with a button to fix it.
2. Require two-step sign-in
Section titled “2. Require two-step sign-in”- Turn on 2 Require multi-factor sign-in.
- Choose a 3 Grace period: how long people have to set it up.
- Watch 4 Who is set up fill up.
People then add an authenticator app or a passkey in Profile & account. People who use single sign-on are covered by your identity provider.
3. Turn on single sign-on
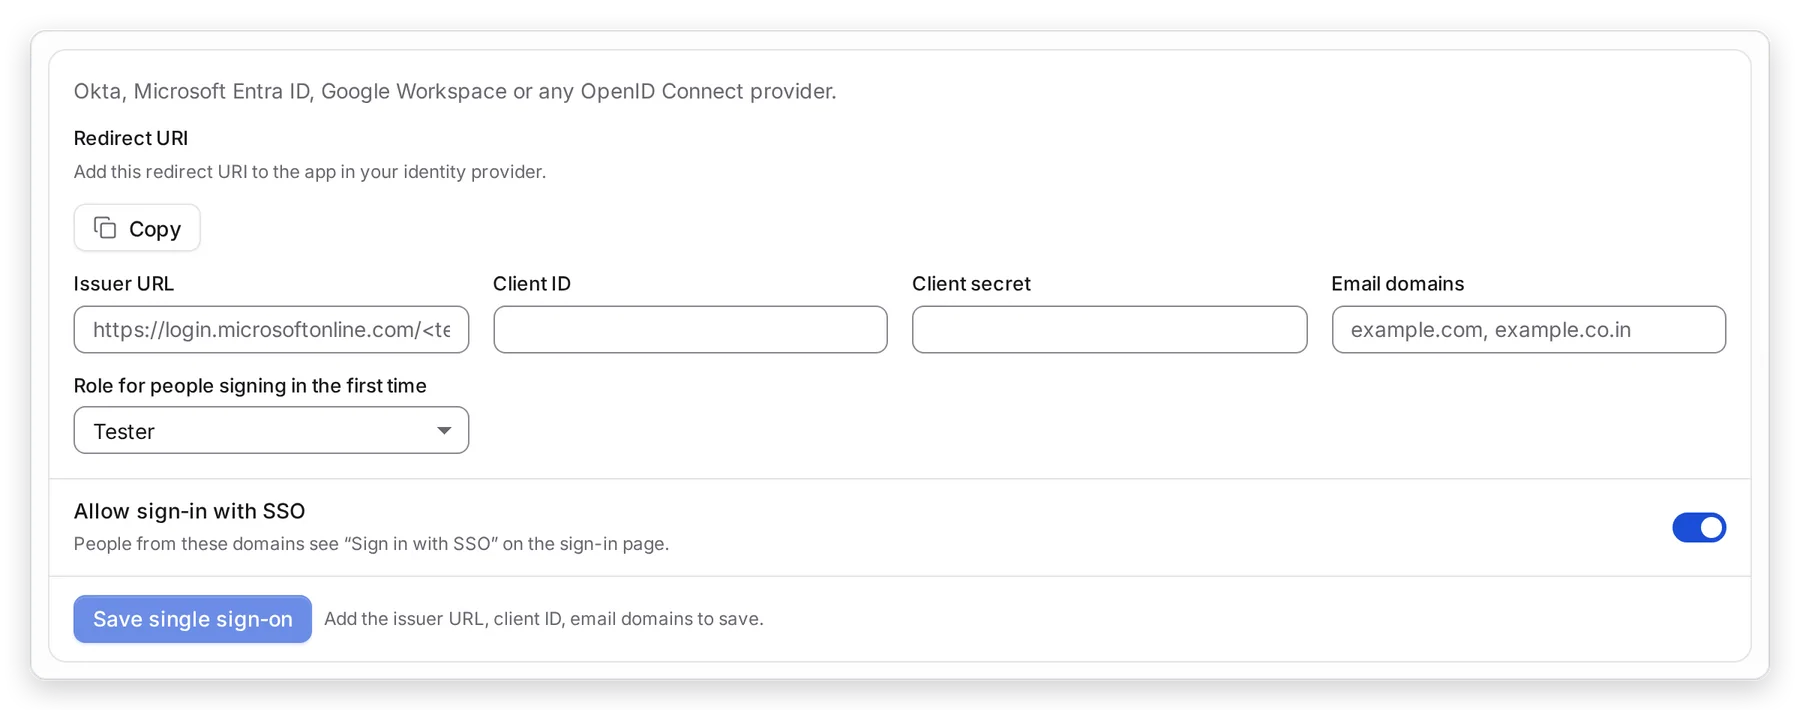
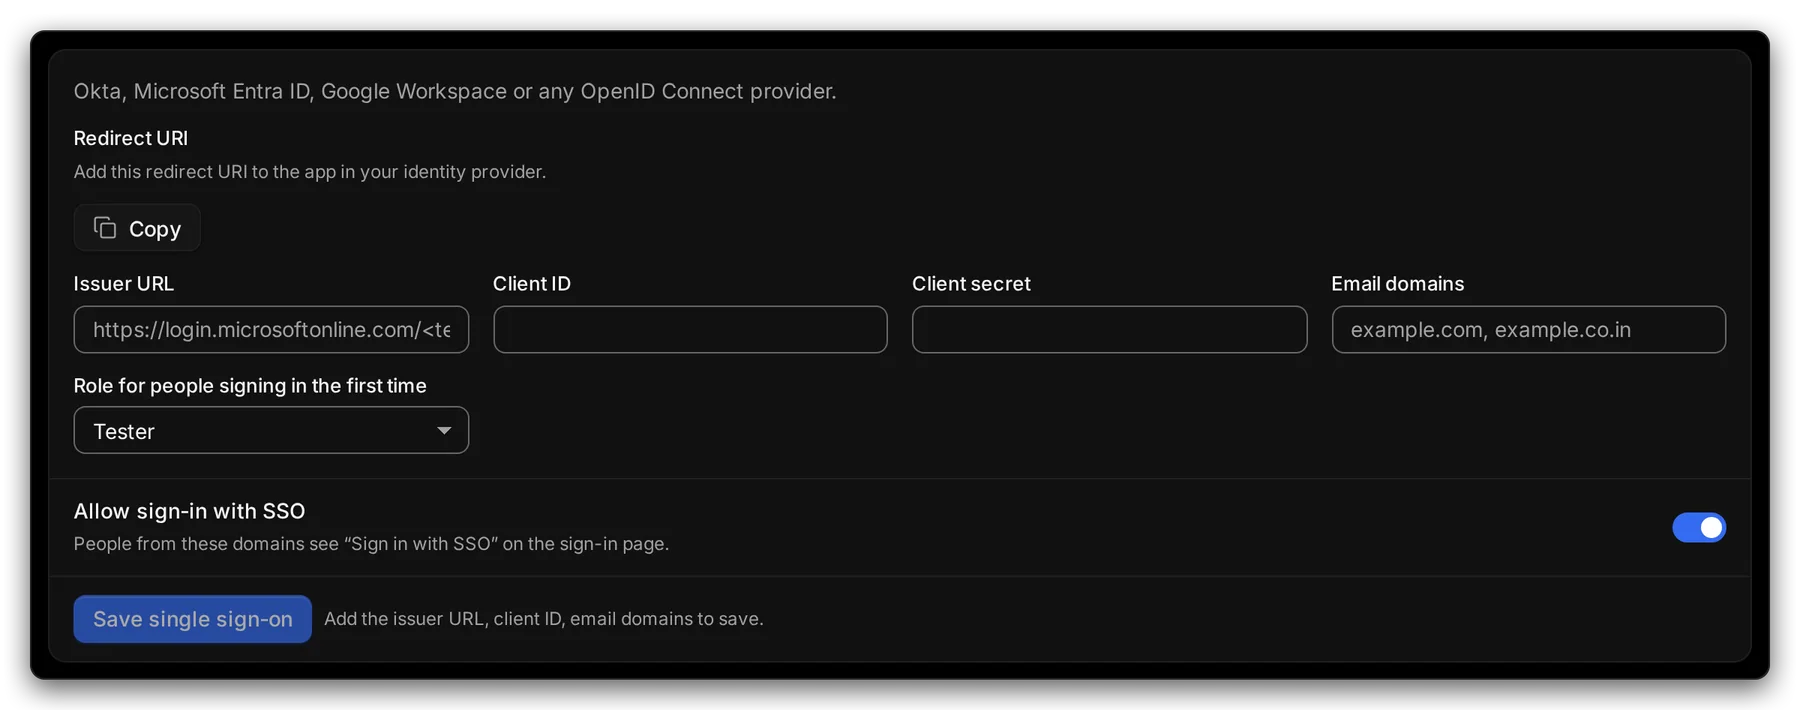
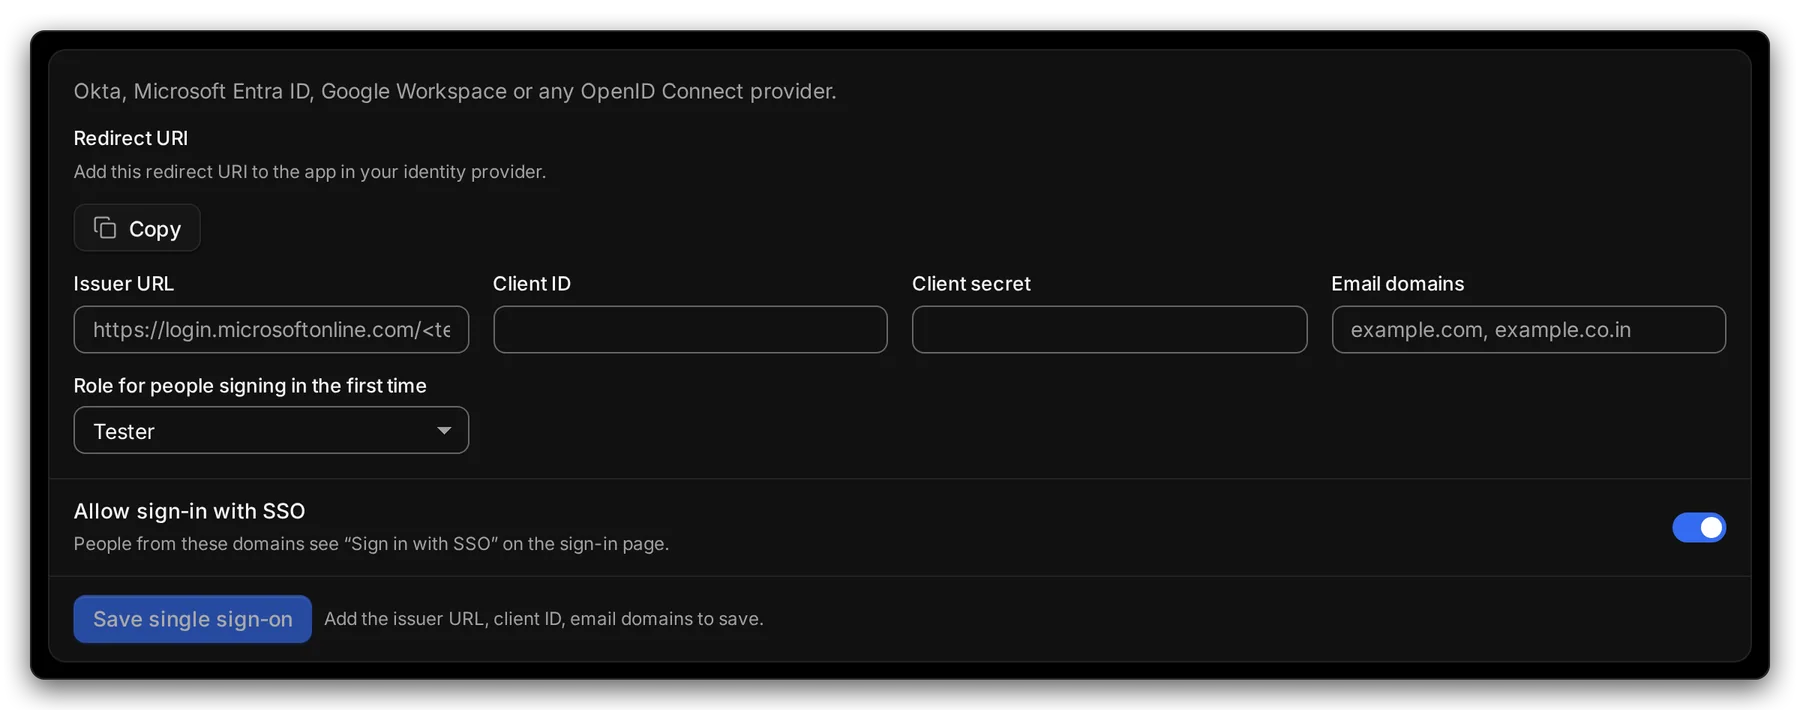
Section titled “3. Turn on single sign-on”KaDeep works with Okta, Microsoft Entra ID, Google Workspace or any OpenID Connect provider.
Manage view
Hands-on view
- Copy the Redirect URI and add it to a new app in your identity provider.
- Paste the 1 Issuer URL, Client ID and Client secret from that app.
- Type your company’s 2 Email domains.
- Choose the 3 role for people signing in the first time.
- Turn on 4 Allow sign-in with SSO, then choose Save single sign-on.
People from those domains now see Sign in with SSO on the sign-in page.
4. Limit sessions
Section titled “4. Limit sessions”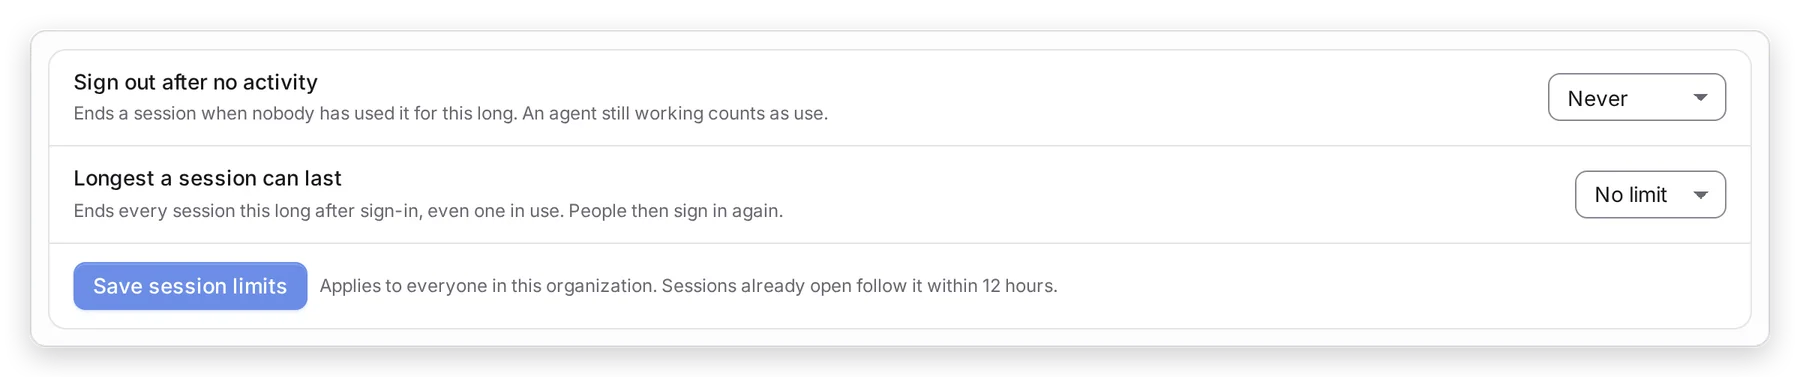
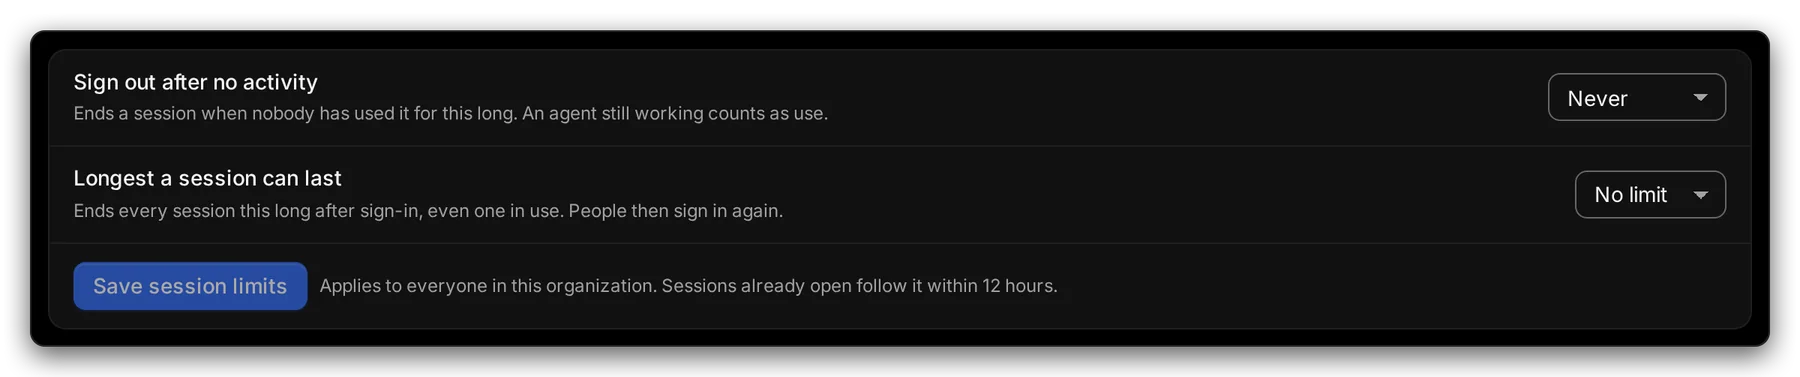
Manage view
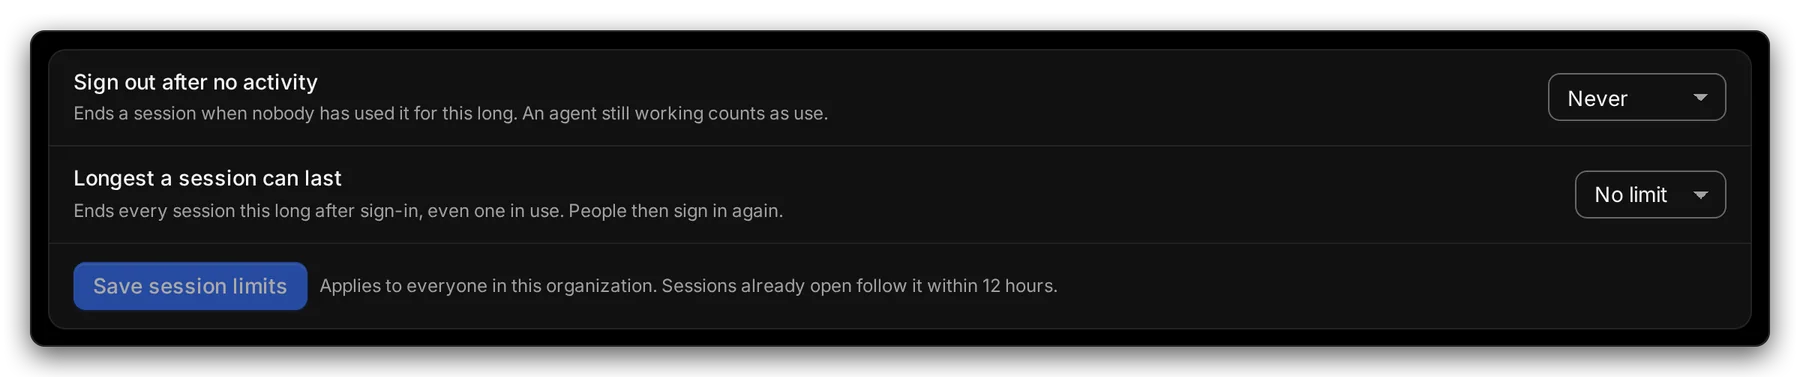
Hands-on view
Choose 1 how long a session can sit unused, and 2 how long any session can last. Then choose Save session limits. An agent still working counts as use.
5. Add people automatically (SCIM)
Section titled “5. Add people automatically (SCIM)”Further down, User provisioning (SCIM) lets Okta or Microsoft Entra ID add and remove people for you. Choose New SCIM token, then paste the base URL and token into your identity provider. Choose whether people removed there are suspended or removed here.