Files and reports
Your view
Files & reports keeps everything in one place: the specs and test data you gave the agent, and every screenshot, report and export it produced for this project.
1. Open Files & reports
Section titled “1. Open Files & reports”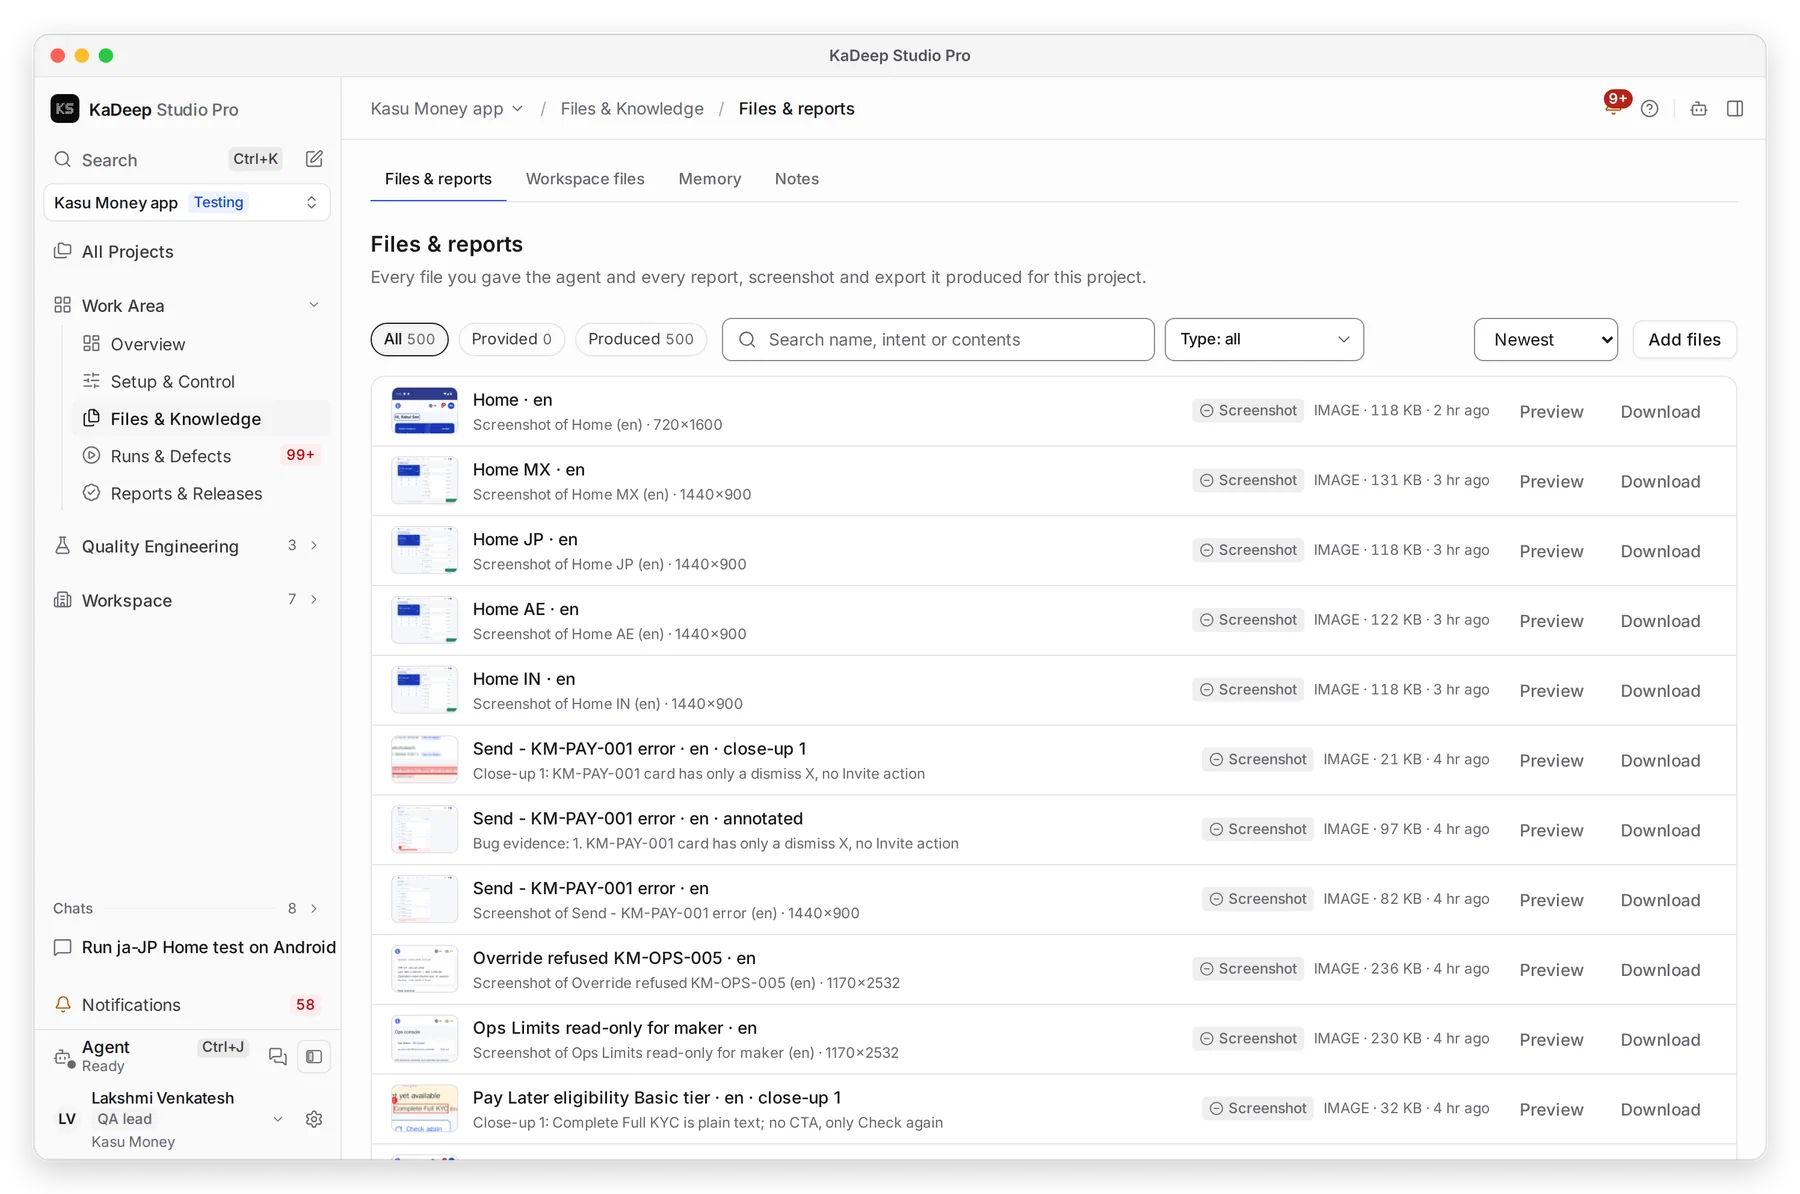
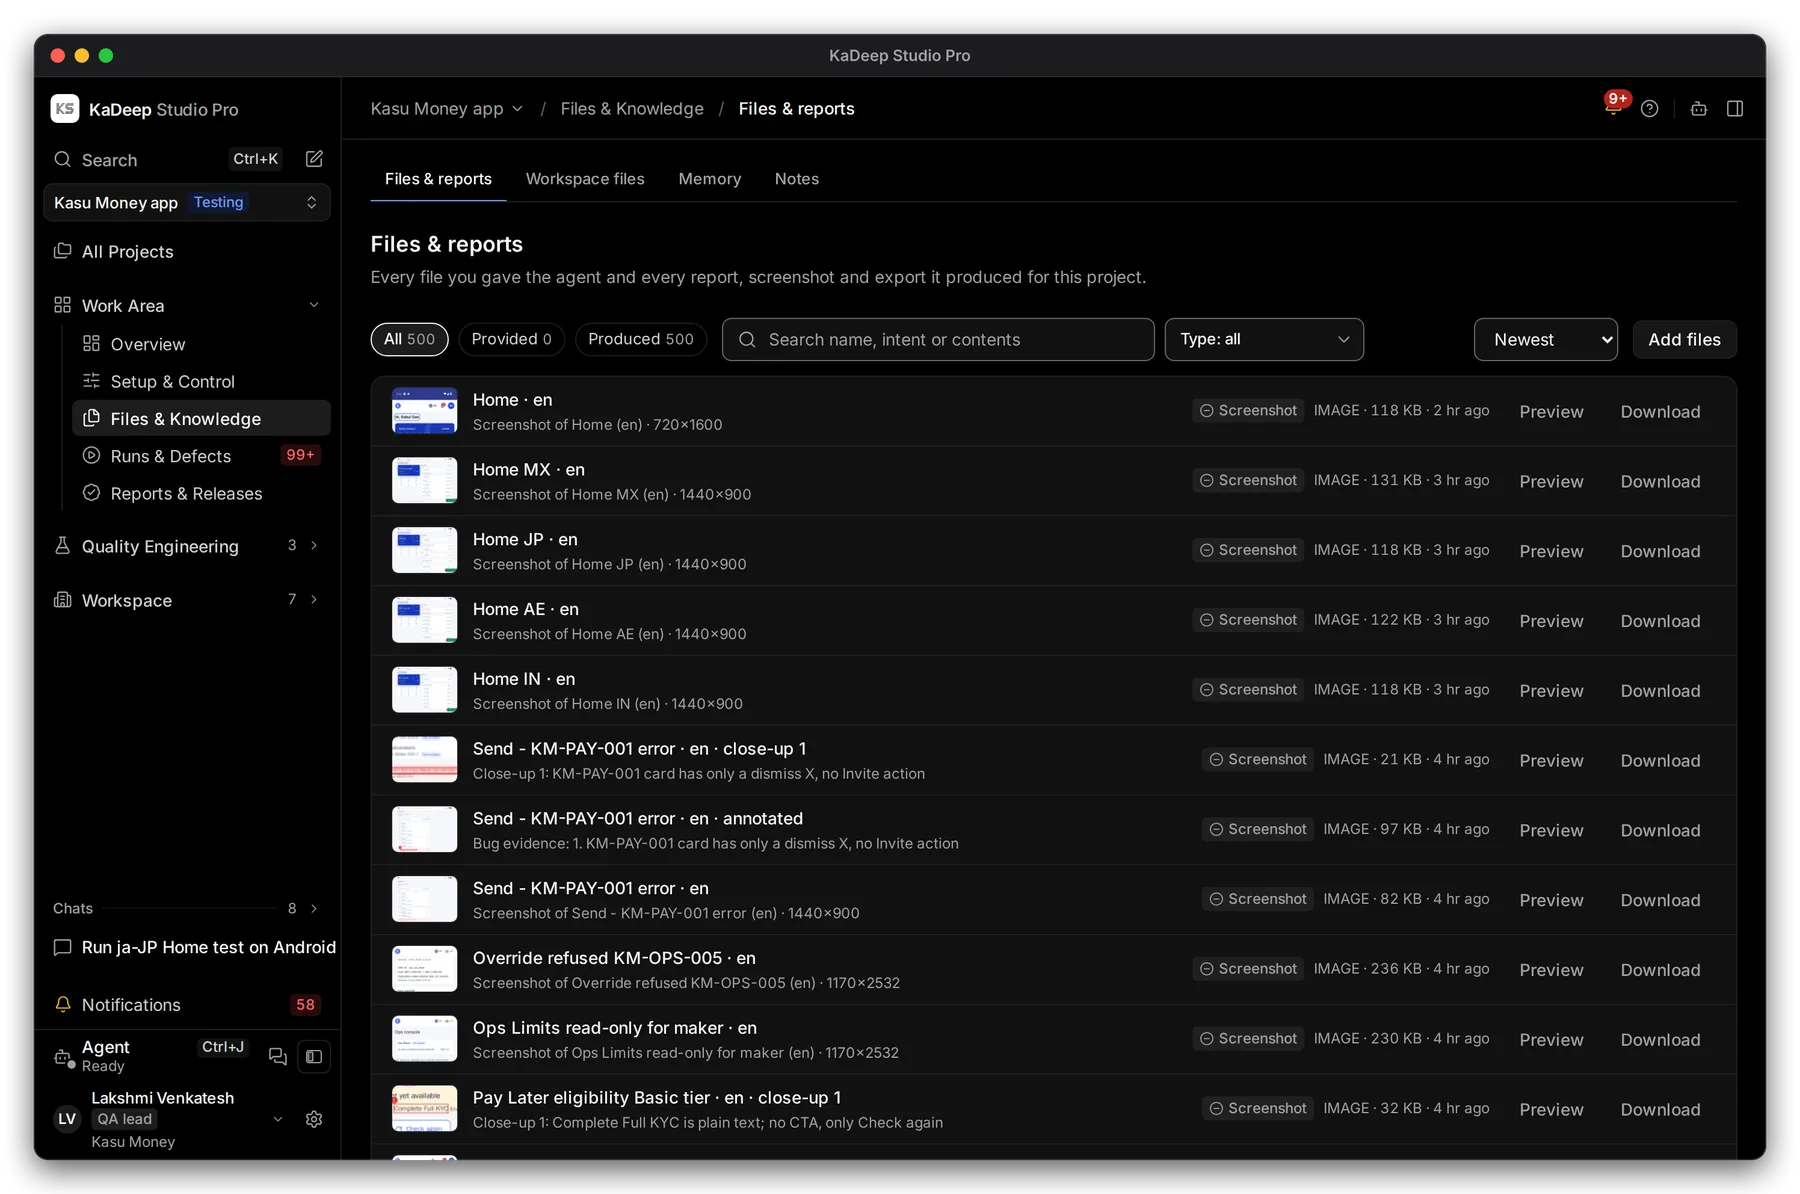
Manage view
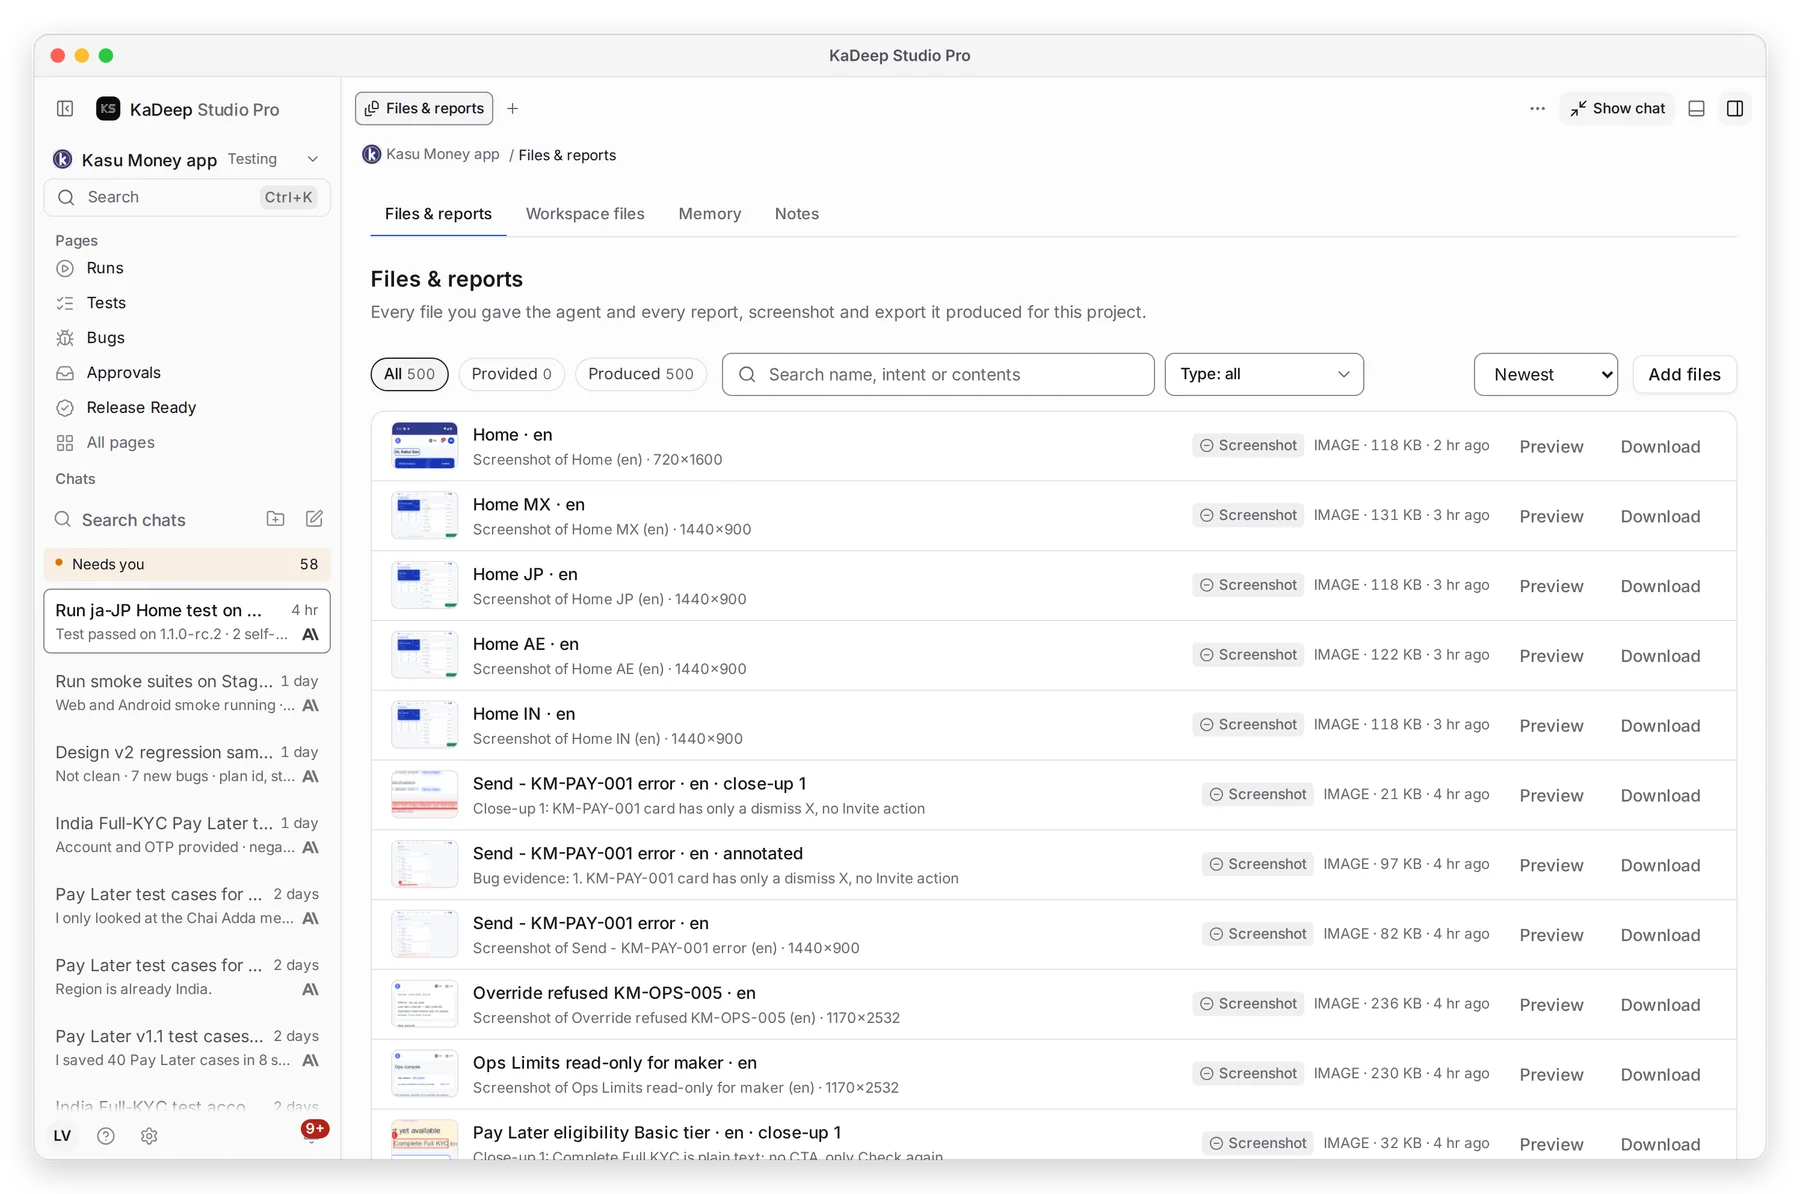
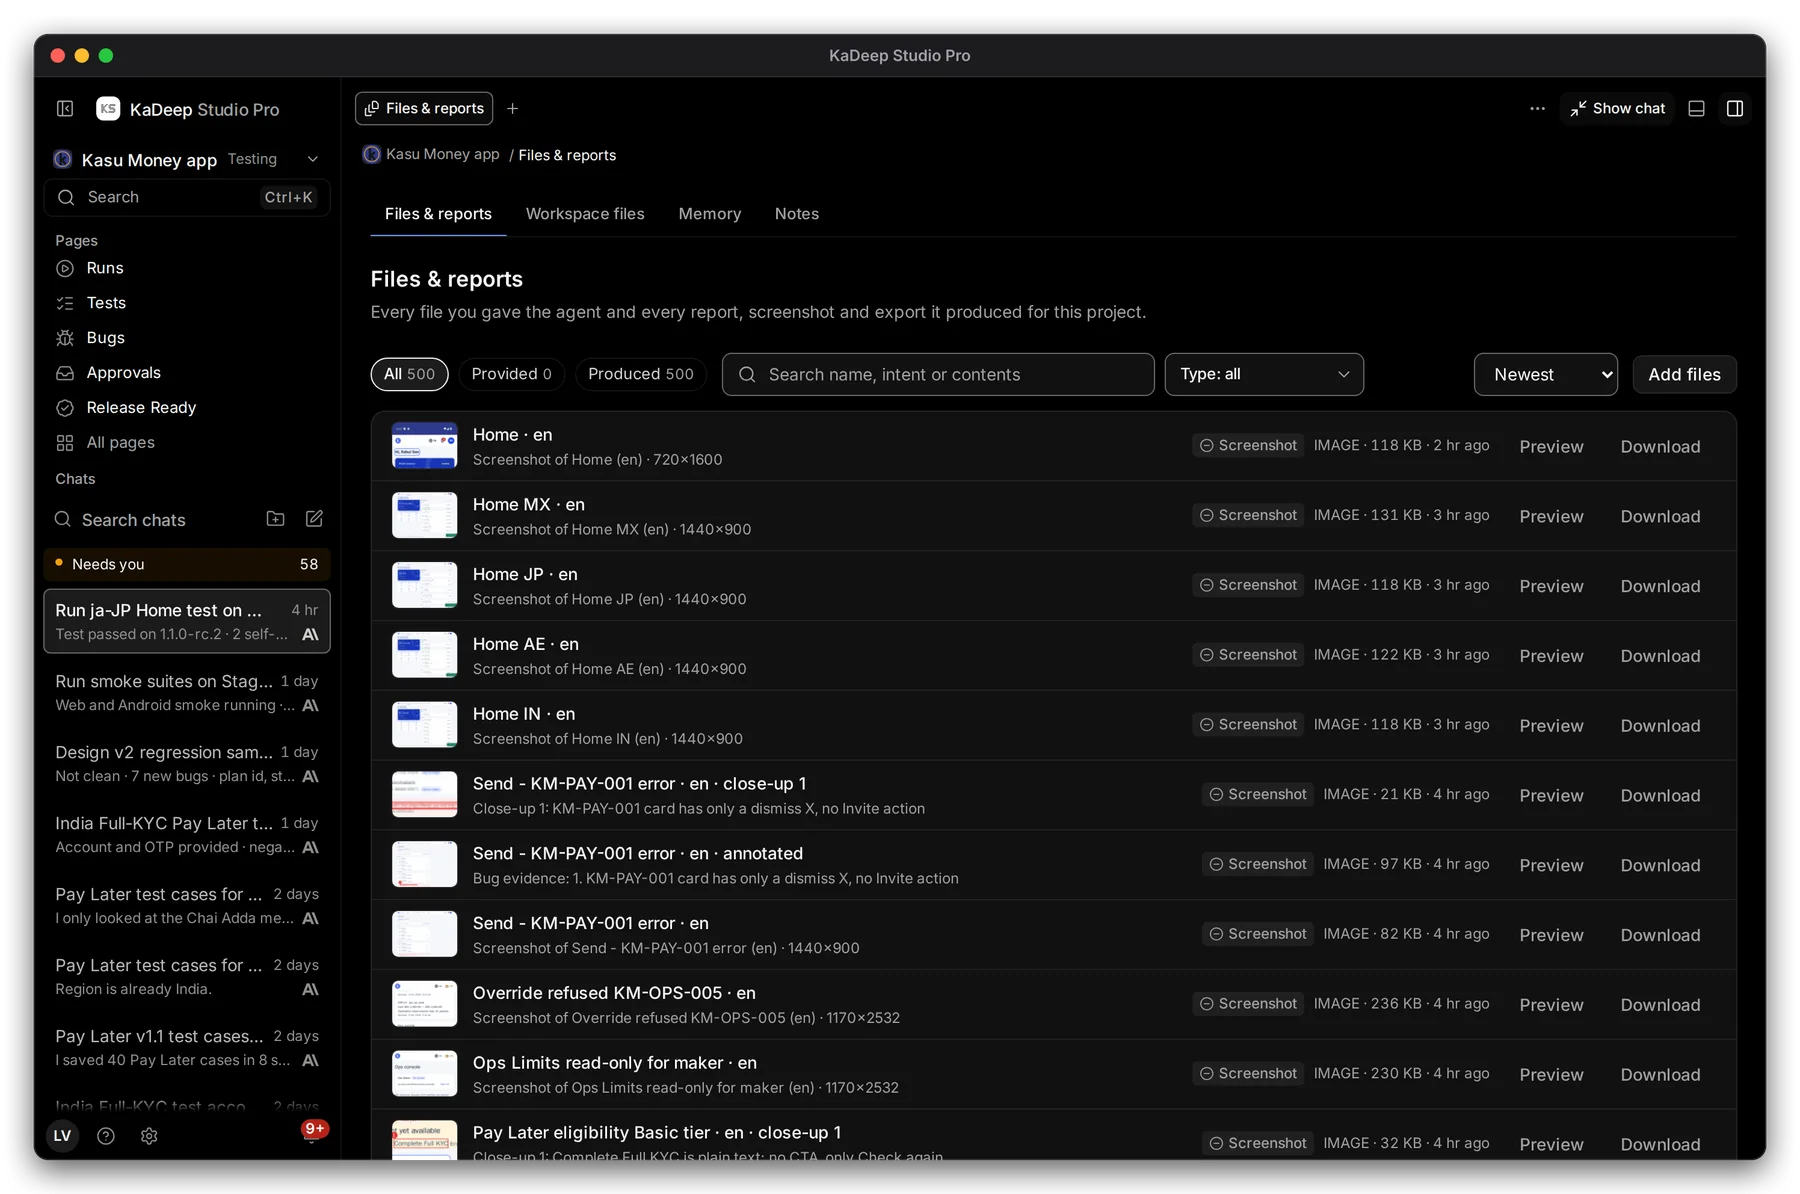
Hands-on view
- 1 All, Provided (files you gave the agent) or Produced (files it made).
- 2 Search by name, by what the file is for, or by what is inside it. Narrow by Type and change the Sort: Newest, Most used, Name or Size.
- 3 Add files: specs, requirement documents, test data or app builds.
- 4 Preview a file here, or Download it.
2. Give the agent what it needs
Section titled “2. Give the agent what it needs”- Choose Add files and pick the files. You can also drop a file into the chat.
- The agent can use them when it plans, writes tests or runs them.
- Find them later under Provided.
| Good files to add | Why |
|---|---|
| Requirements and user stories | The agent writes tests from them and links coverage. |
| Test data, such as accounts and amounts | Tests use real values, not guesses. |
| Style guides and screenshots of the design | The agent checks the app against them. |
What’s next
Section titled “What’s next”Runs and evidenceThe run behind each screenshot and report.
ReportsPDF and ACR/VPAT reports to forward.
Agents, memory and notesWhat the agent learned from your files.